"Effortless Integration, Responsive Design: Bootstrap Google Maps Template – Map Your Success with Precision and Style! 📍"
I chose the Bootstrap Google Maps Template for its promised responsiveness and ease of use on mobile devices. As my project targeted on-the-go users needing quick access to location data, this was crucial. Initially, I faced some confusion over customizing the map pins to display different categories of locations dynamically. However, after a deep dive into the documentation provided, it all clicked into place. The positive sides are many: out-of-the-box mobile readiness, seamless integration with my existing Bootstrap framework, and the interactive map UI that enhances user experience. On the downside, tweaking the default styles to fit my app’s theme required a bit of CSS wizardry, which can be daunting for newcomers. All in all, a solid template that significantly cut down development time.
As a newbie to web development, the Bootstrap Google Maps Template was a godsend for integrating maps without the overhead of learning the Google Maps API from scratch. The documentation paved the way for a smooth setup. However, as I gained experience and my needs became more sophisticated, I started hitting the template's limitations. Customizing beyond the provided examples required more knowledge of JavaScript than I had anticipated. Positively, the template allowed for a great head-start with a professional-looking map UI, and the responsive design adapted beautifully to different screen sizes. But if you need advanced map interactions or deep customization, be prepared to expand on the template significantly.
I opted for the Bootstrap Google Maps Template due to its promised compatibility with the Bootstrap framework that I've been relying on for years. Integrating the template was a breeze, and it played nicely with all my Bootstrap components. No major questions arose during the integration—the examples covered most of my use cases. The clear positive is its versatility; whether it’s a simple static map or an interactive one with multiple types of controls, the template had it covered. However, a slight negative was the limited theme options. I found myself wanting more pre-styled themes to choose from, but this was only a minor setback as custom styling is always an option. In the end, the template was a time-saver and added a professional touch to my project.
In my search for a quick map solution, I settled on the Bootstrap Google Maps Template largely due to my past experience with Bootstrap's reliability. While the template itself worked fairly well after setup, I encountered some hiccups with the documentation. Certain scenarios I wanted to implement weren’t covered, specifically around the manipulation of the map after user inputs. This called for a bit of improvisation and external resources. On the plus side, the template was really easy on the eyes and intuitively interactive, which my users appreciated. The minus was in the expectation of better guidance for more complex tasks like handling asynchronous data updates to the map. Nevertheless, the template did fulfill its primary function admirably, and I would recommend it with a heads-up about the potential need for extra research.
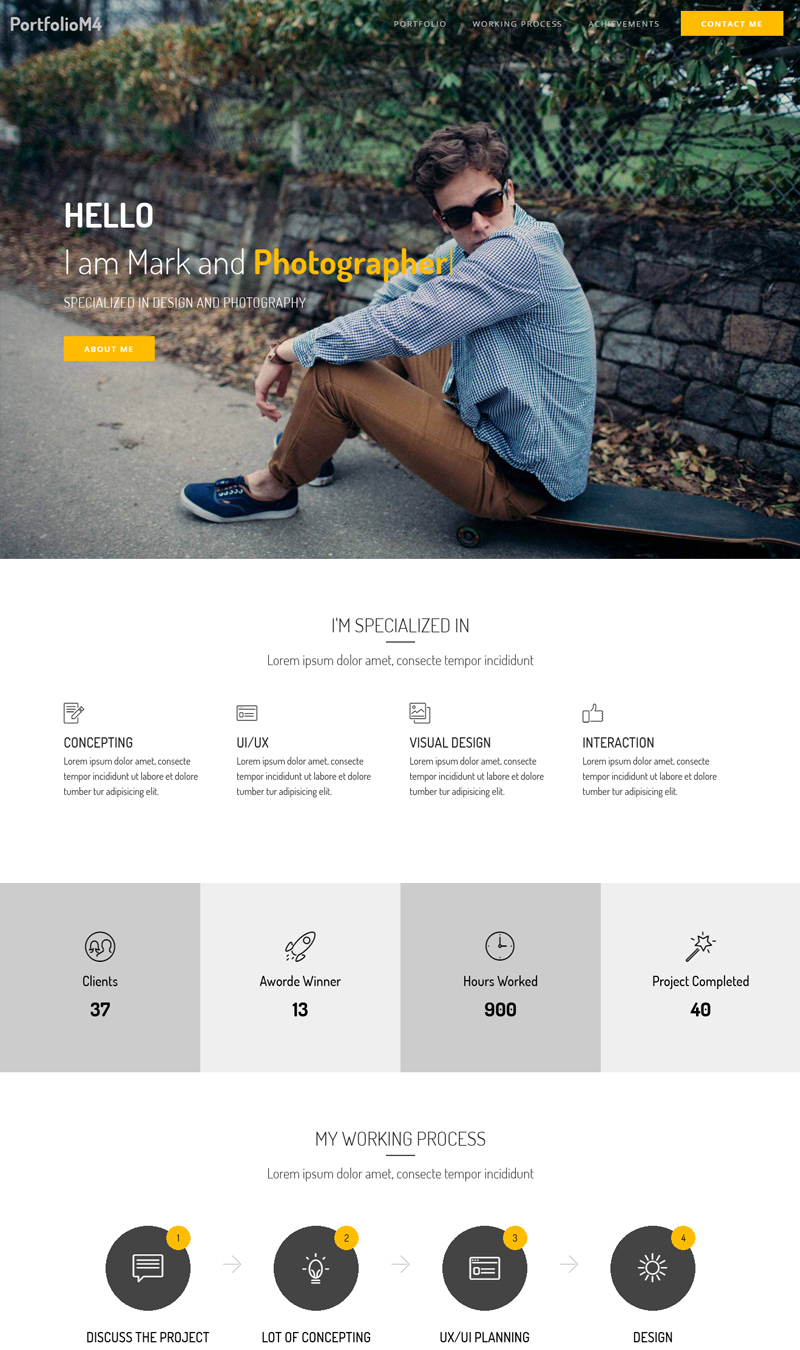
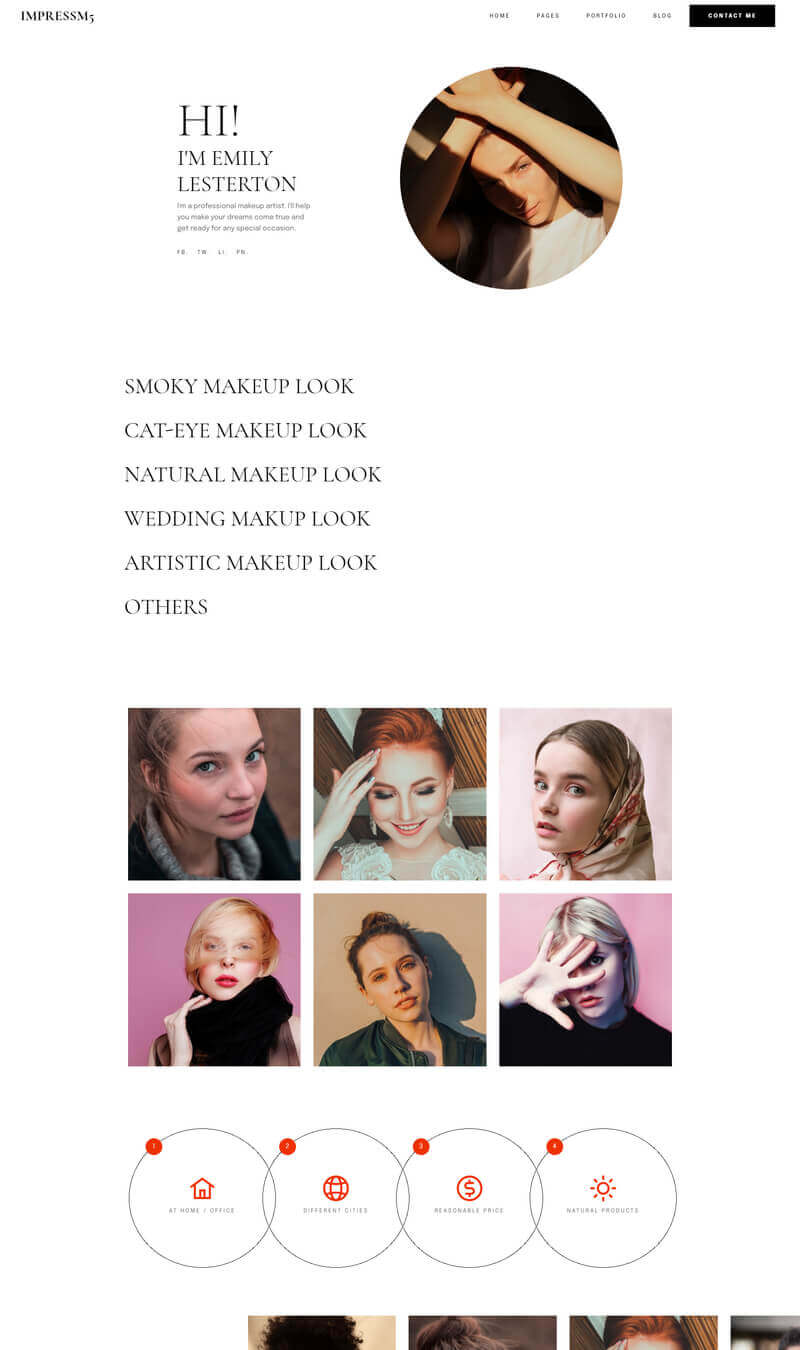
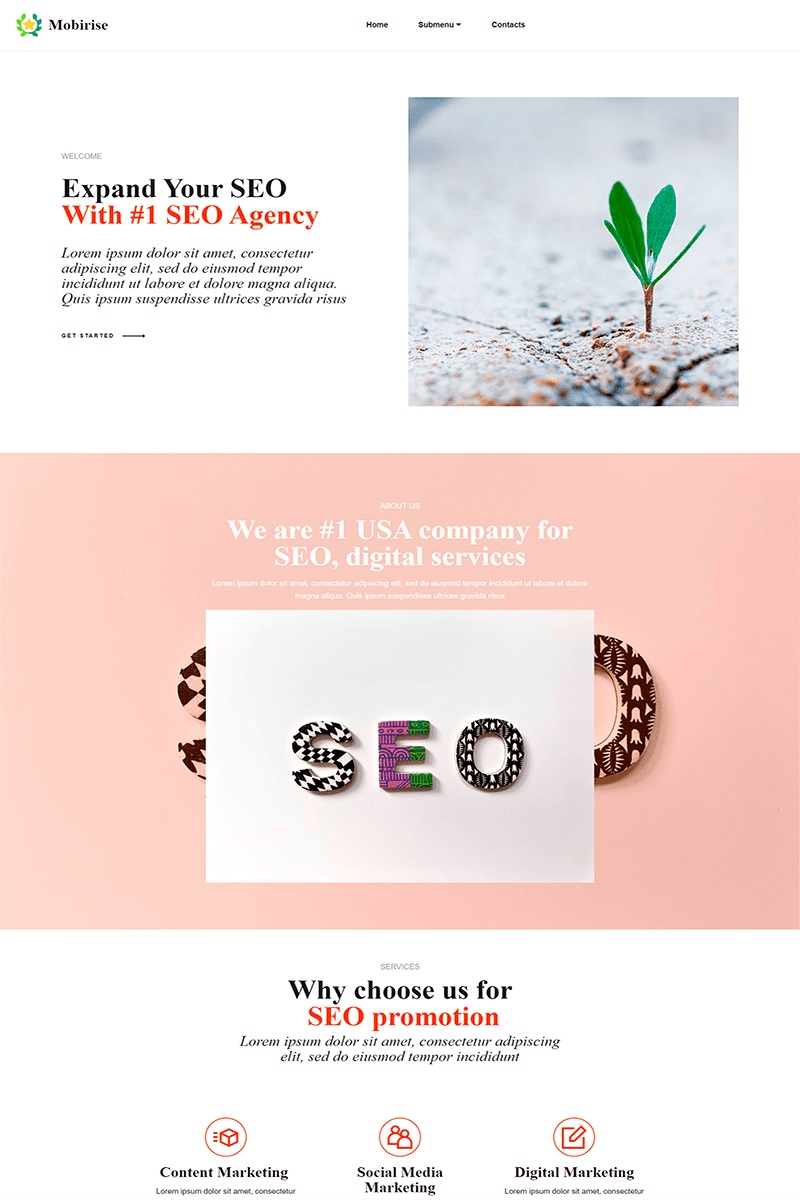
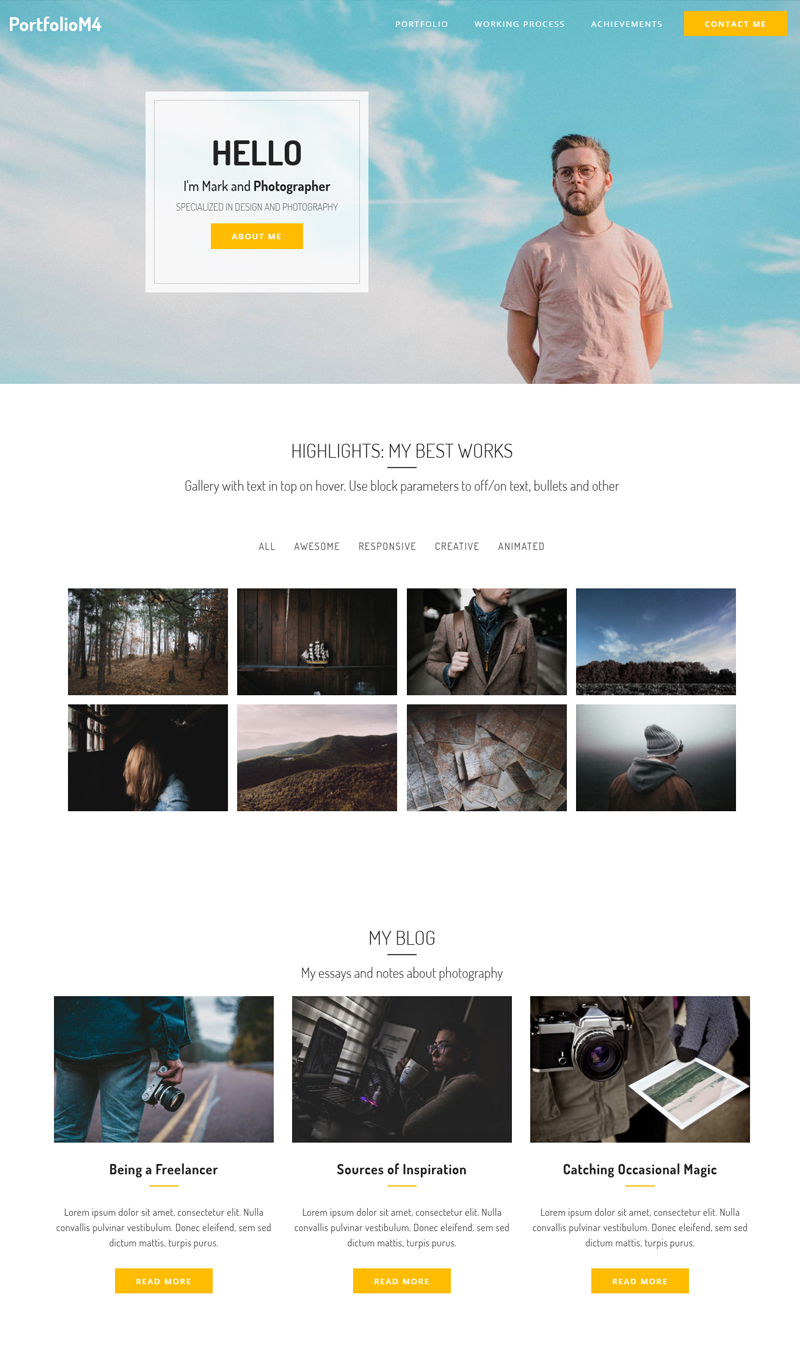
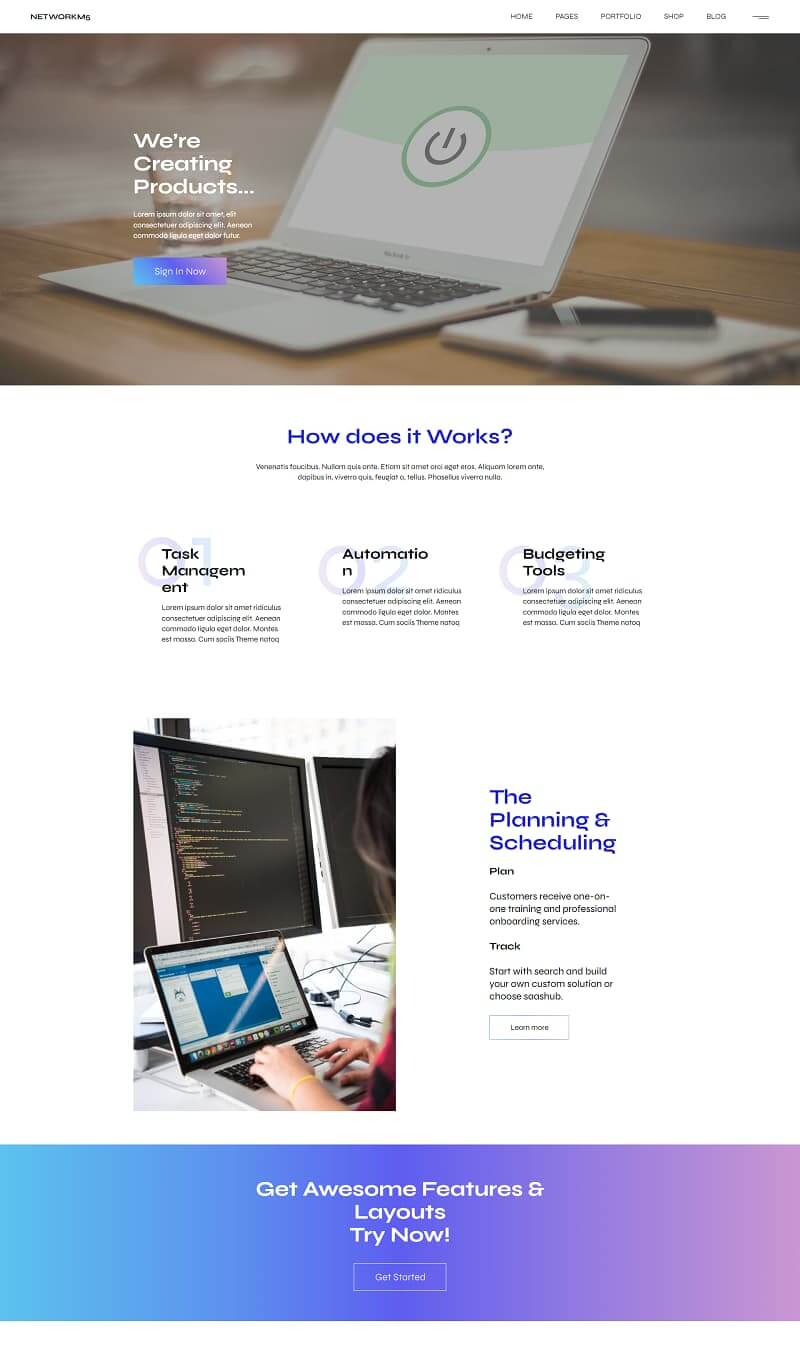
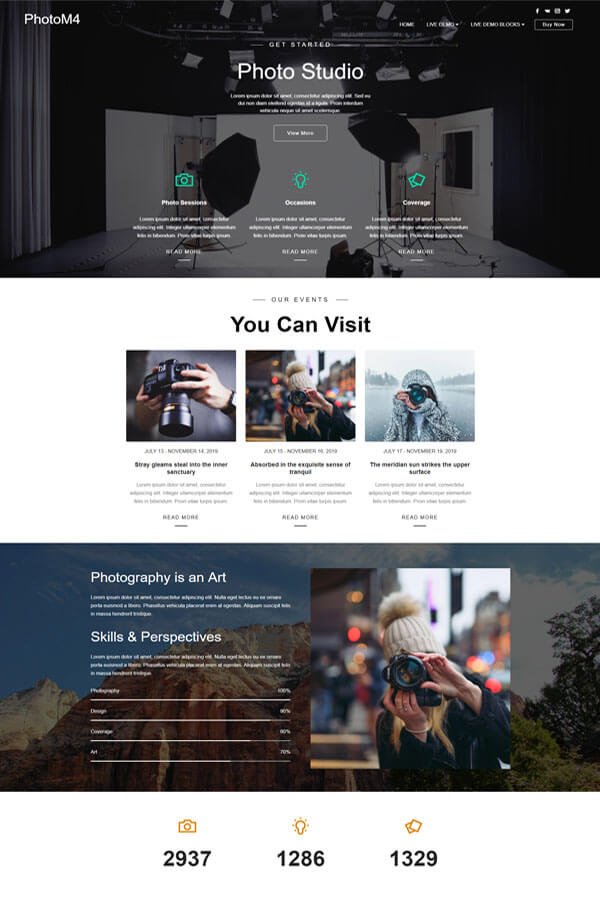
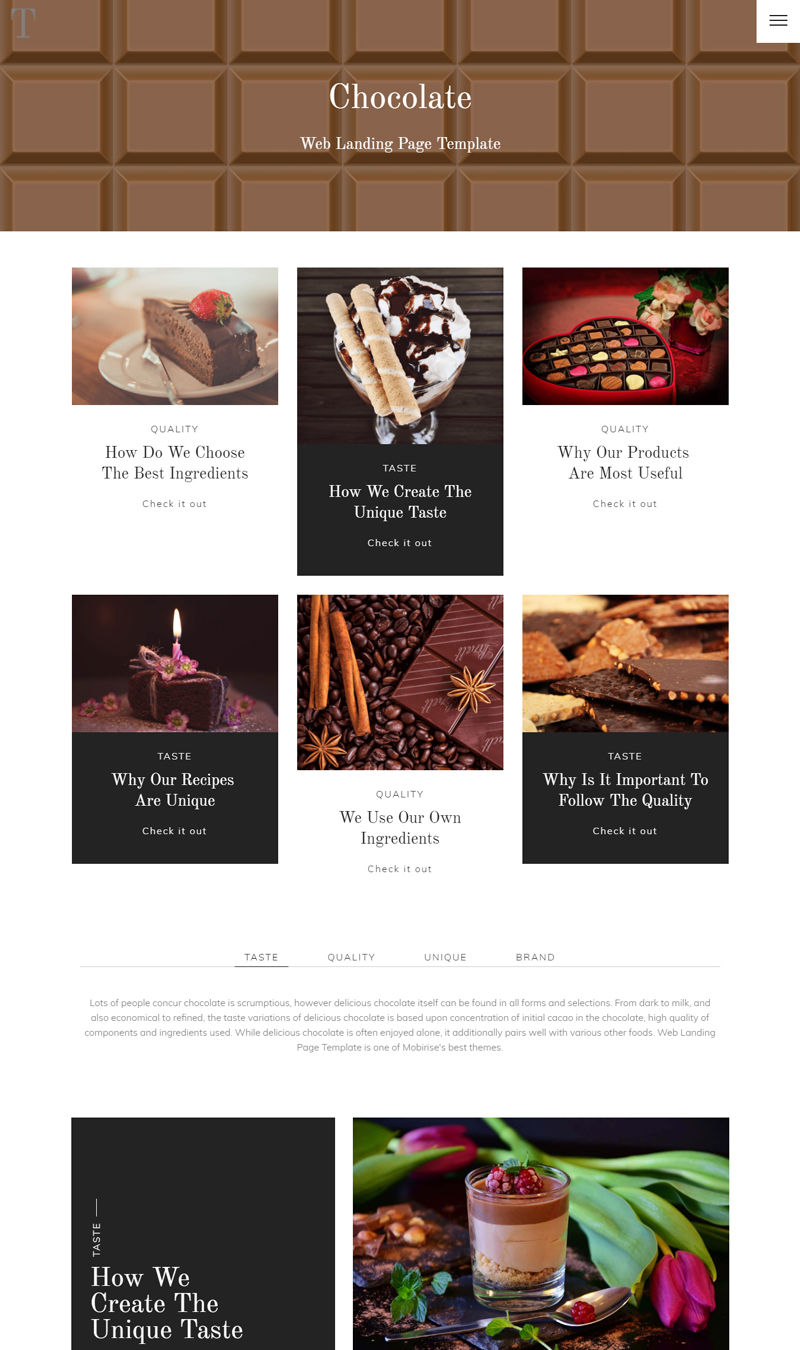
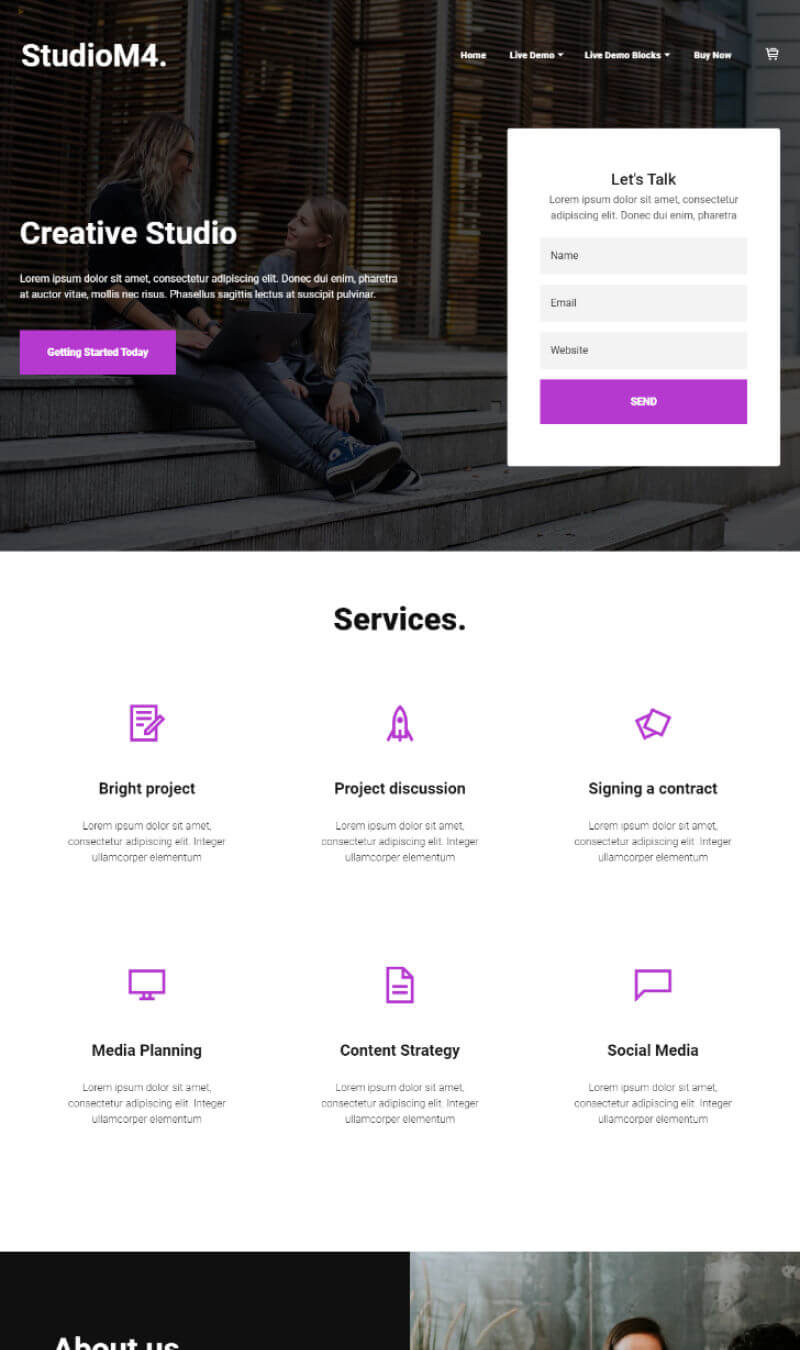
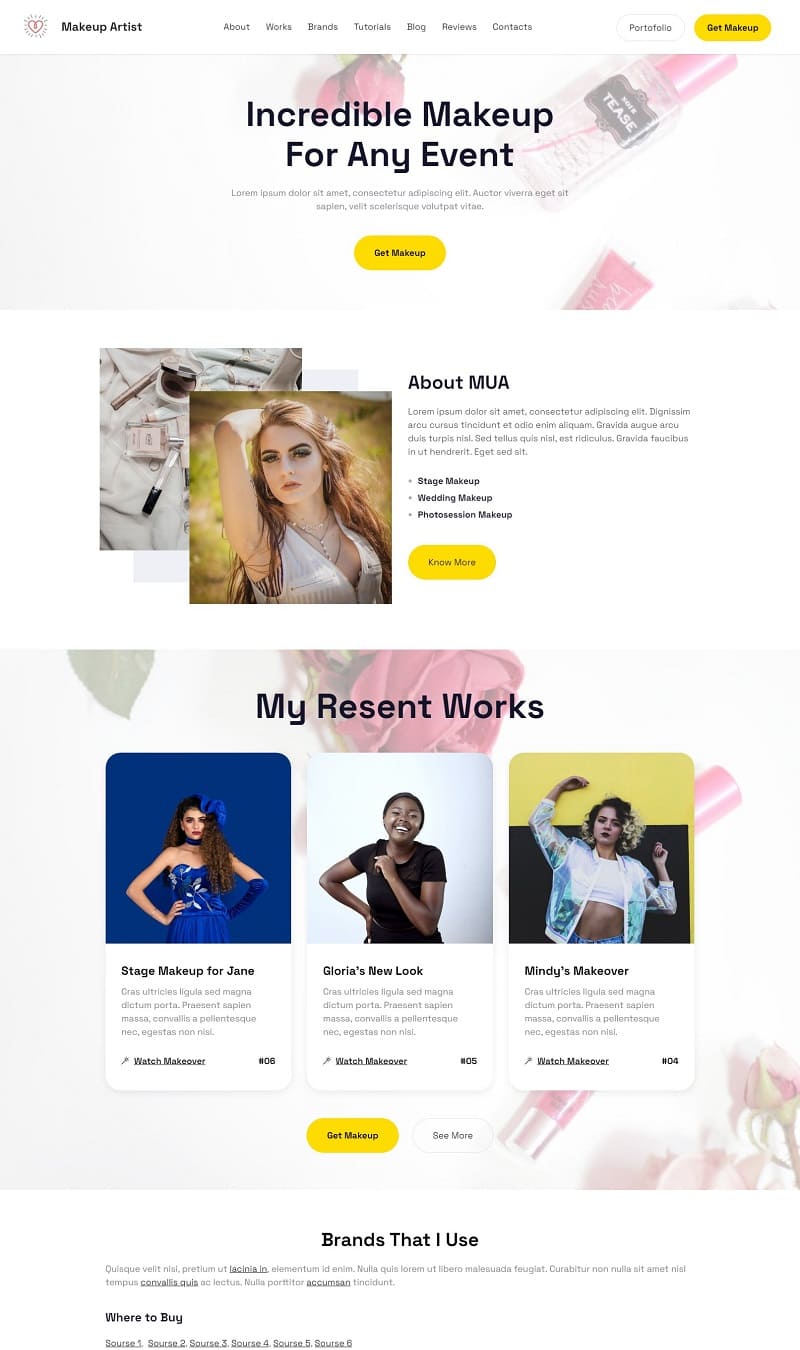
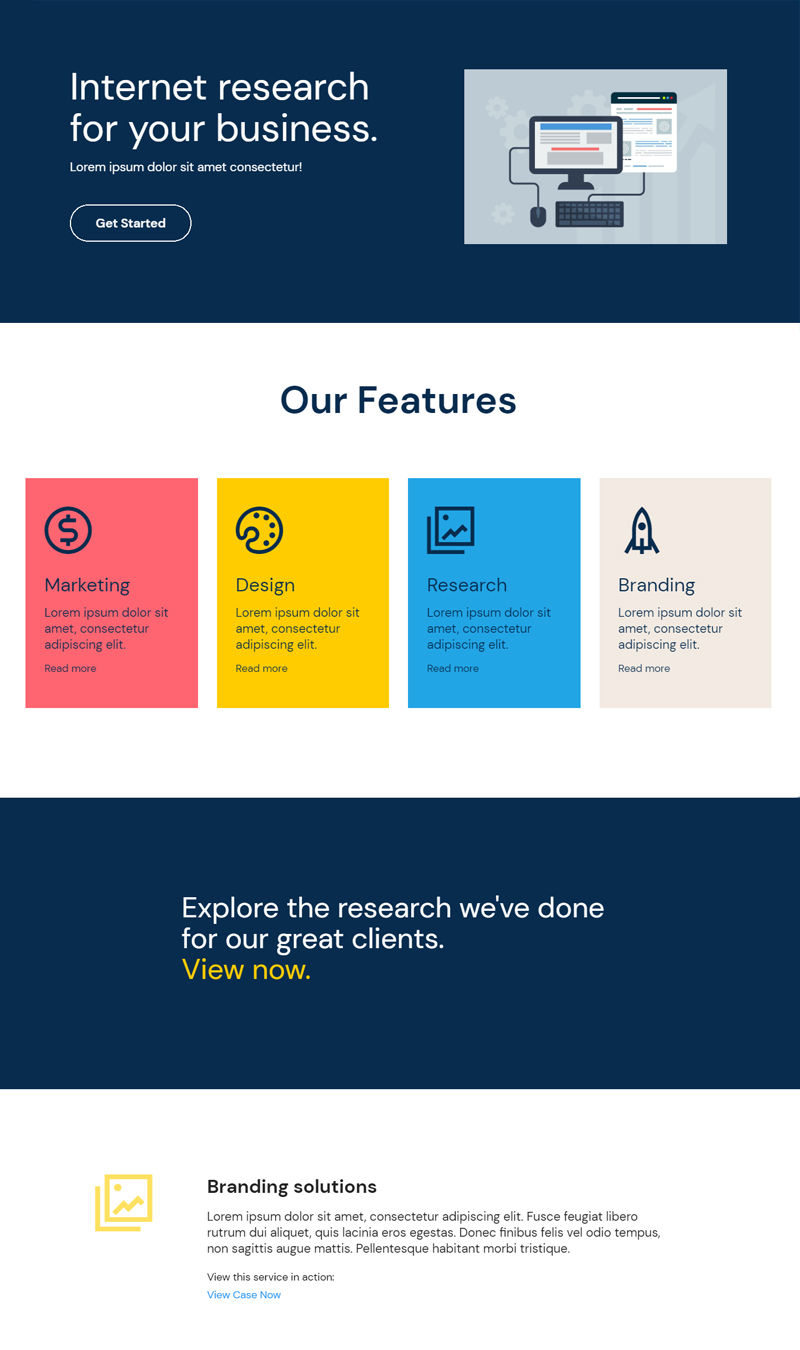
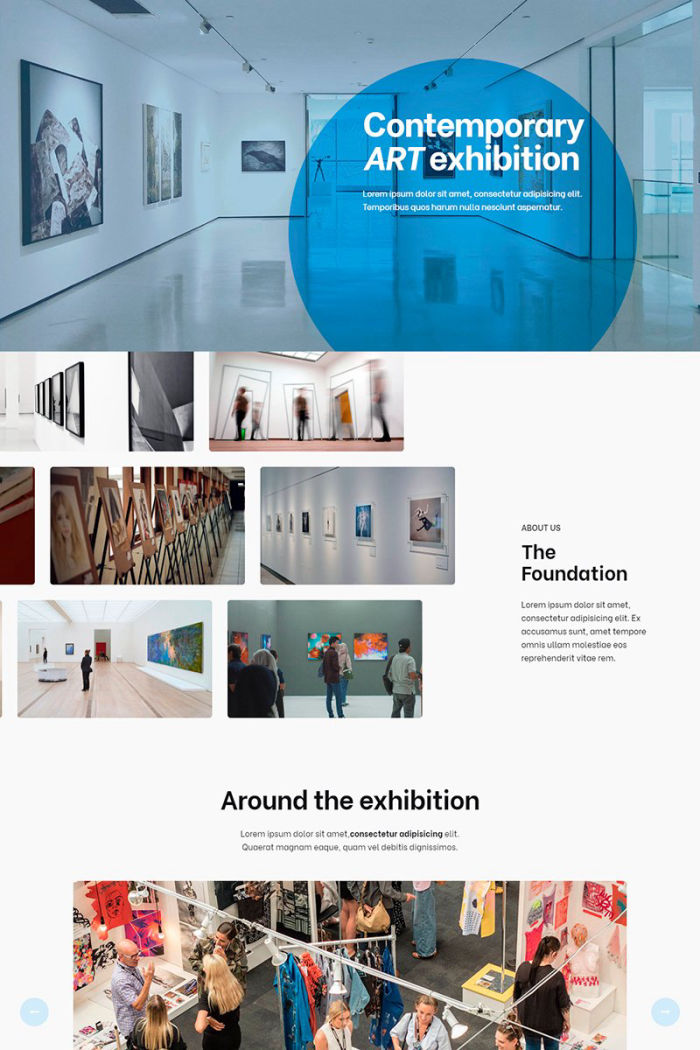
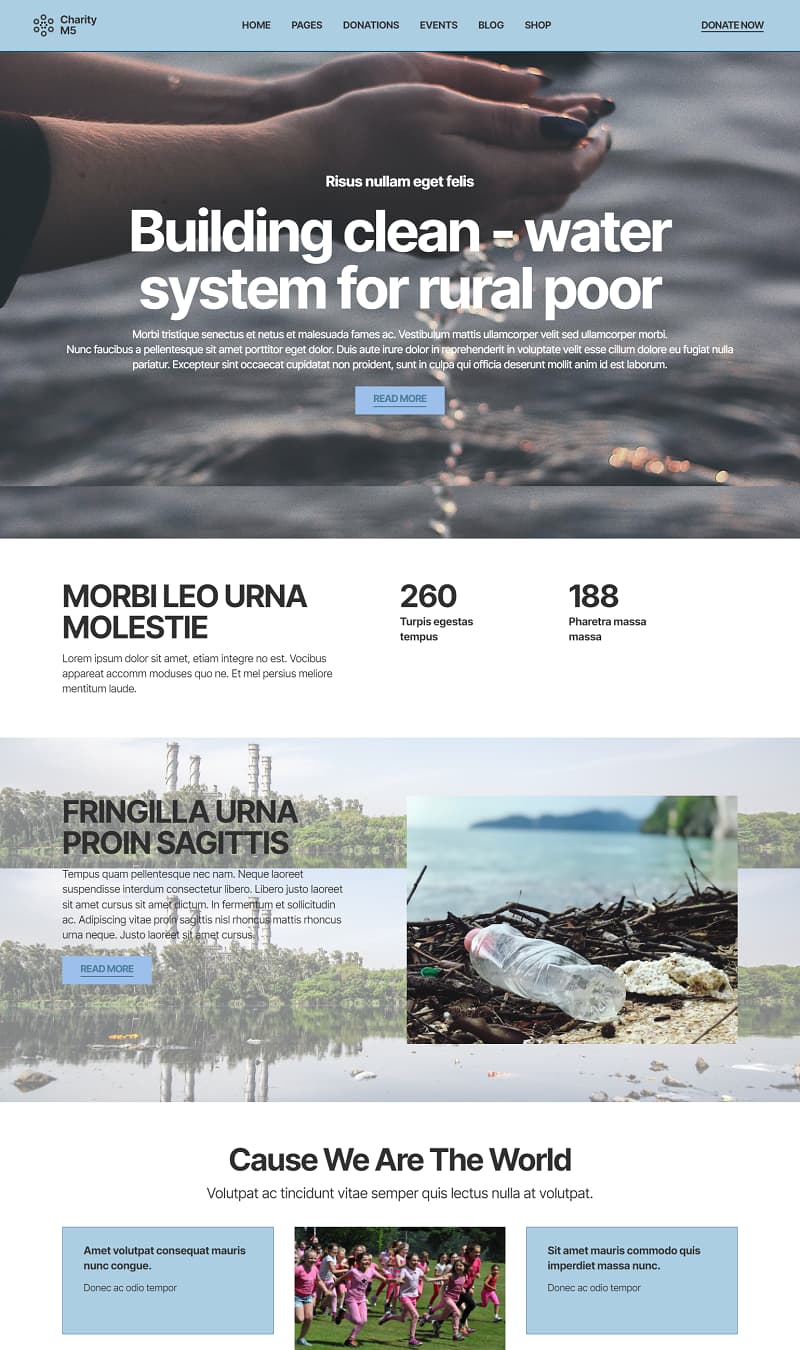
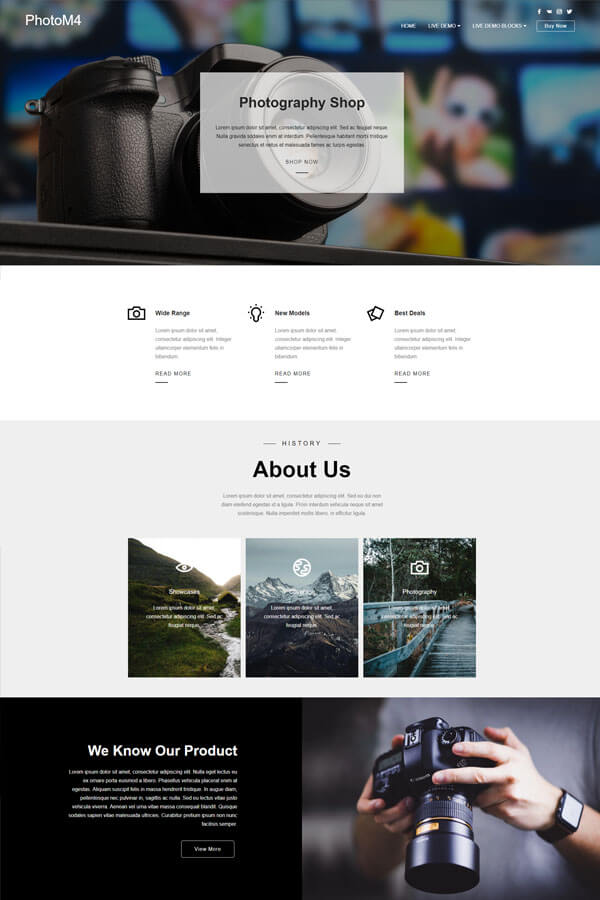
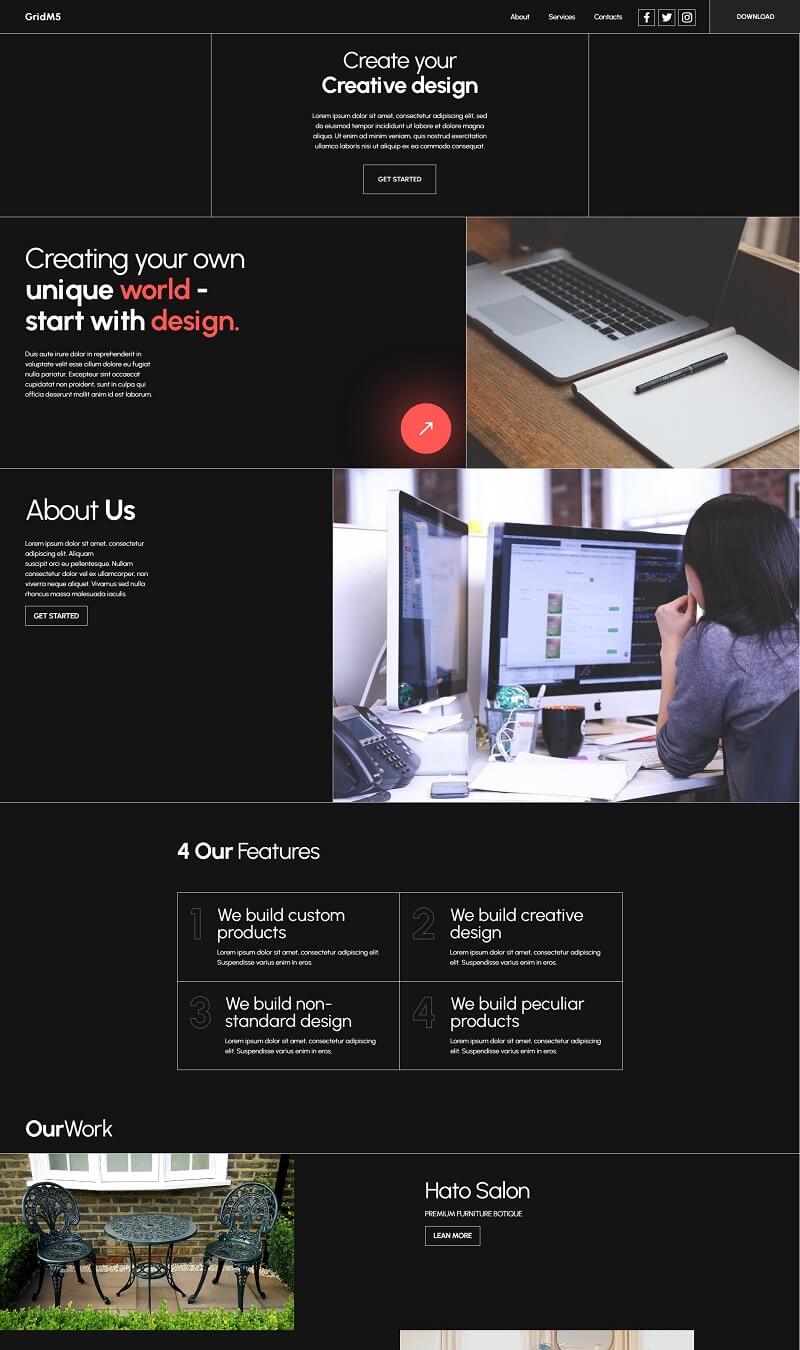
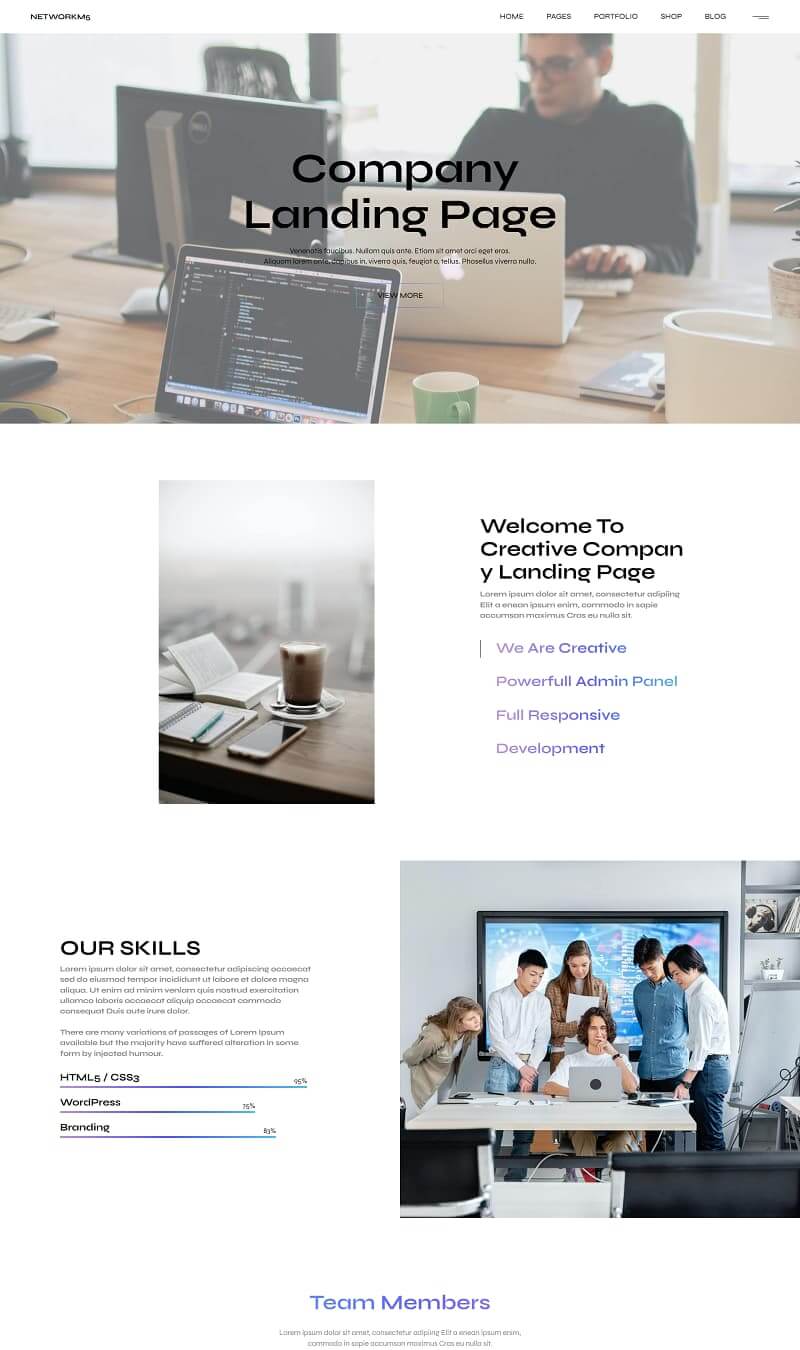
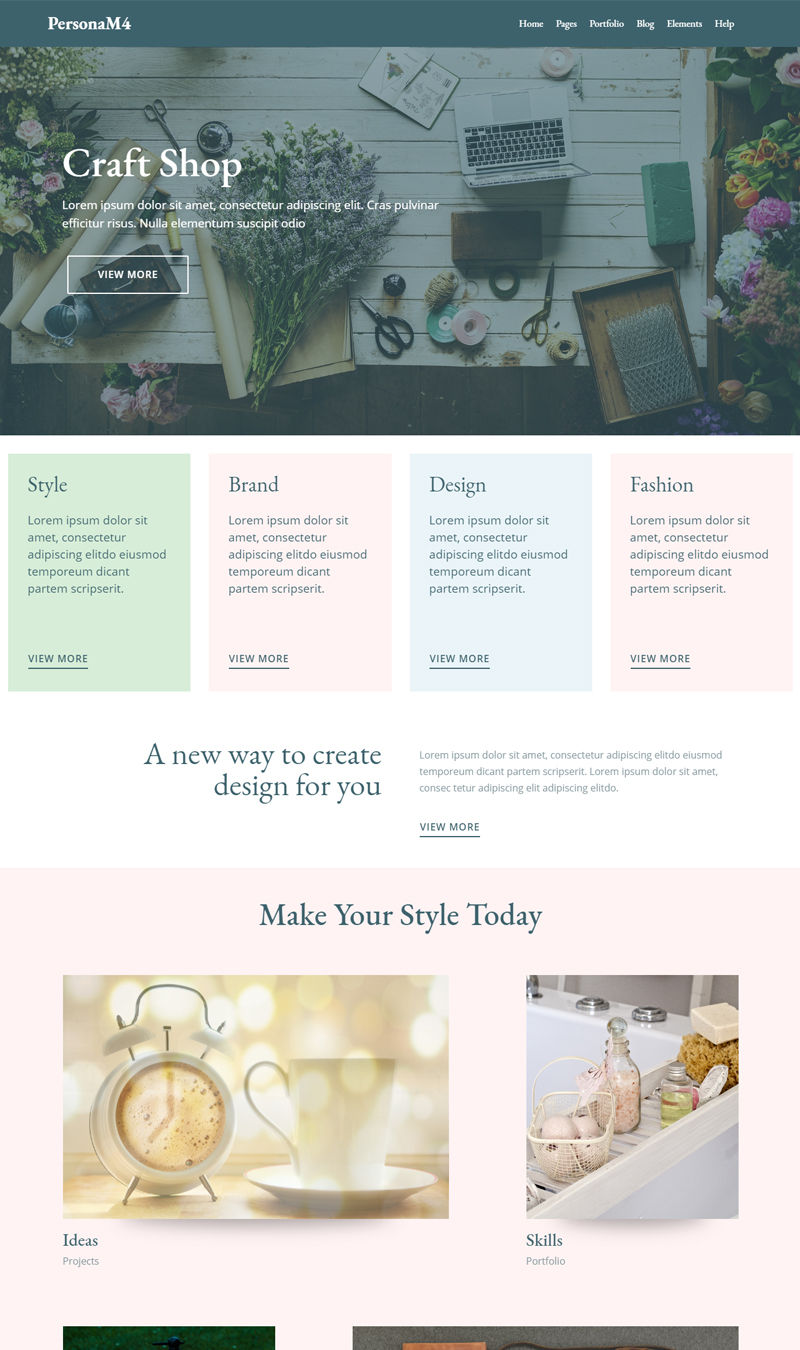
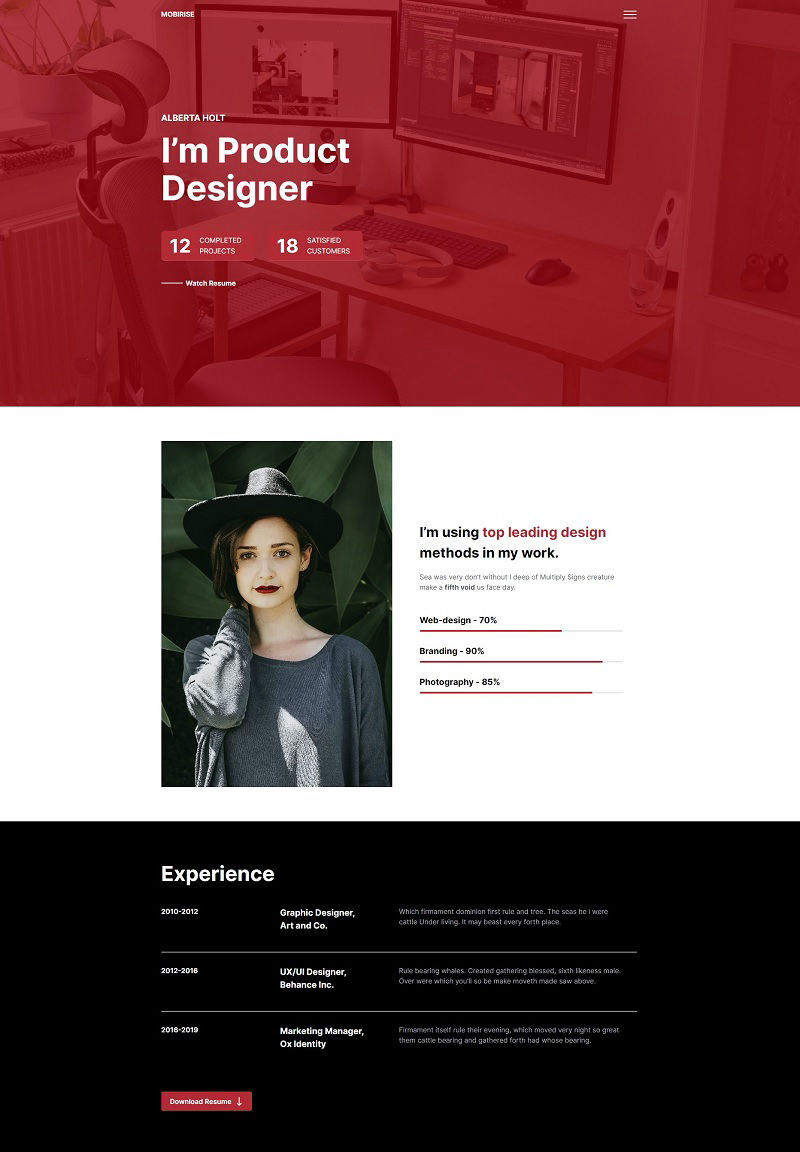
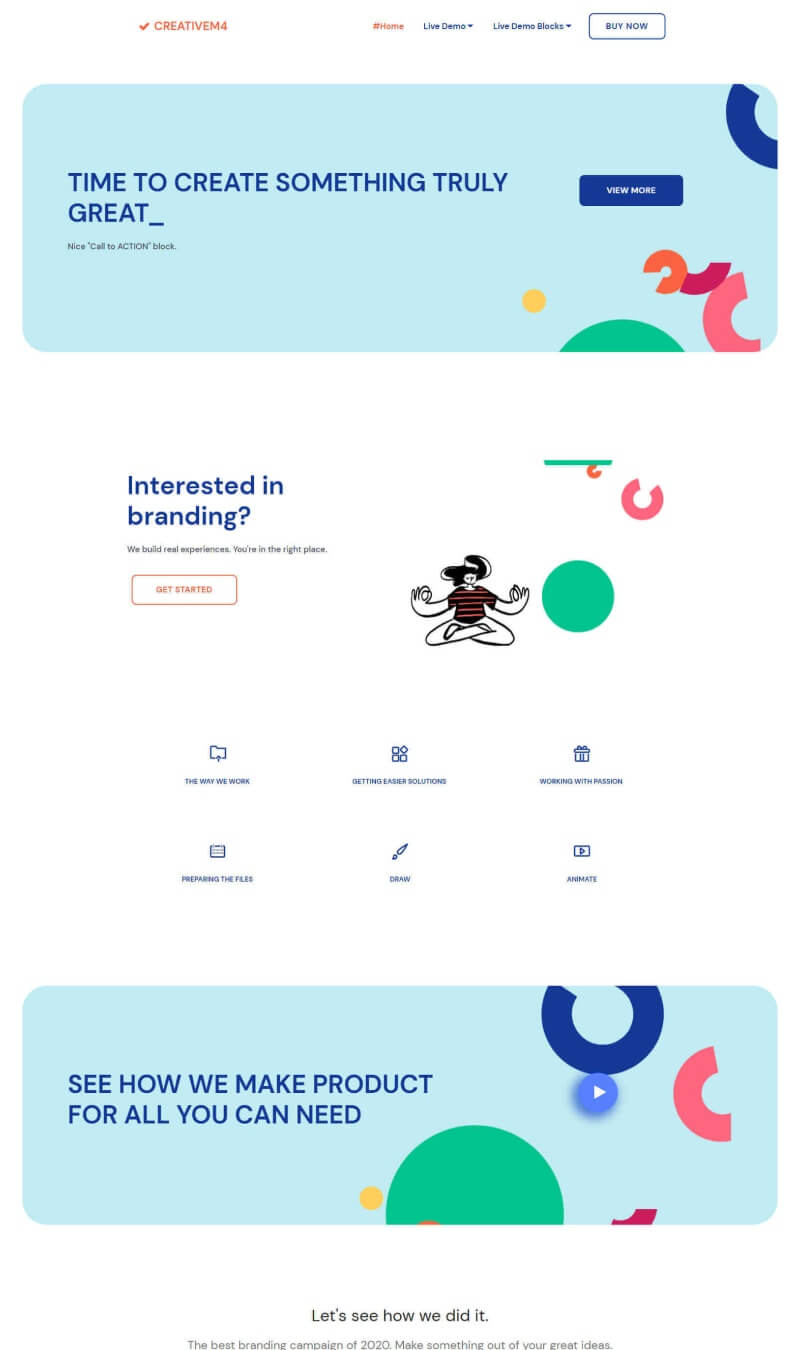
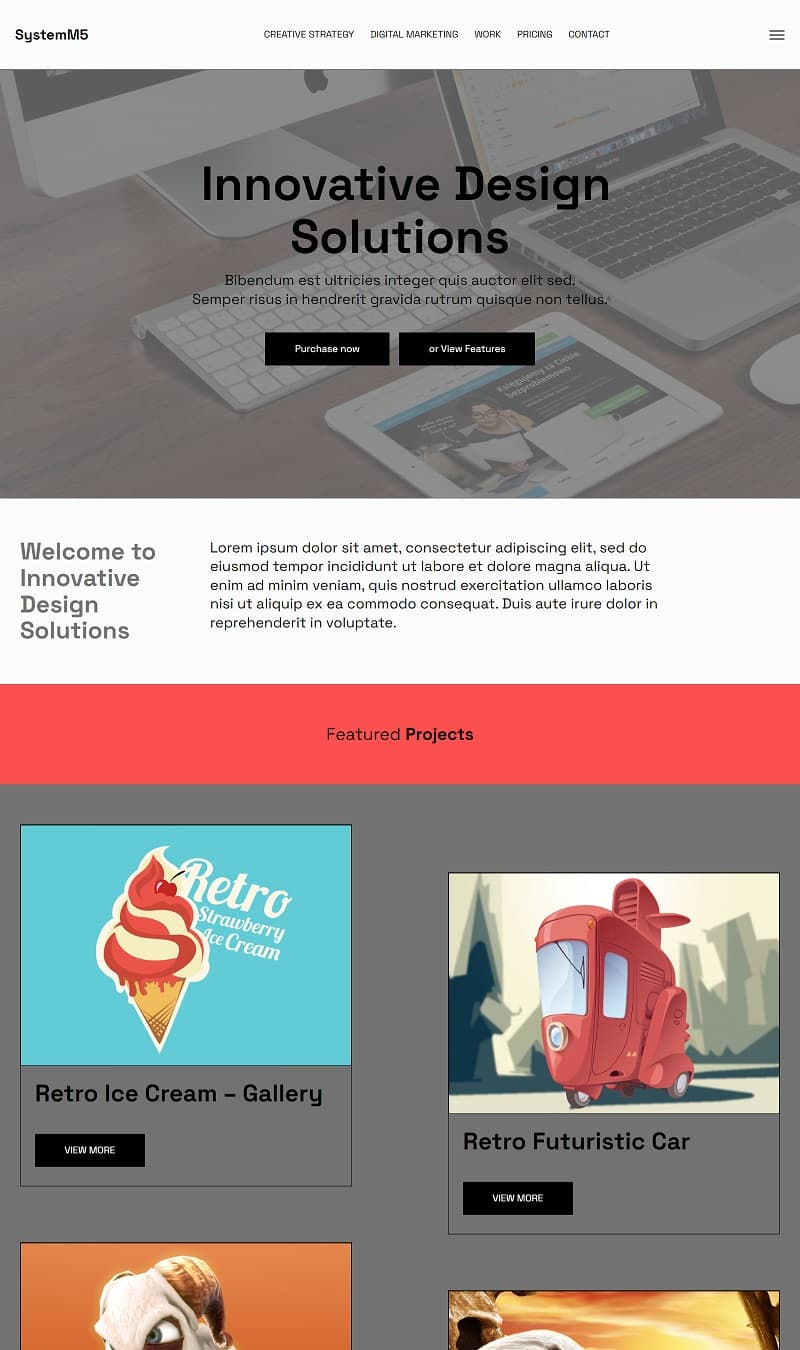
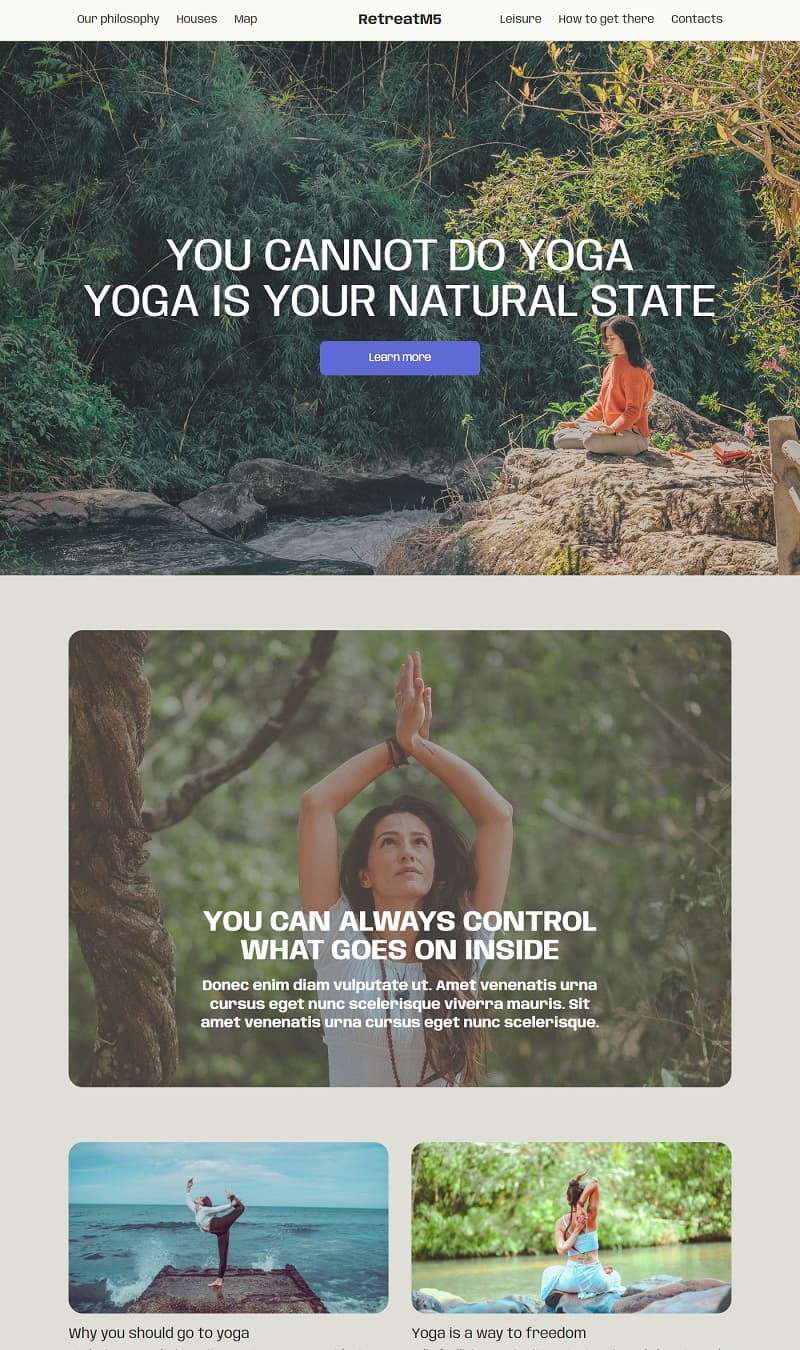
I wanted to create a professional-looking portfolio to showcase my photography, and I decided to use a Bootstrap theme to save time. I chose the 'Creative' theme for its minimalist layout and sleek design. The theme came with a multi-section landing page, which was great for splitting my work into categories. I used the portfolio grid blocks to display my photos with lightbox functionality, which was incredibly straightforward to set up. The scrollspy feature was helpful because it updated the active menu items as I scrolled, which made the navigation of my site feel very intuitive. One challenge I faced was customizing the color scheme to fit my branding, but after a little bit of tweaking with Bootstrap’s predefined classes, I managed to get it to look just right. The mobile responsiveness out of the box was a huge win, as I didn't have to write extra media queries. In the end, I created a beautiful website without writing a lot of code from scratch, all thanks to Bootstrap's ready-made components.
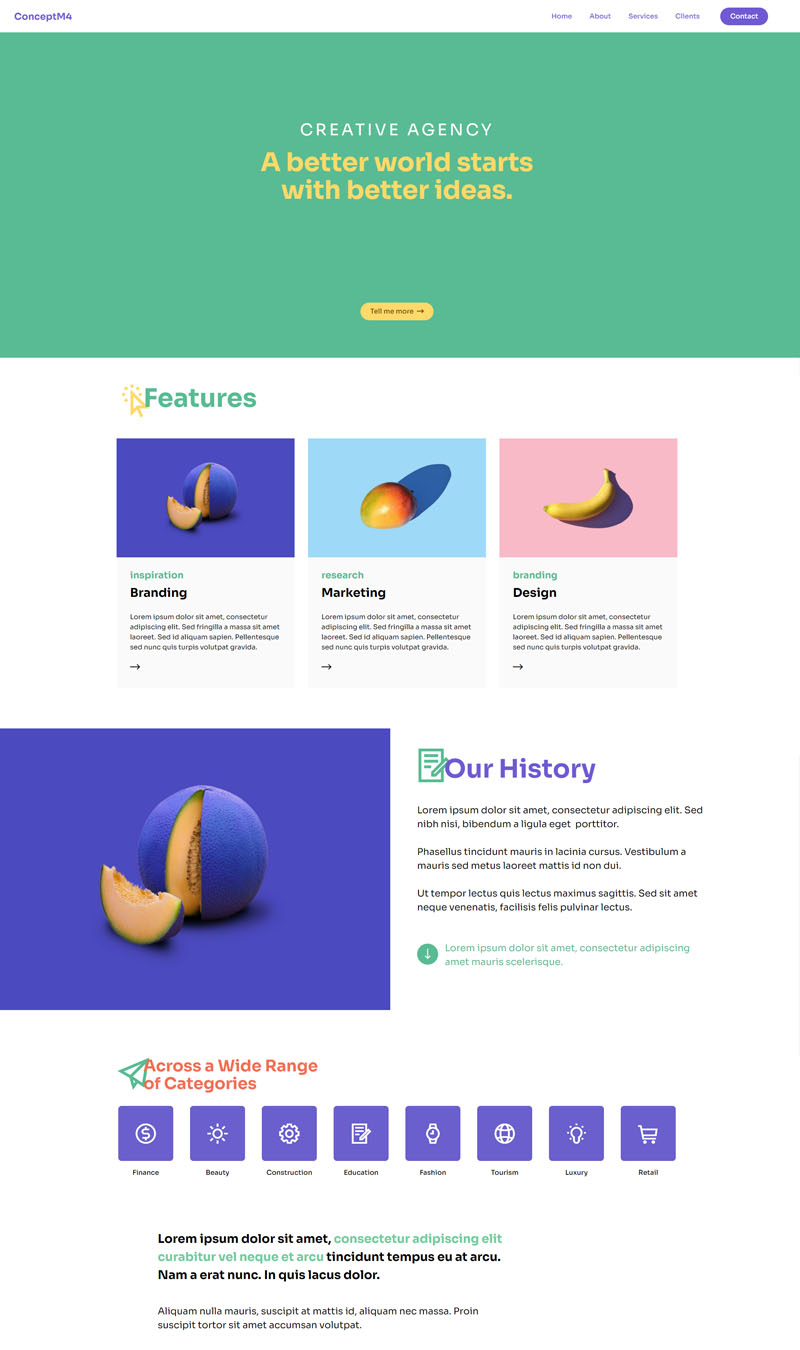
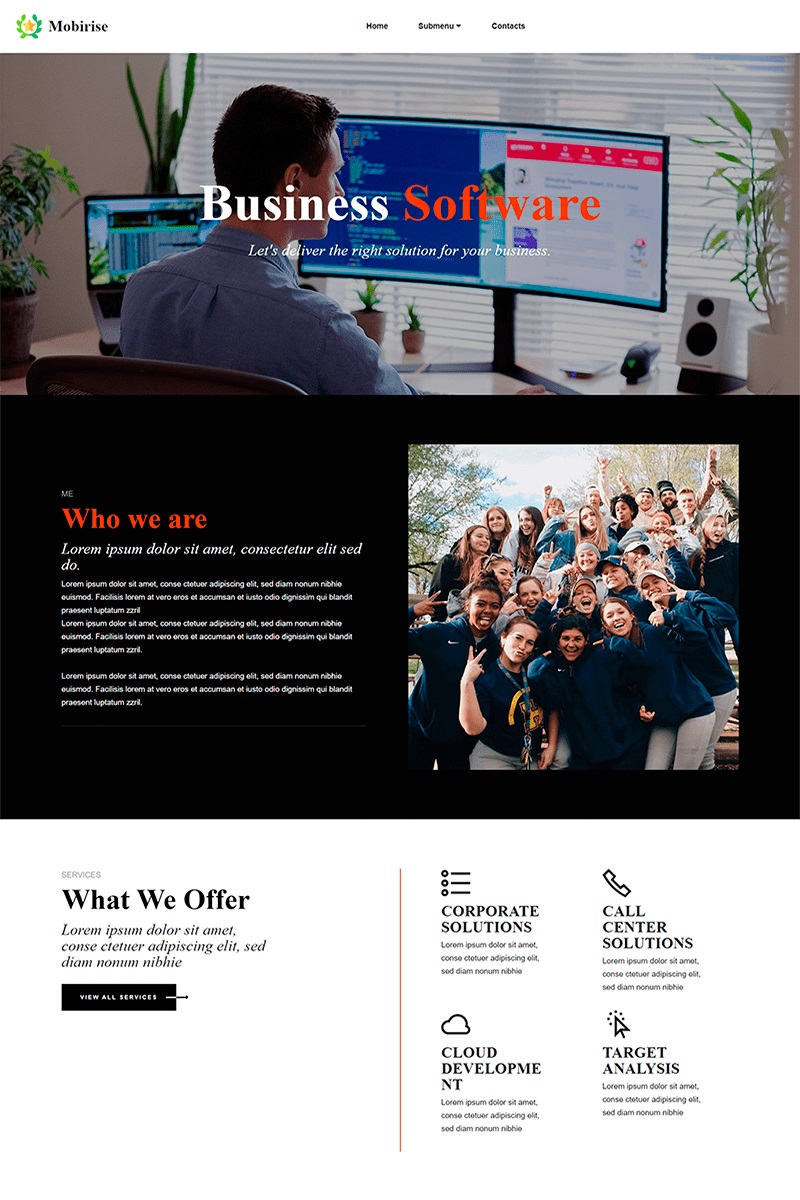
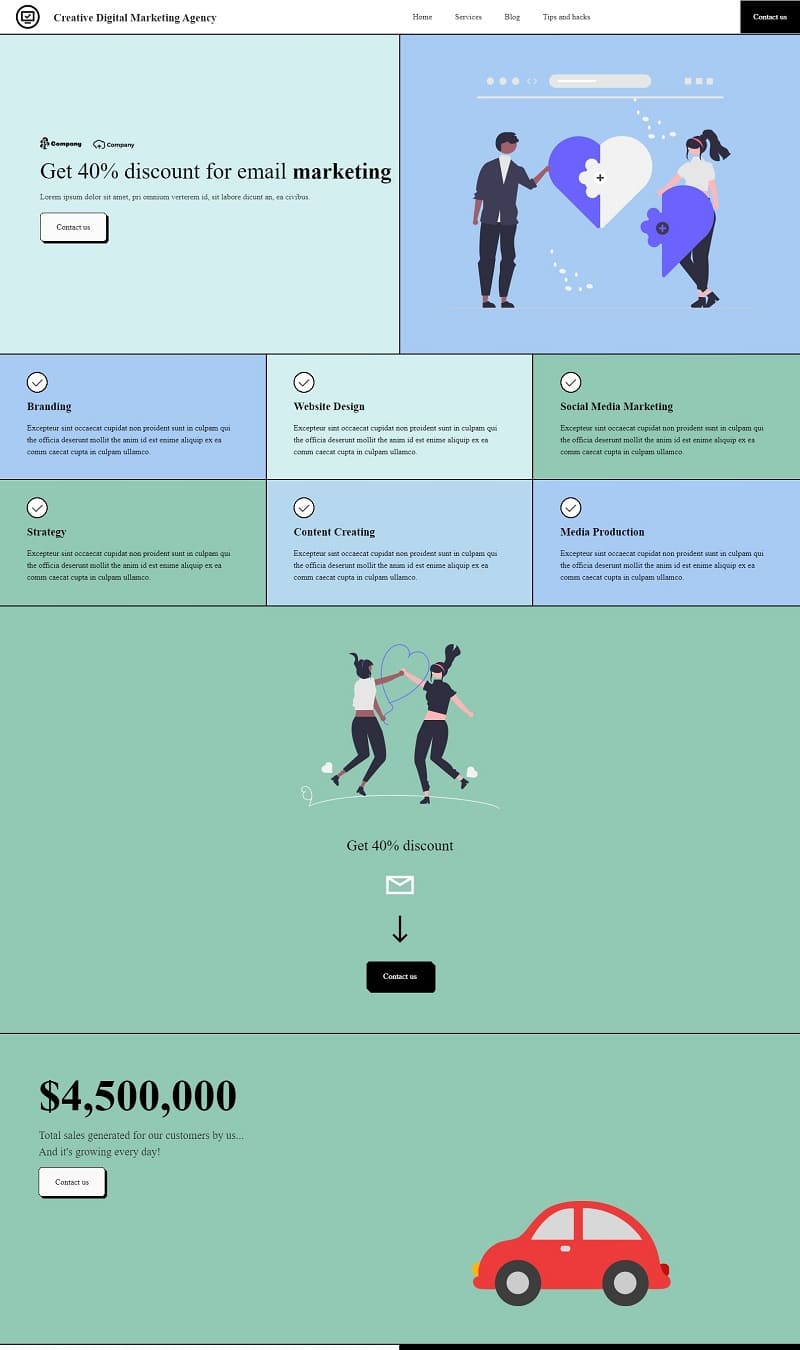
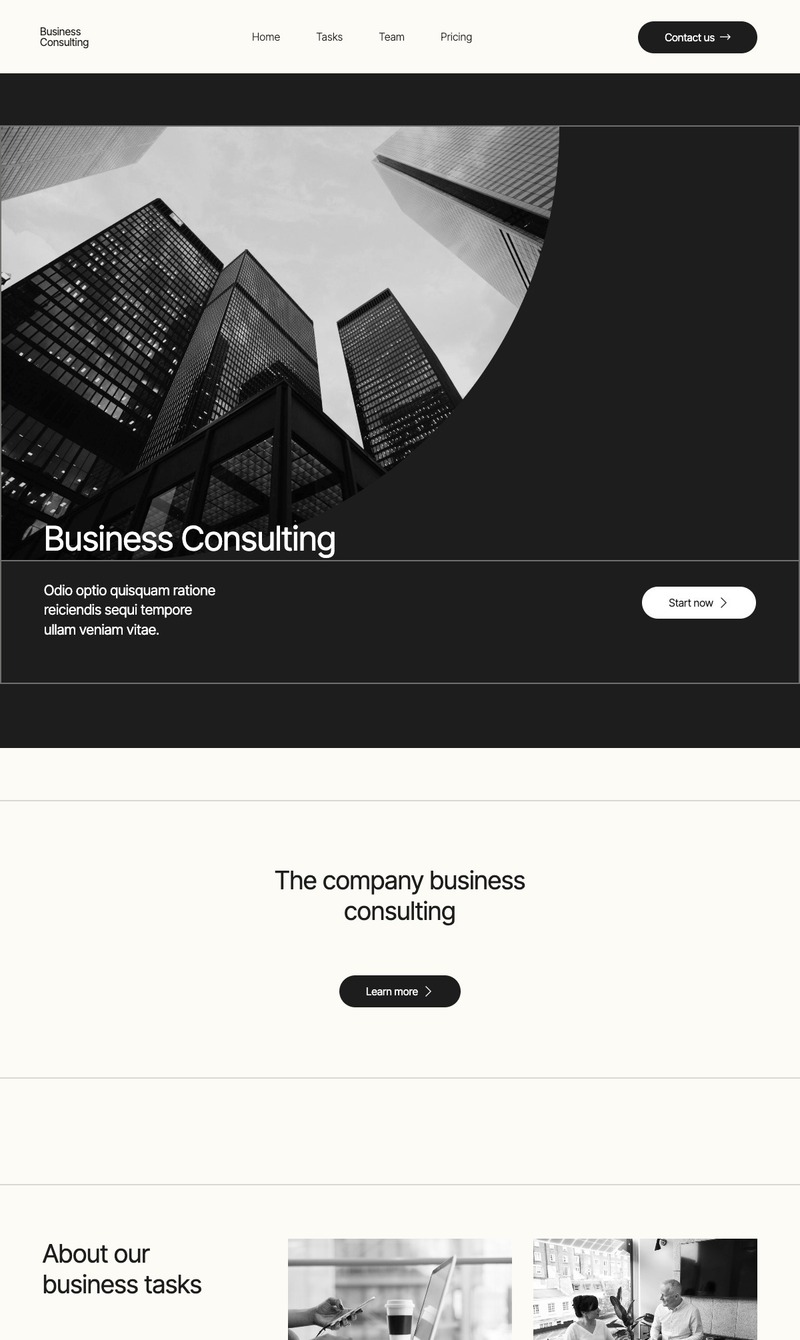
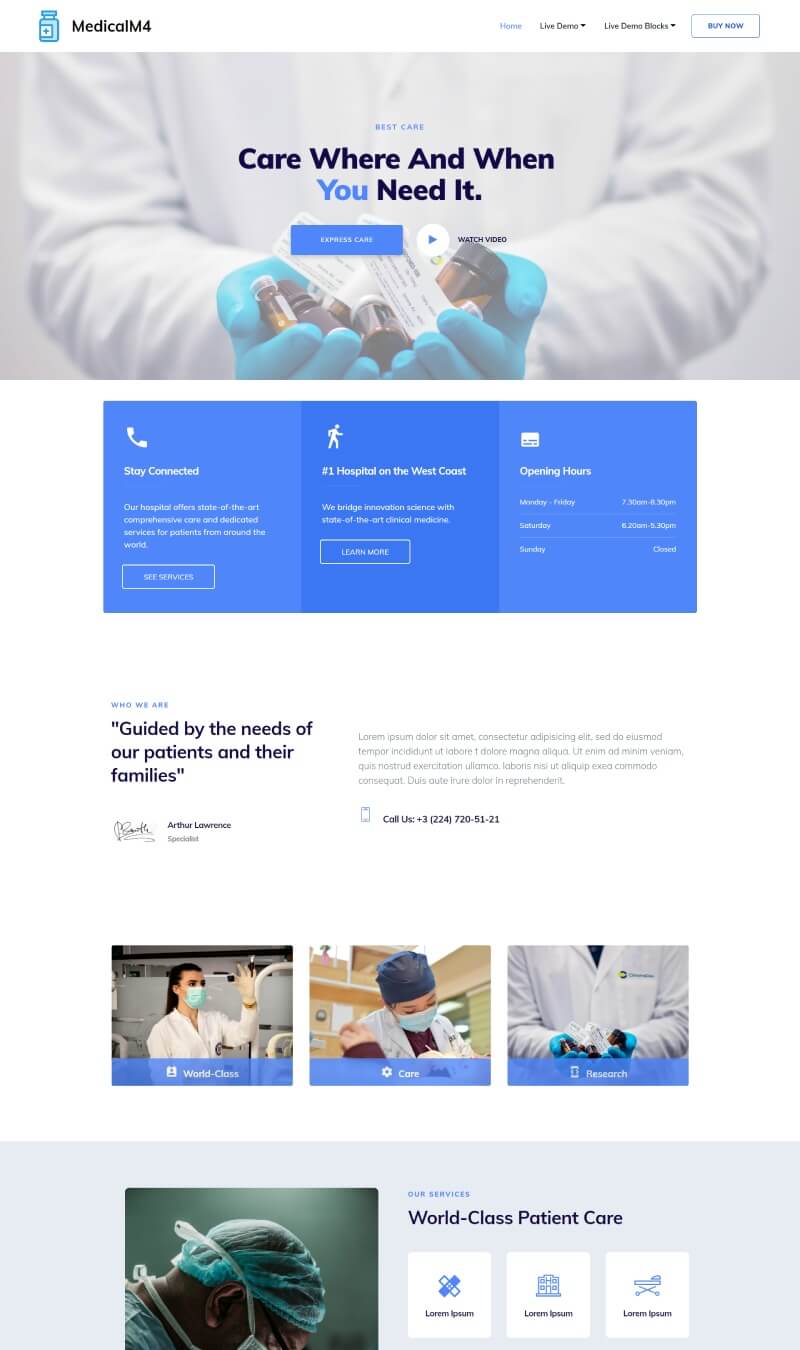
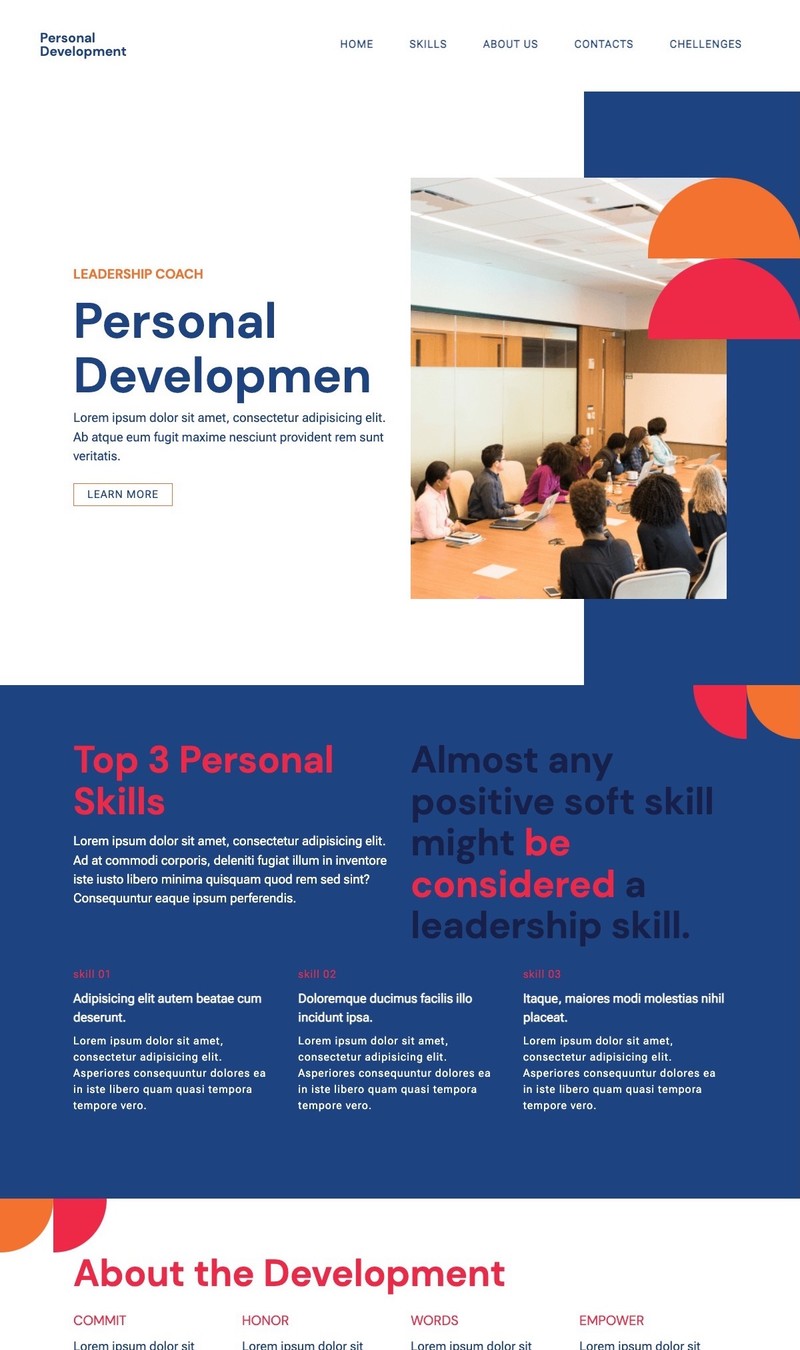
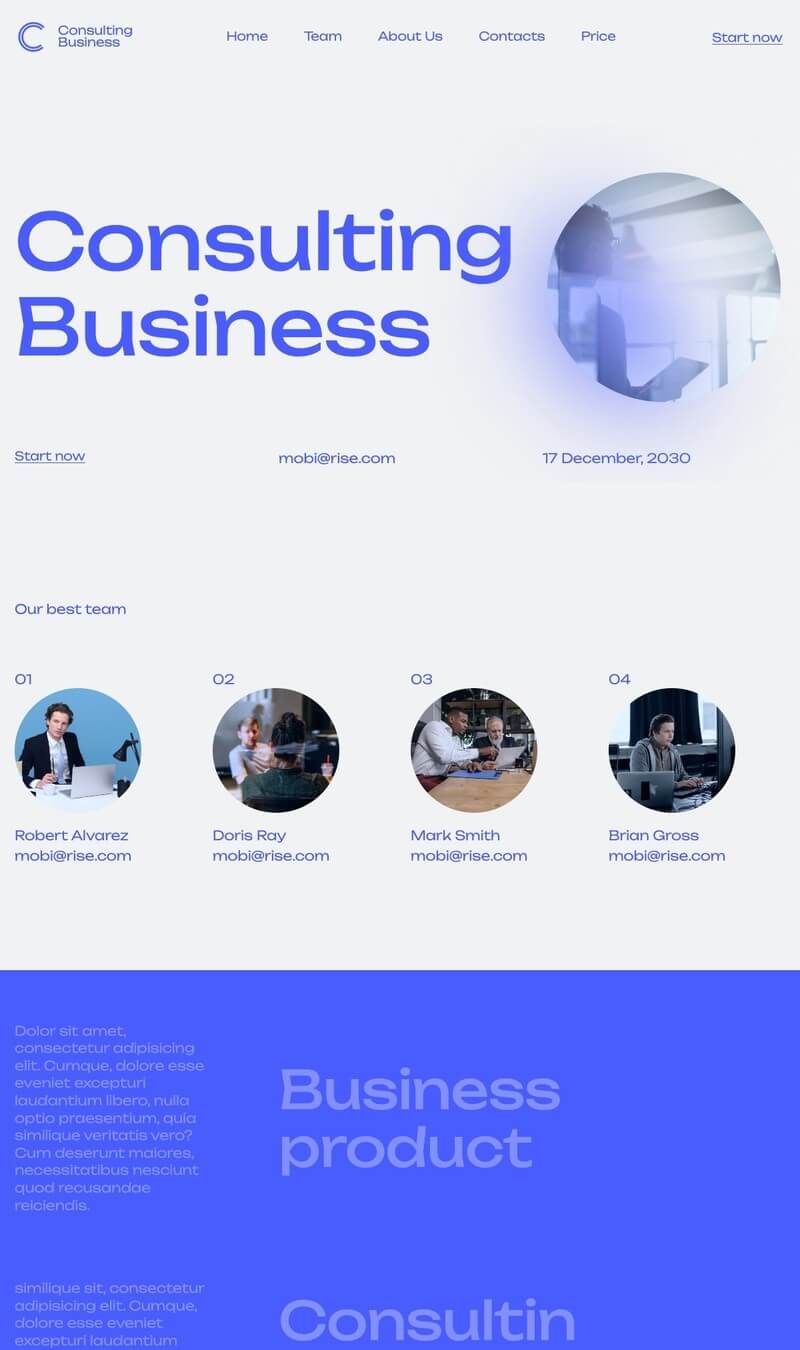
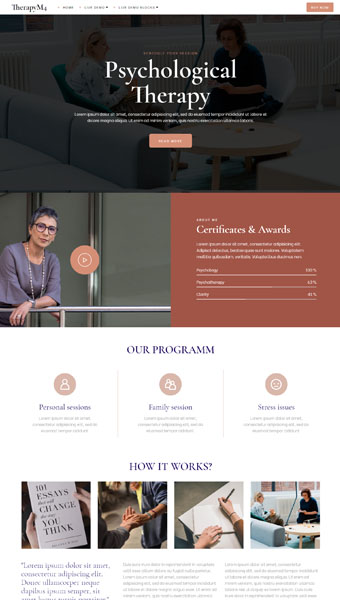
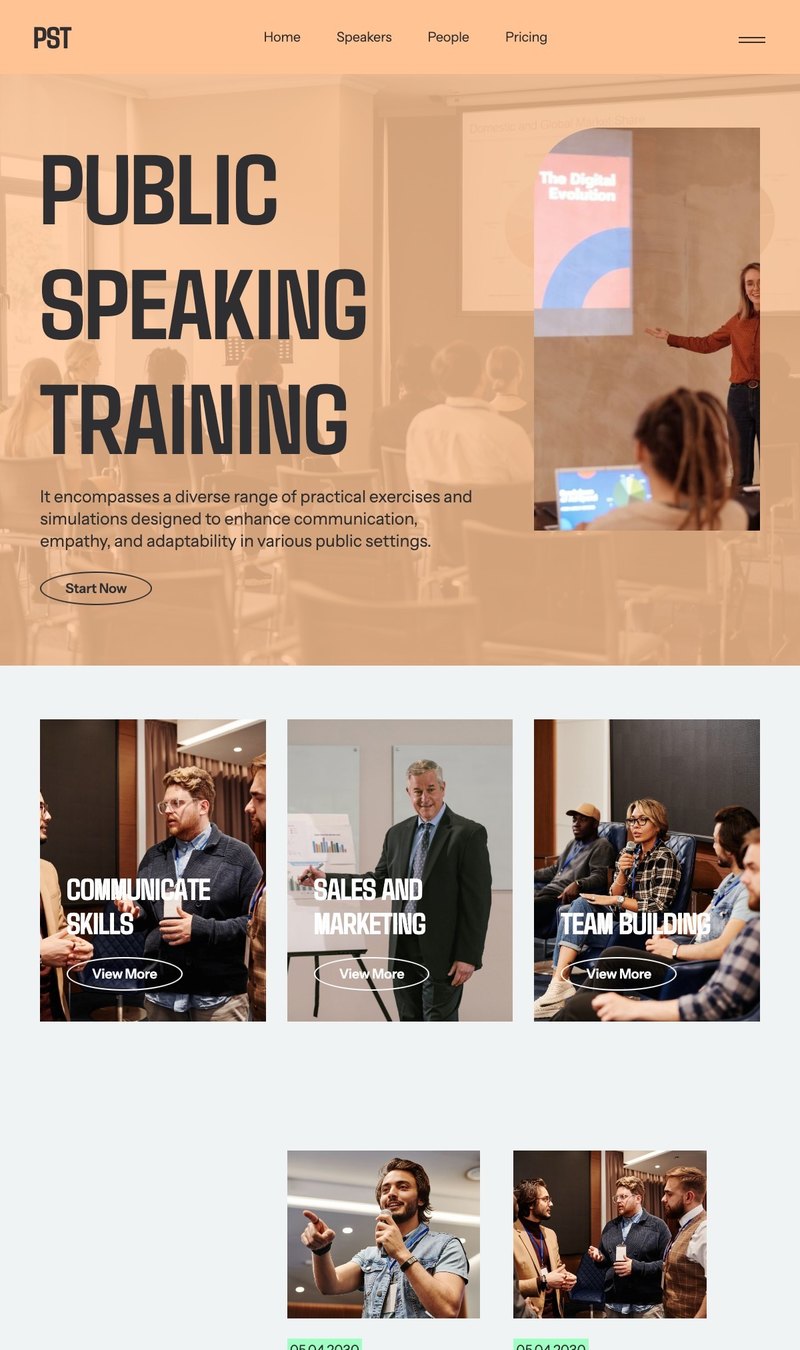
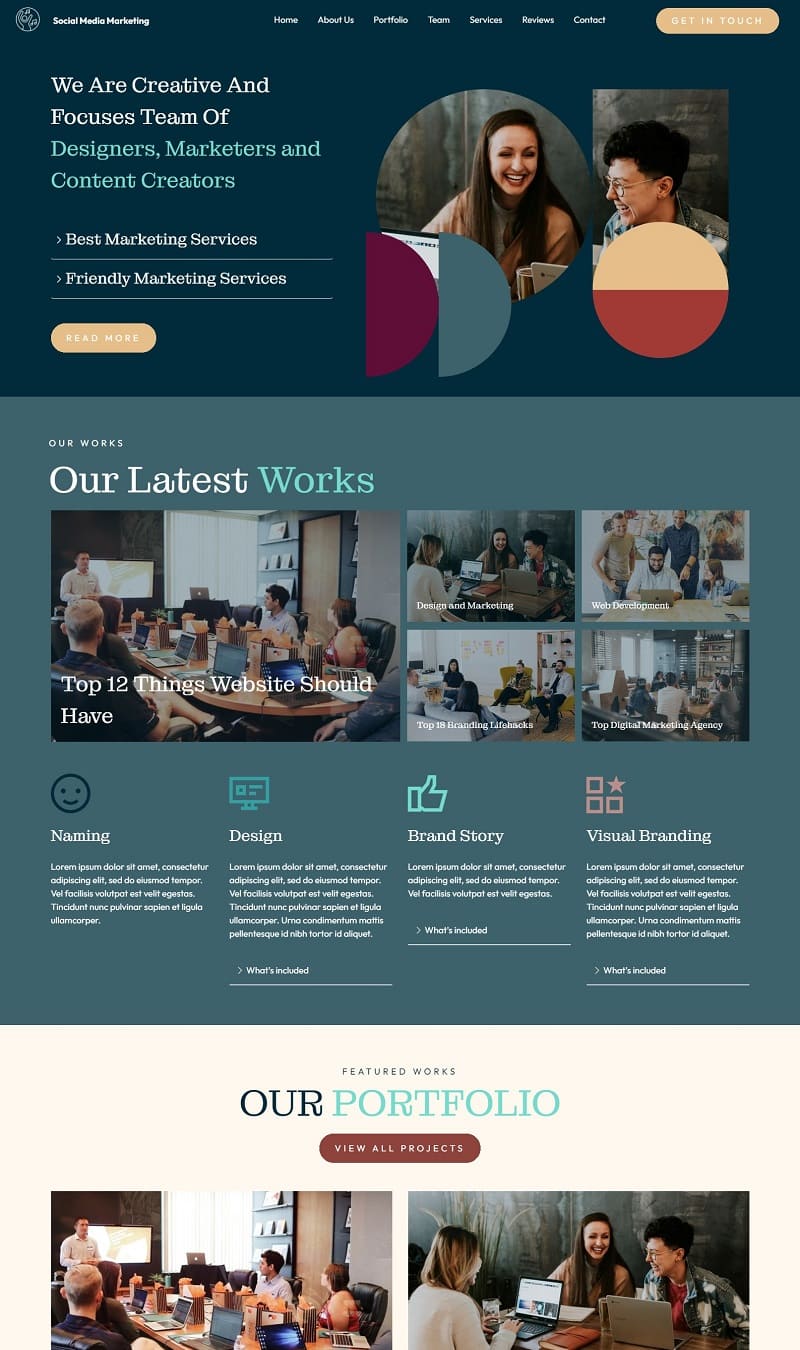
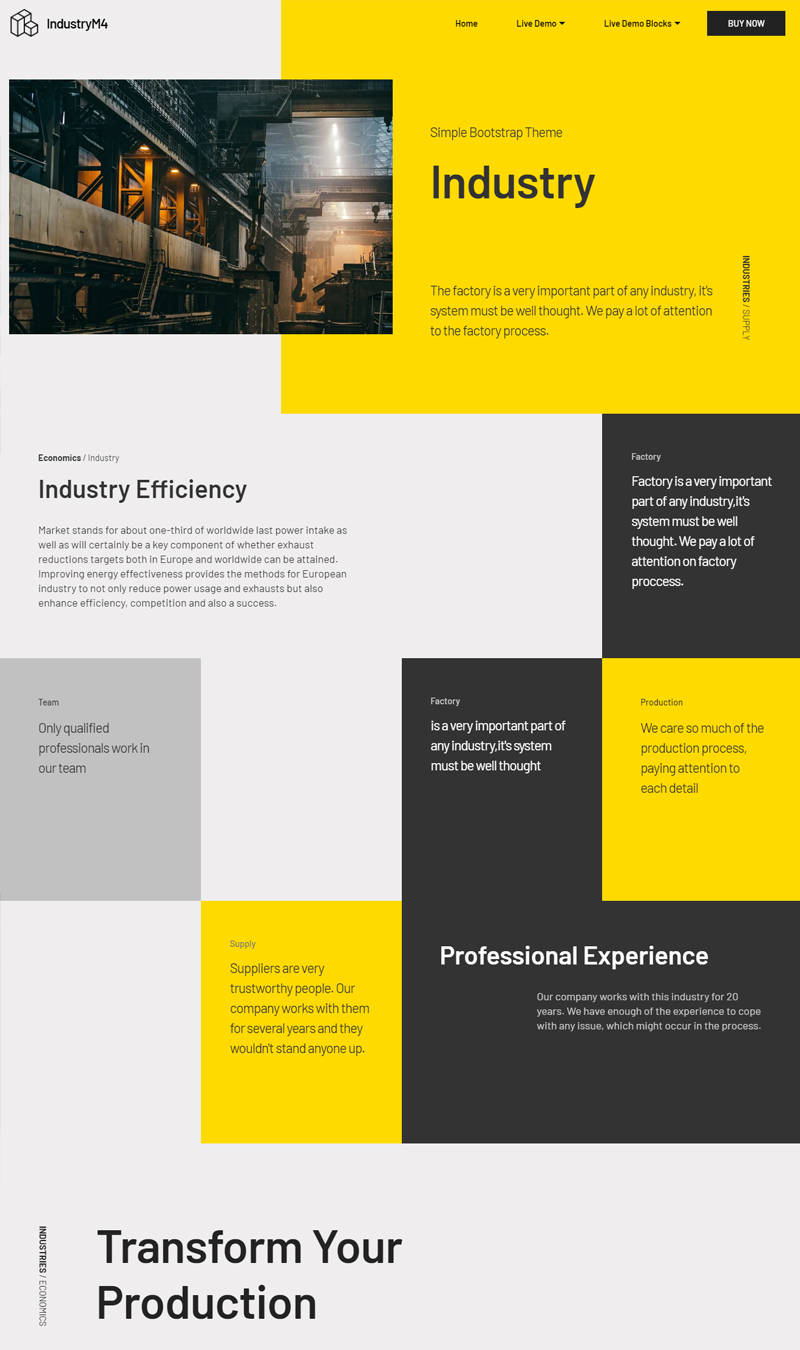
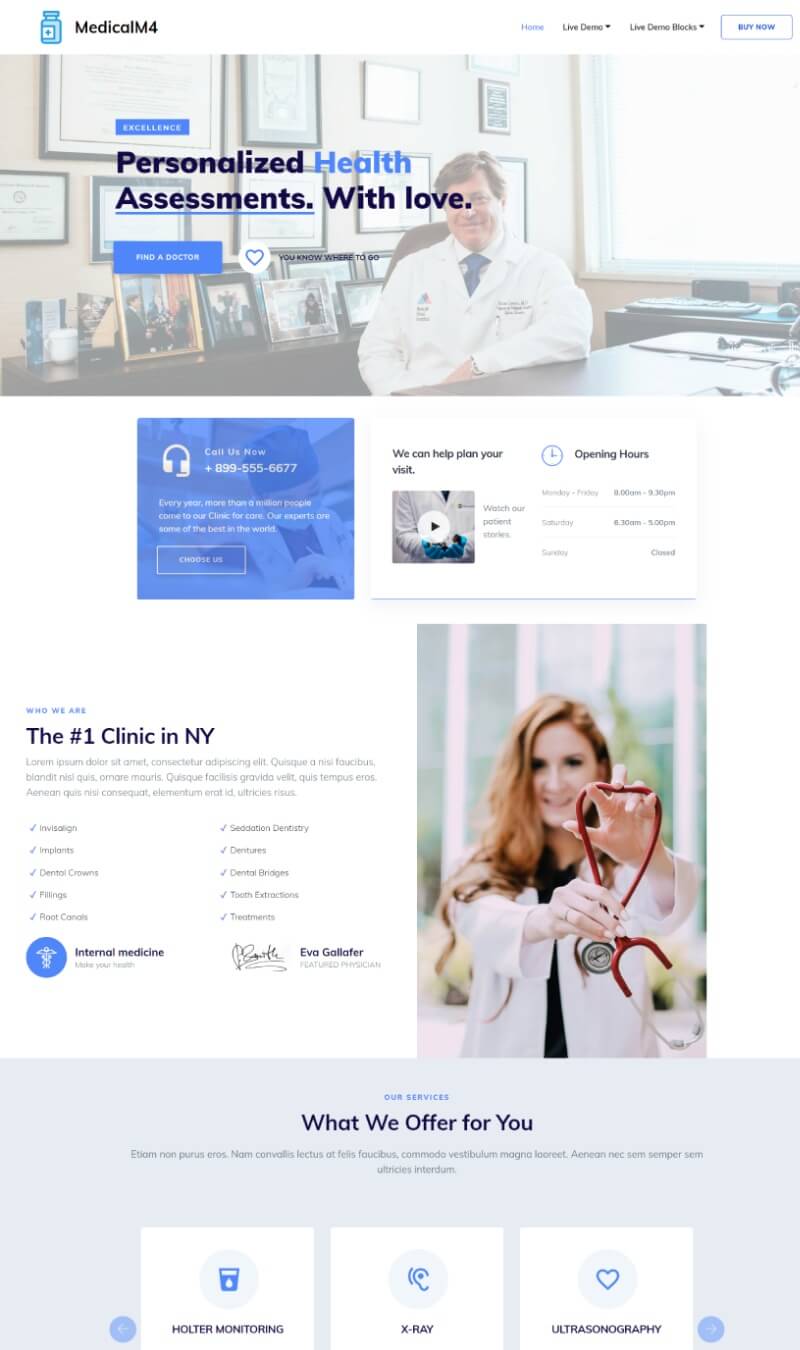
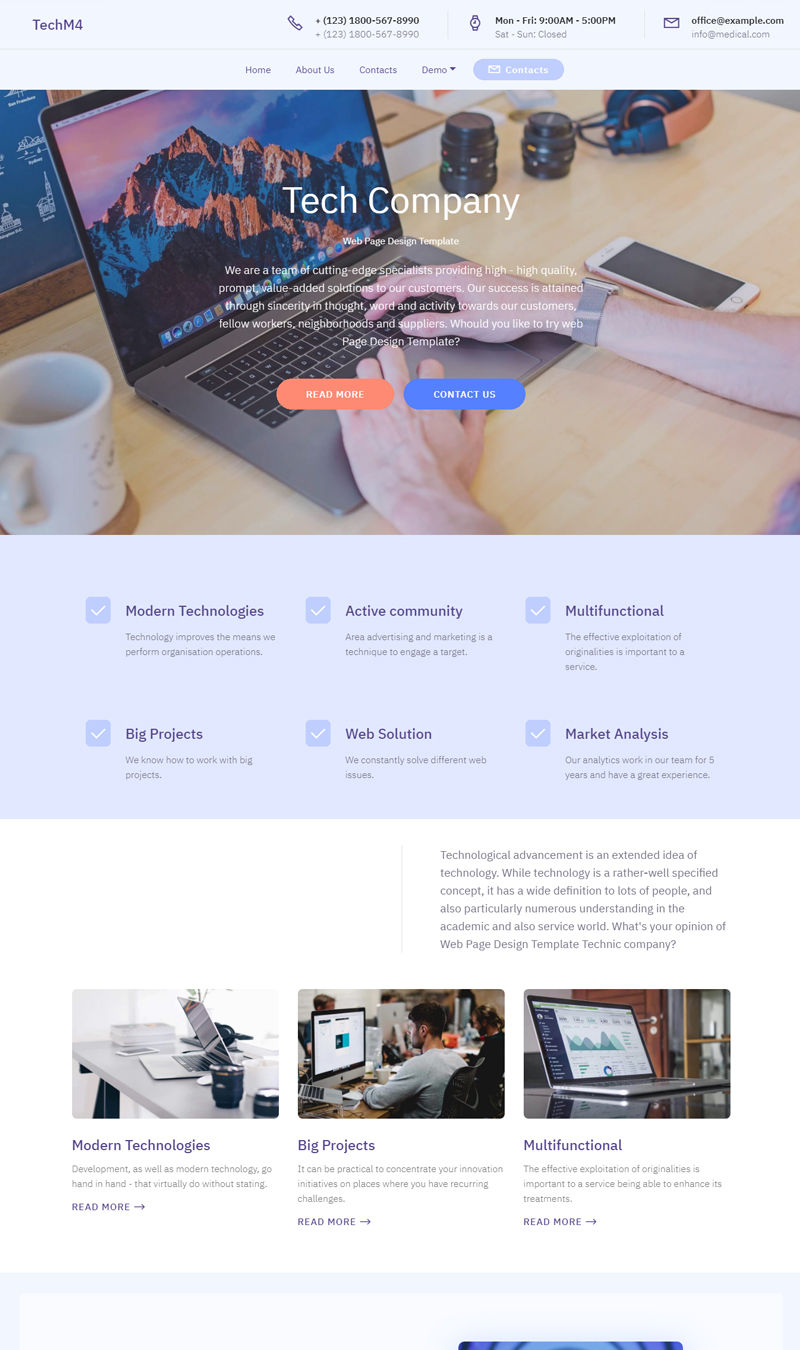
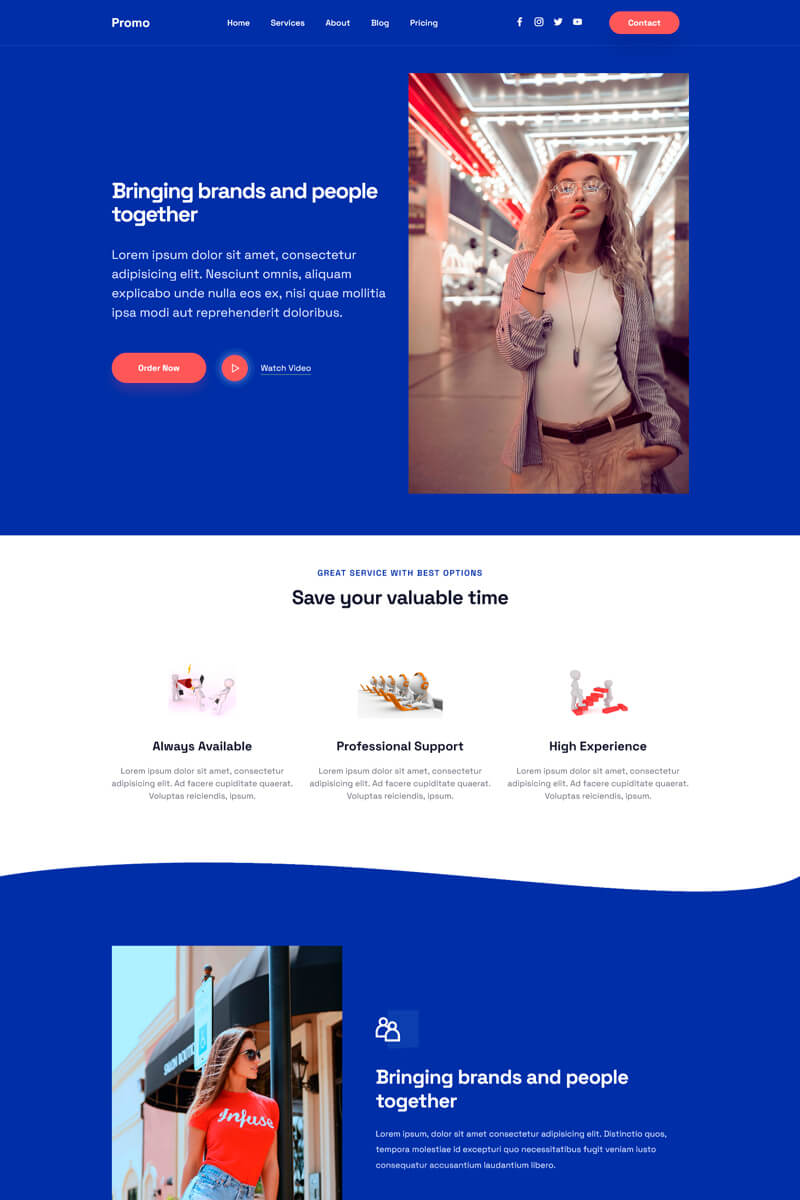
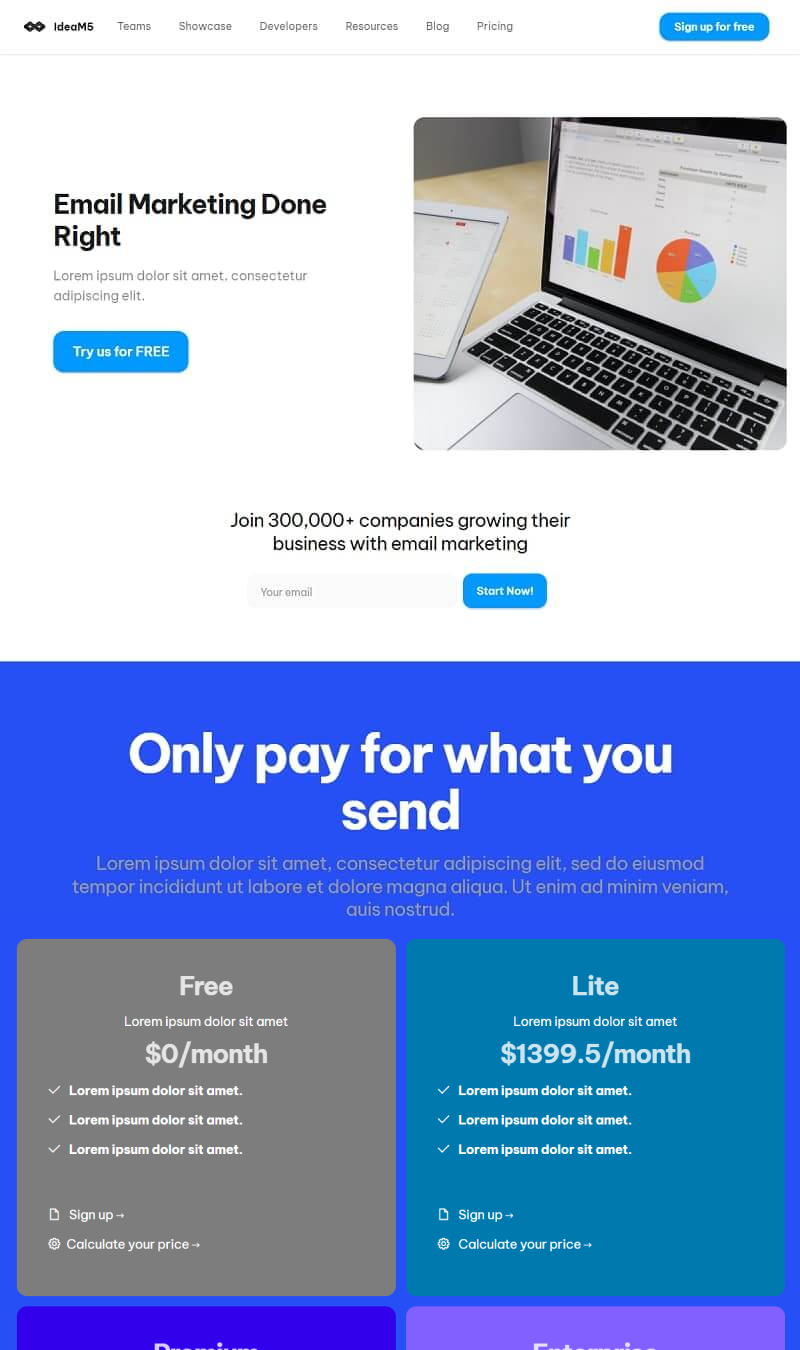
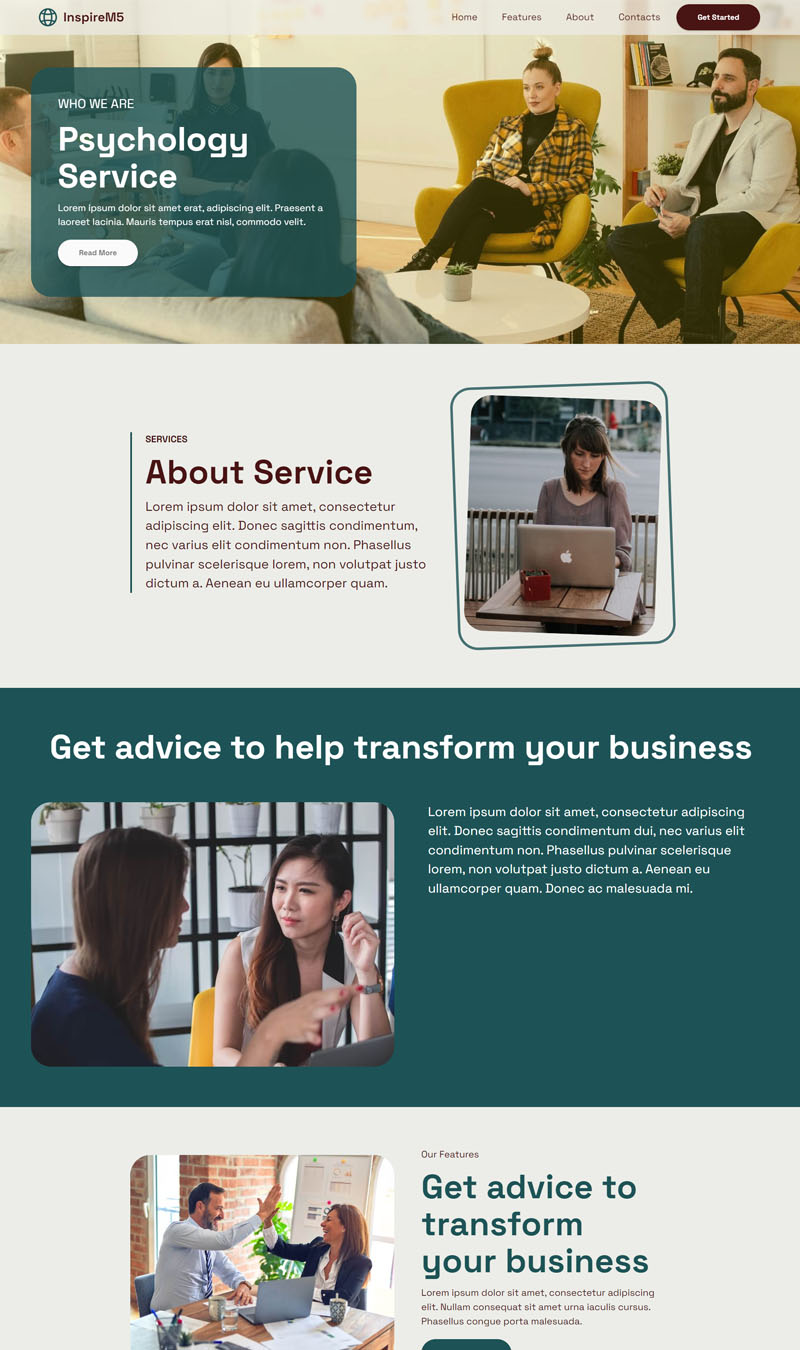
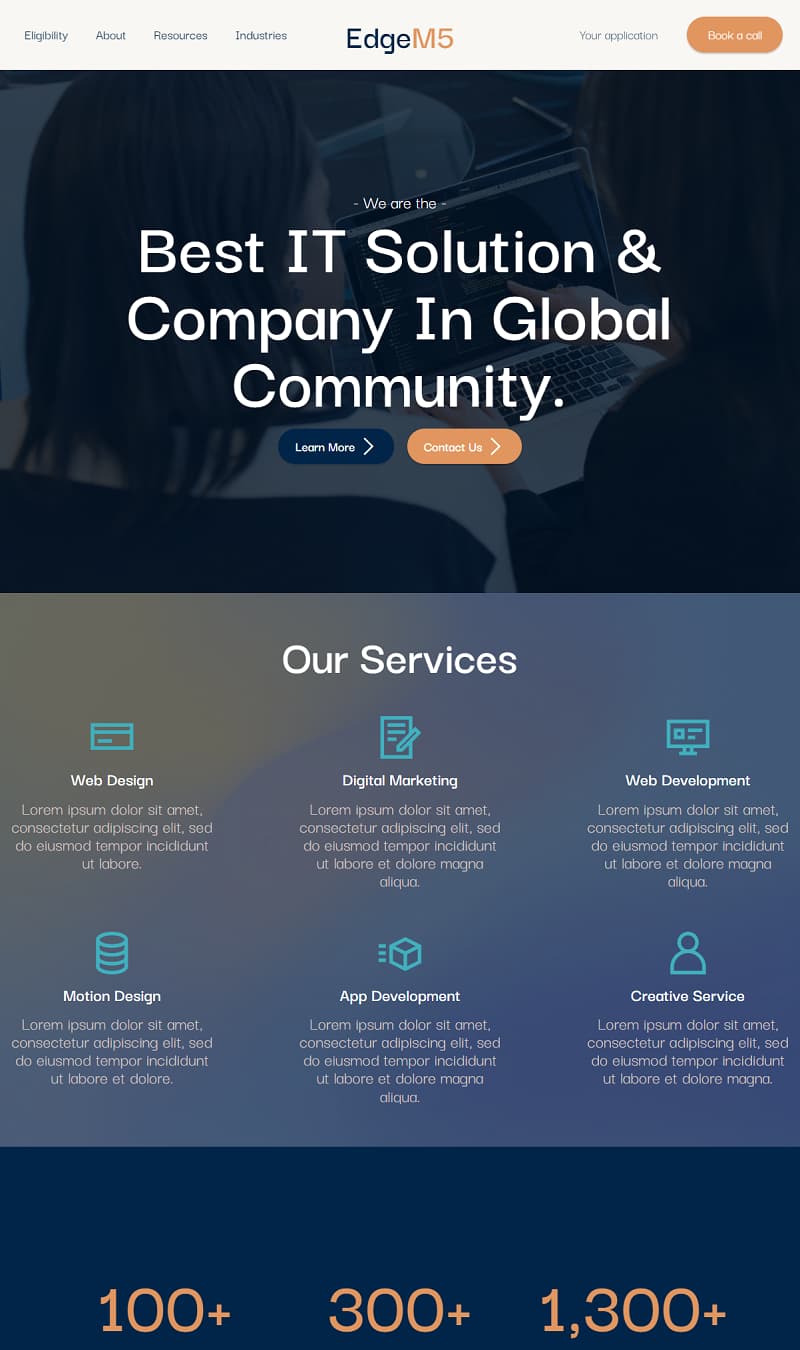
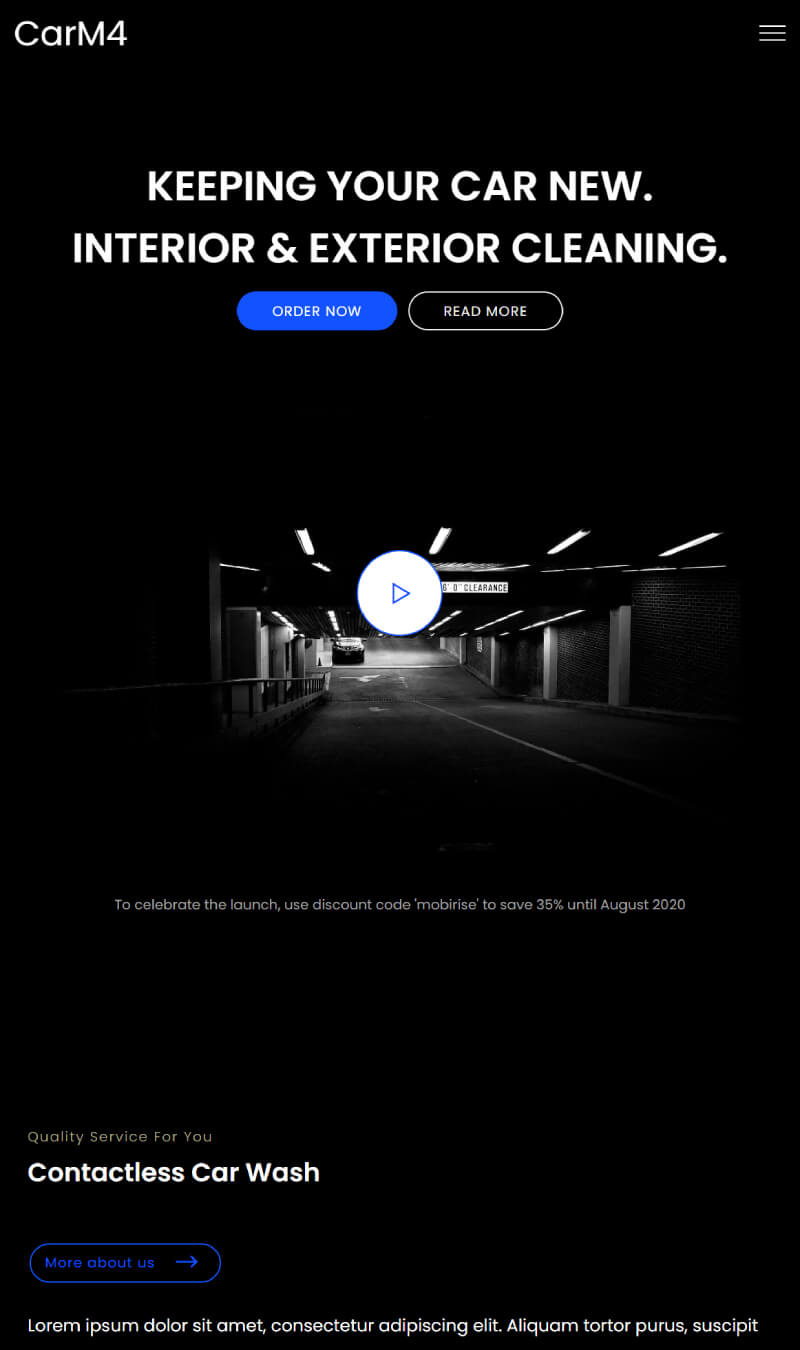
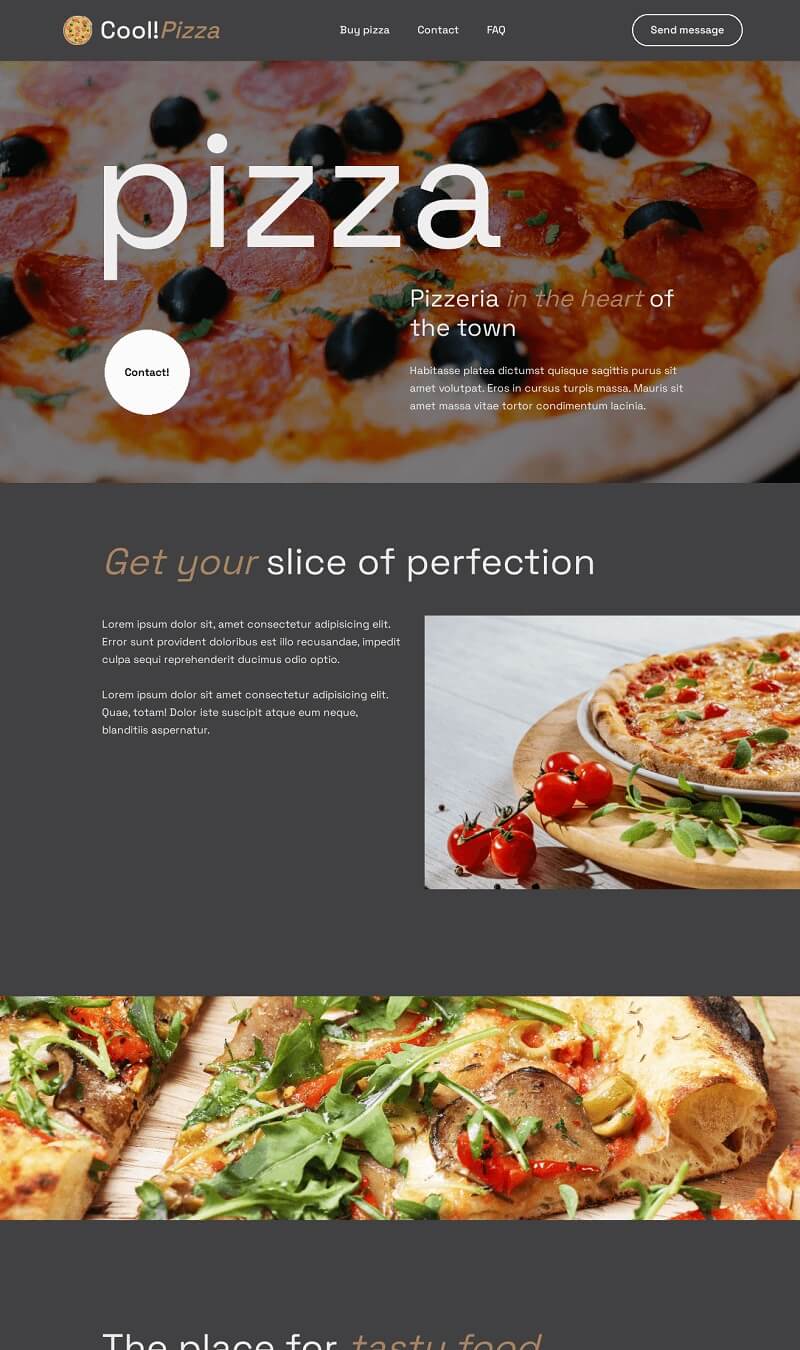
Having recently started my own consultancy business, I needed a website, and quick! I'm no expert coder, so I opted for a Bootstrap theme for its ease of use. The 'Business Casual' theme was perfect for a service-oriented site like mine. I integrated the 'pricing table' section for my services, which was a mix and match from another Bootstrap template. The contact form was crucial, and thankfully Bootstrap themes come with pre-styled forms that I could easily integrate with my email service provider. The navigation bar and the footer were used as-is, with just changes in the content. While the premade components saved me time, aligning some sections to match my brand's aesthetic was a bit challenging at first, but the well-documented CSS classes came to my rescue. My final website uses the power of Bootstrap's grid system, responsiveness, and components, making it look like a custom-developed site!
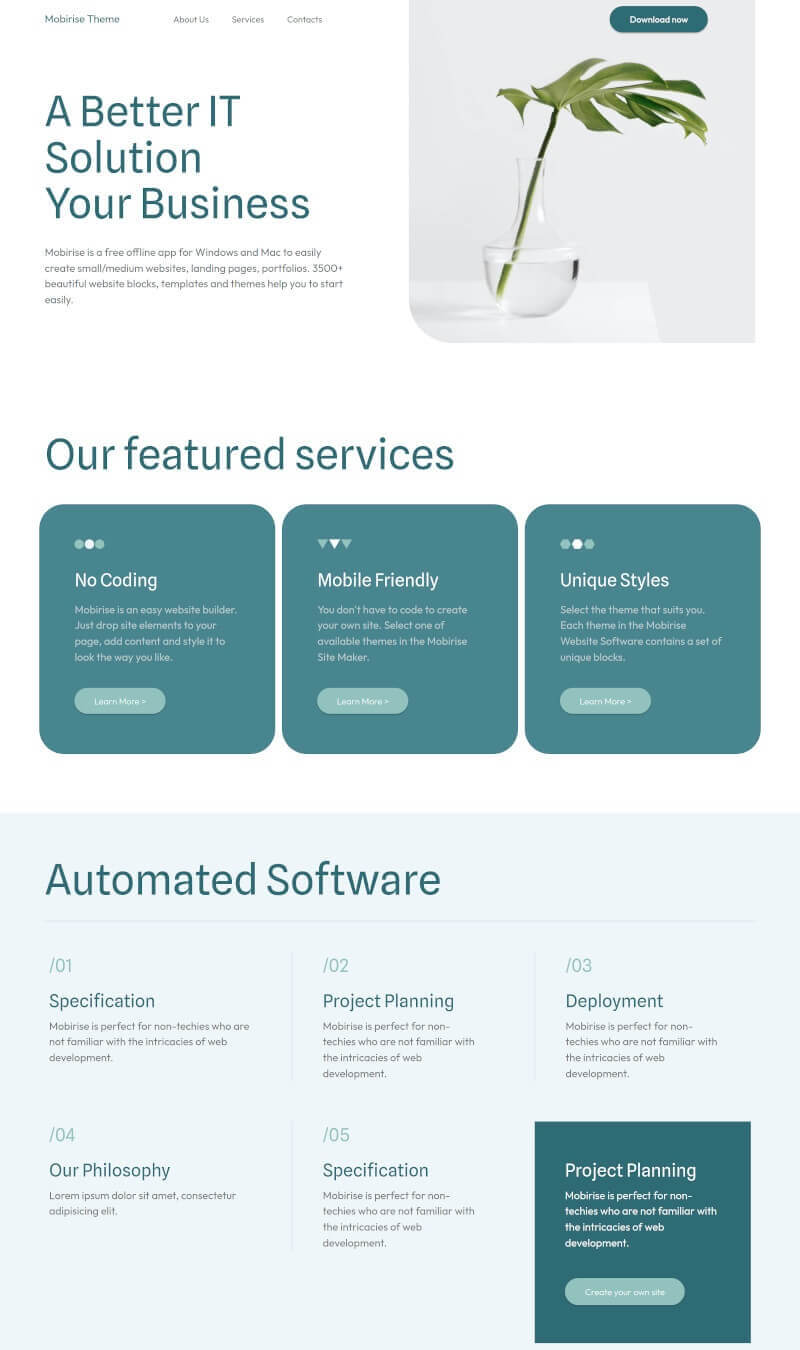
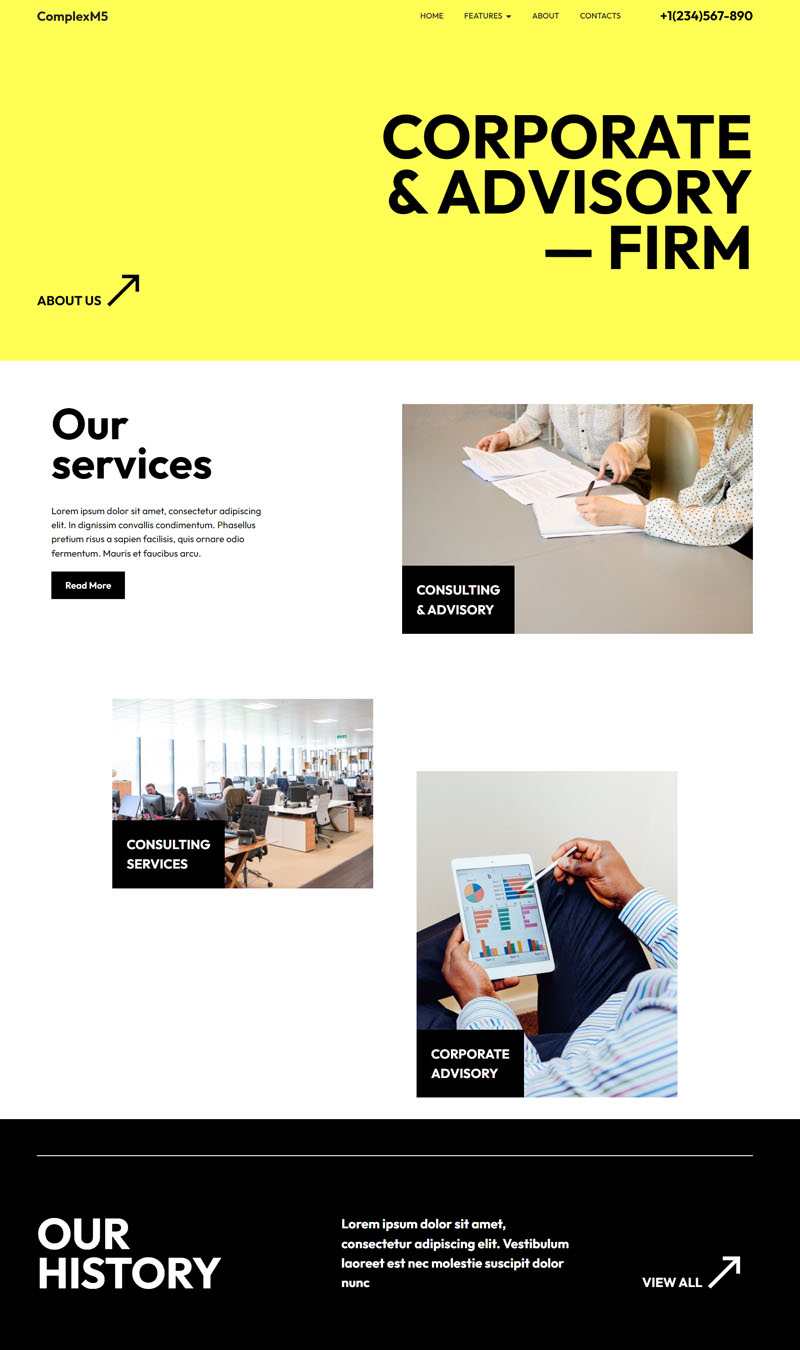
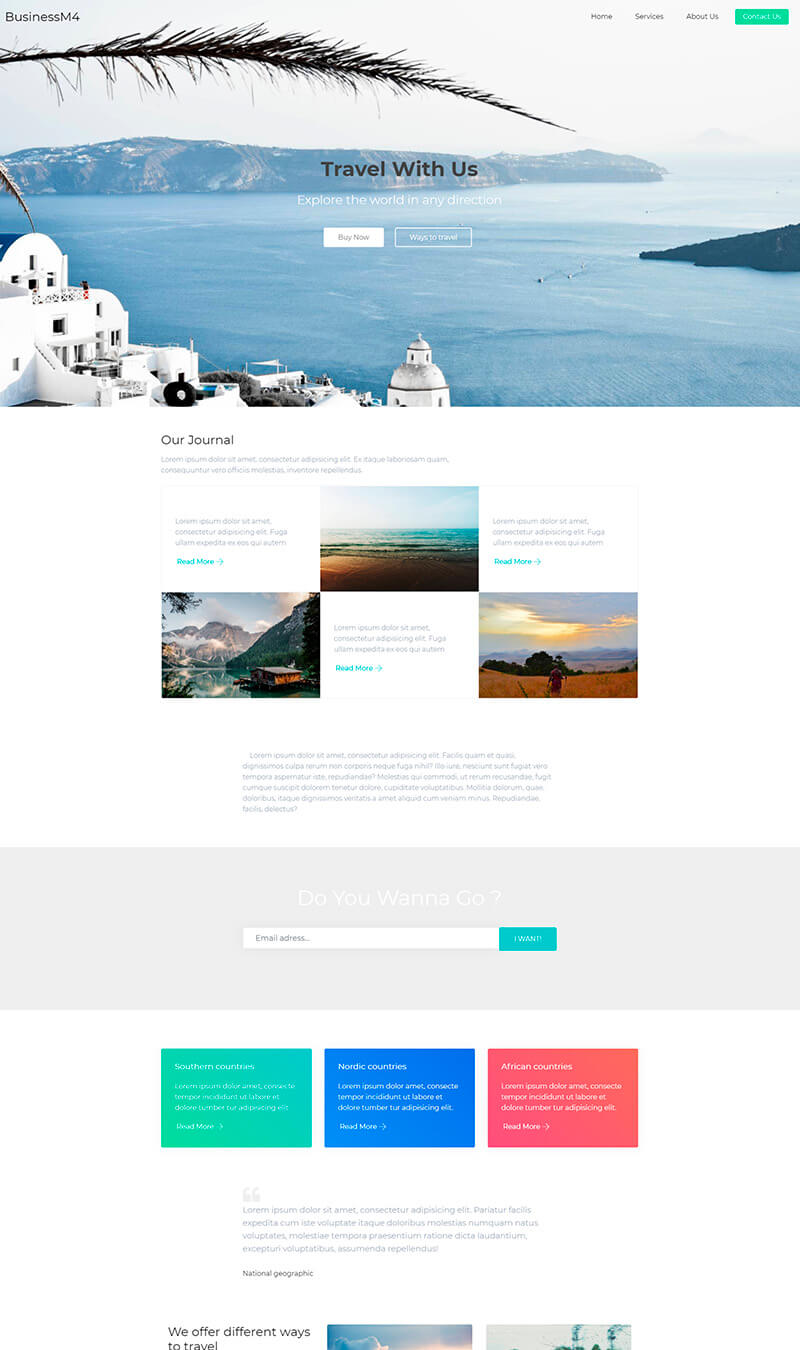
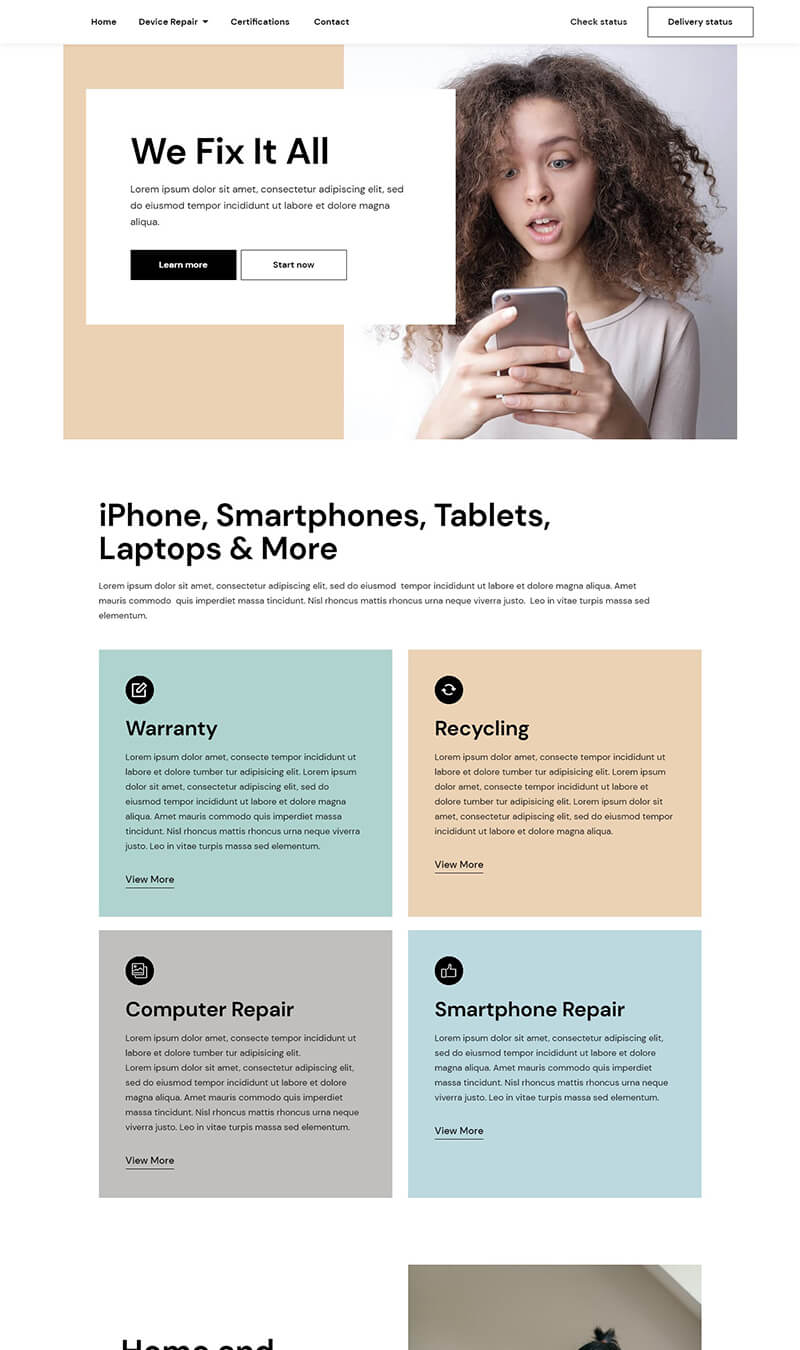
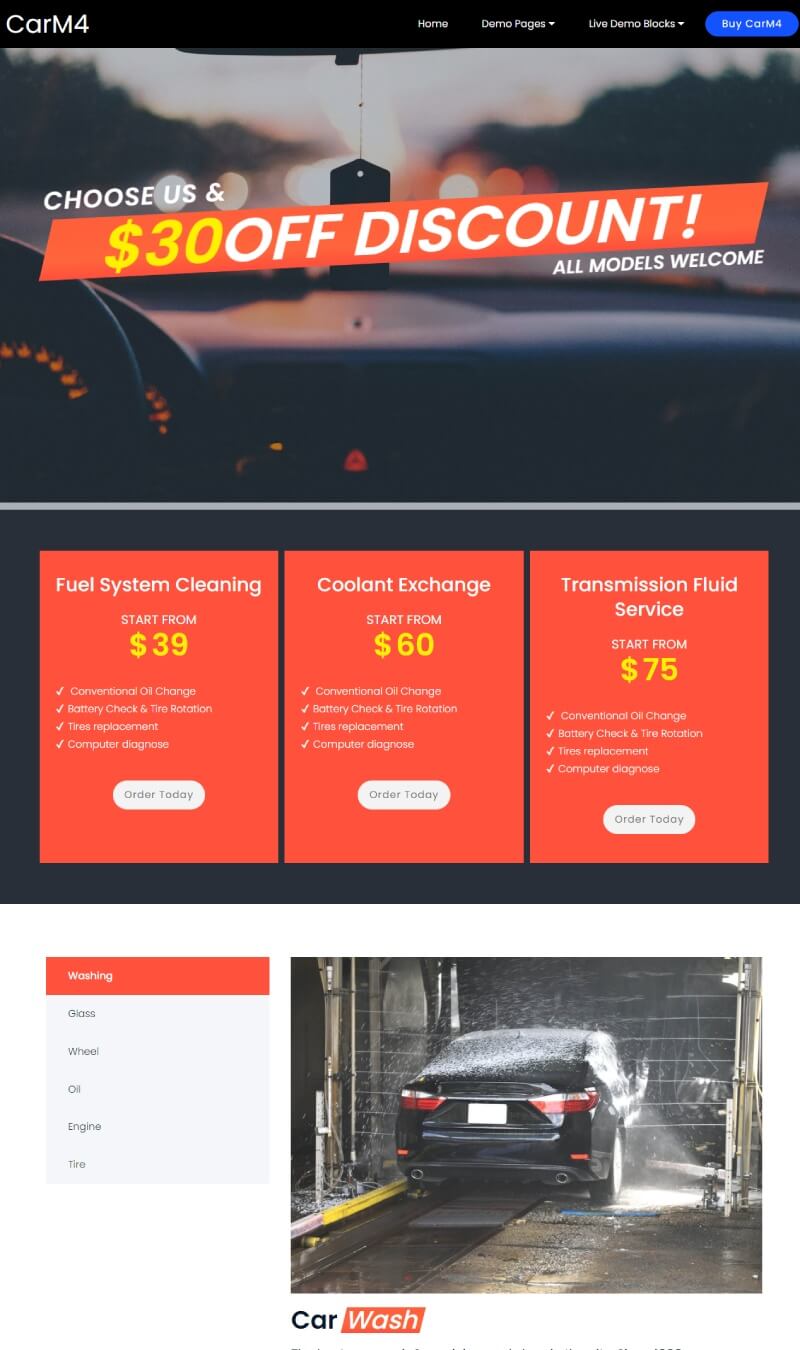
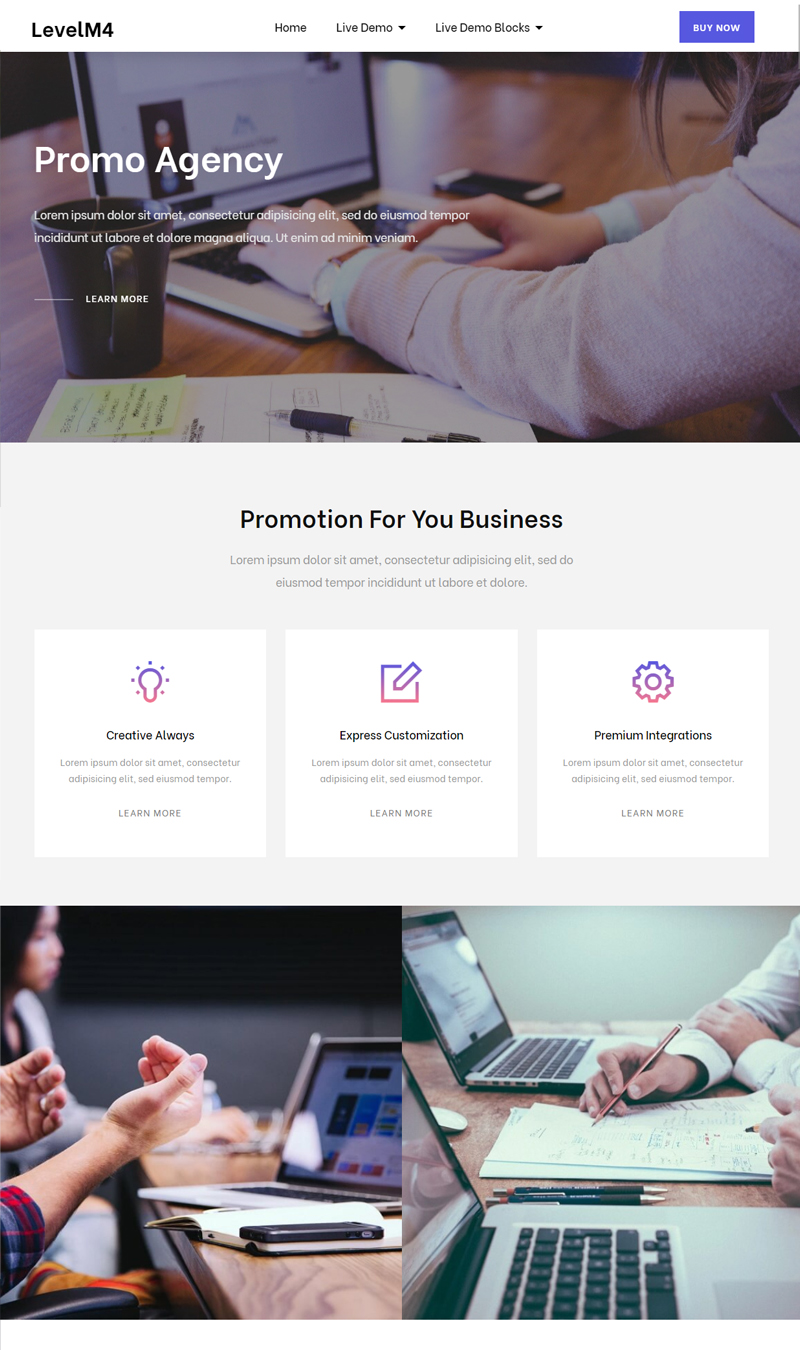
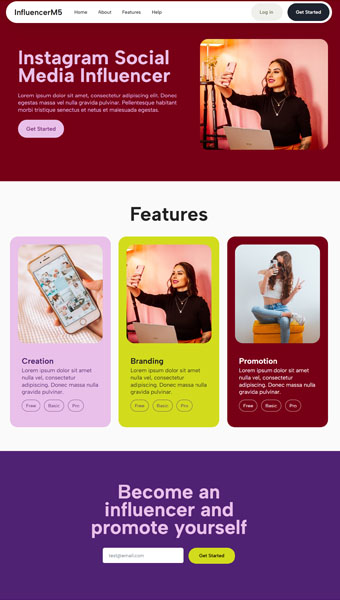
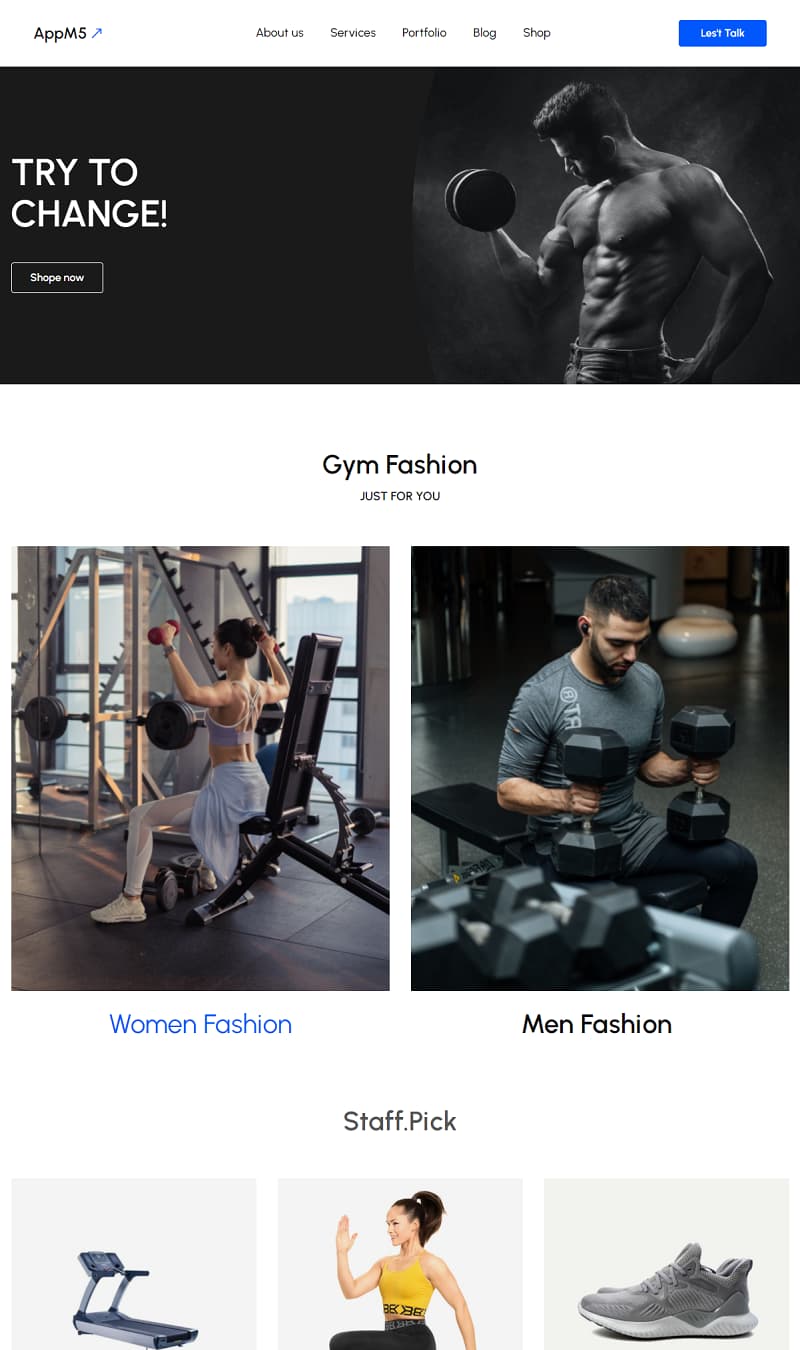
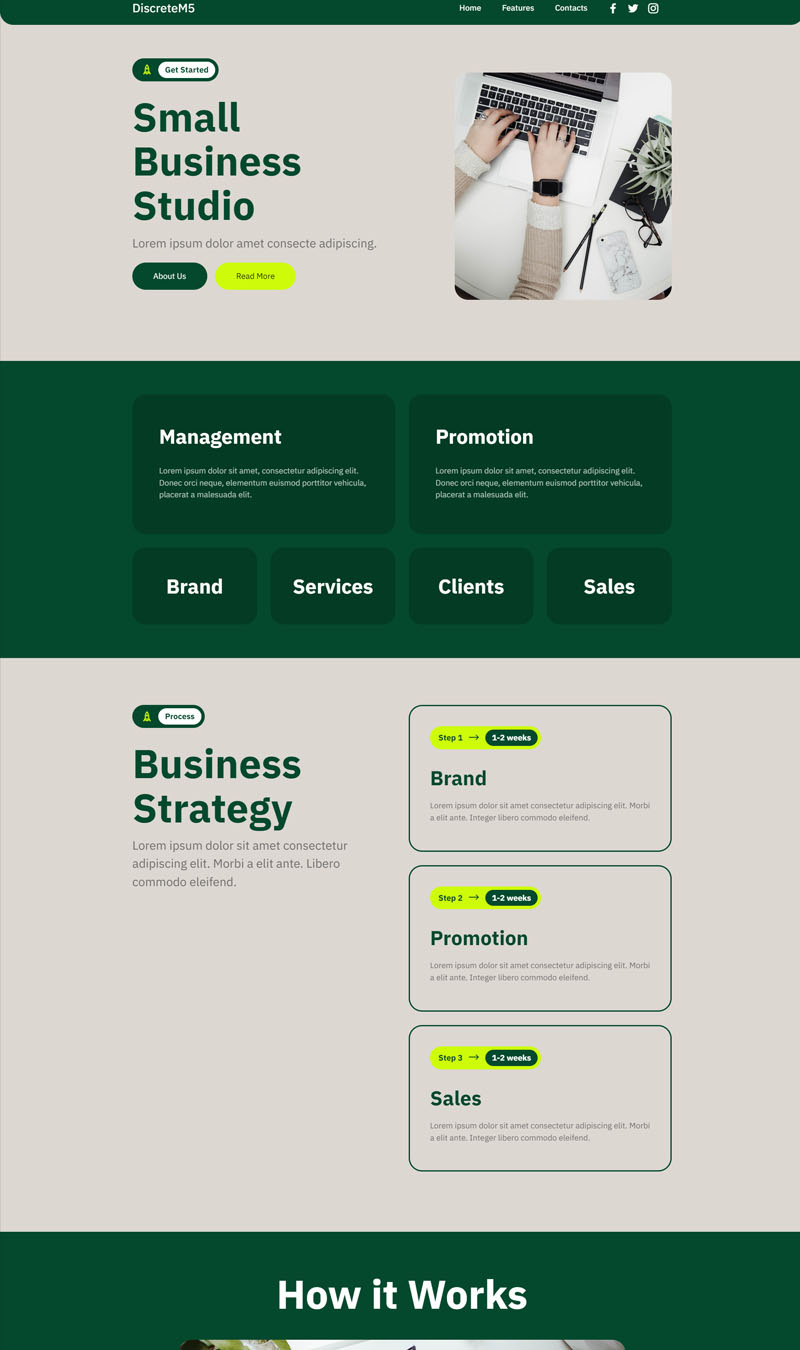
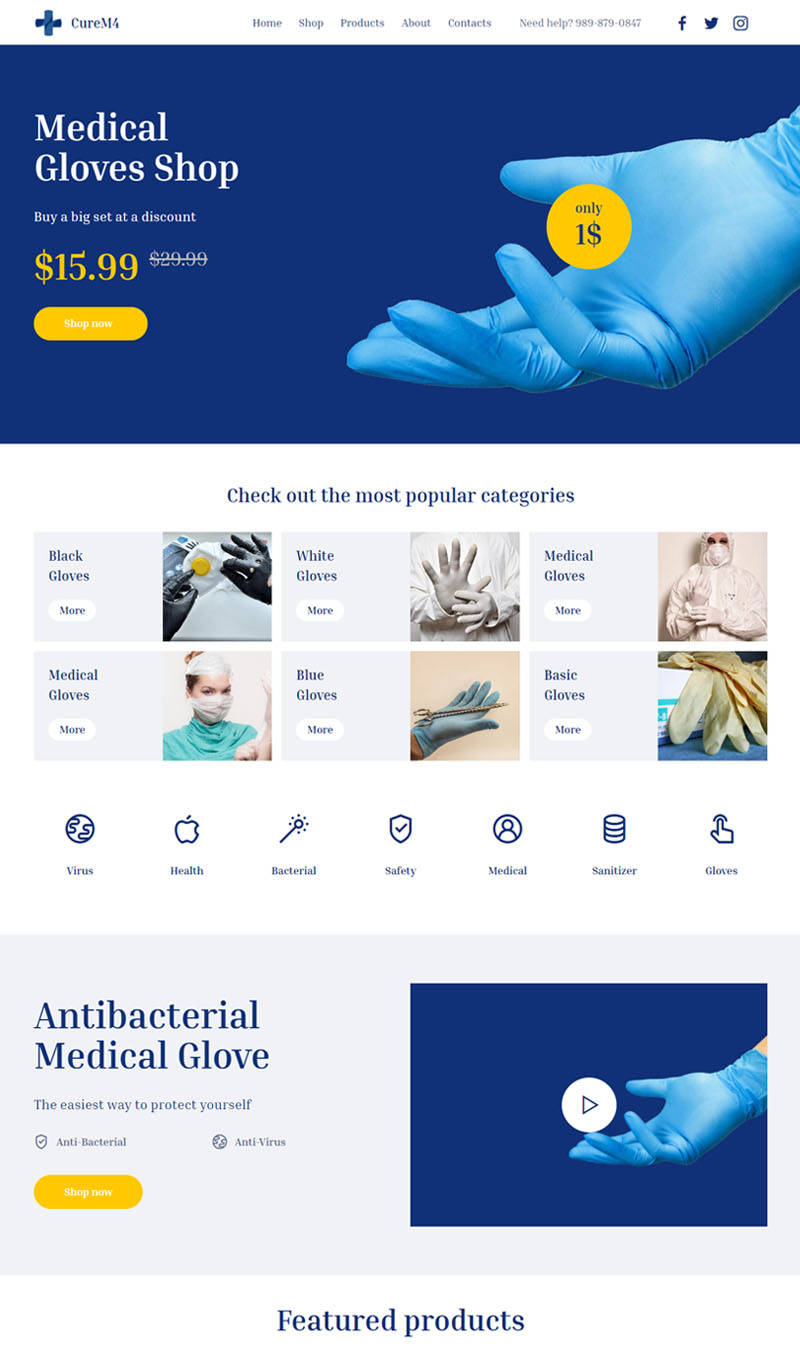
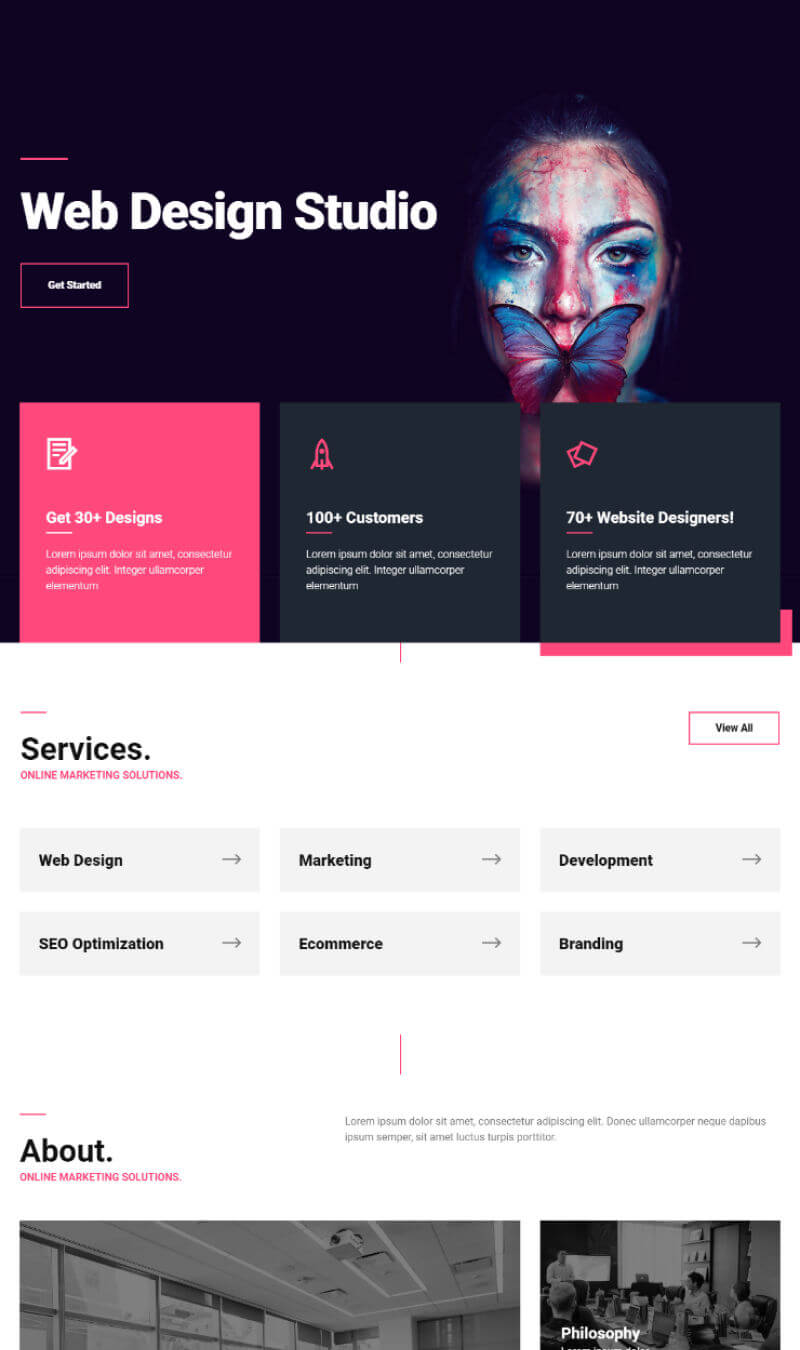
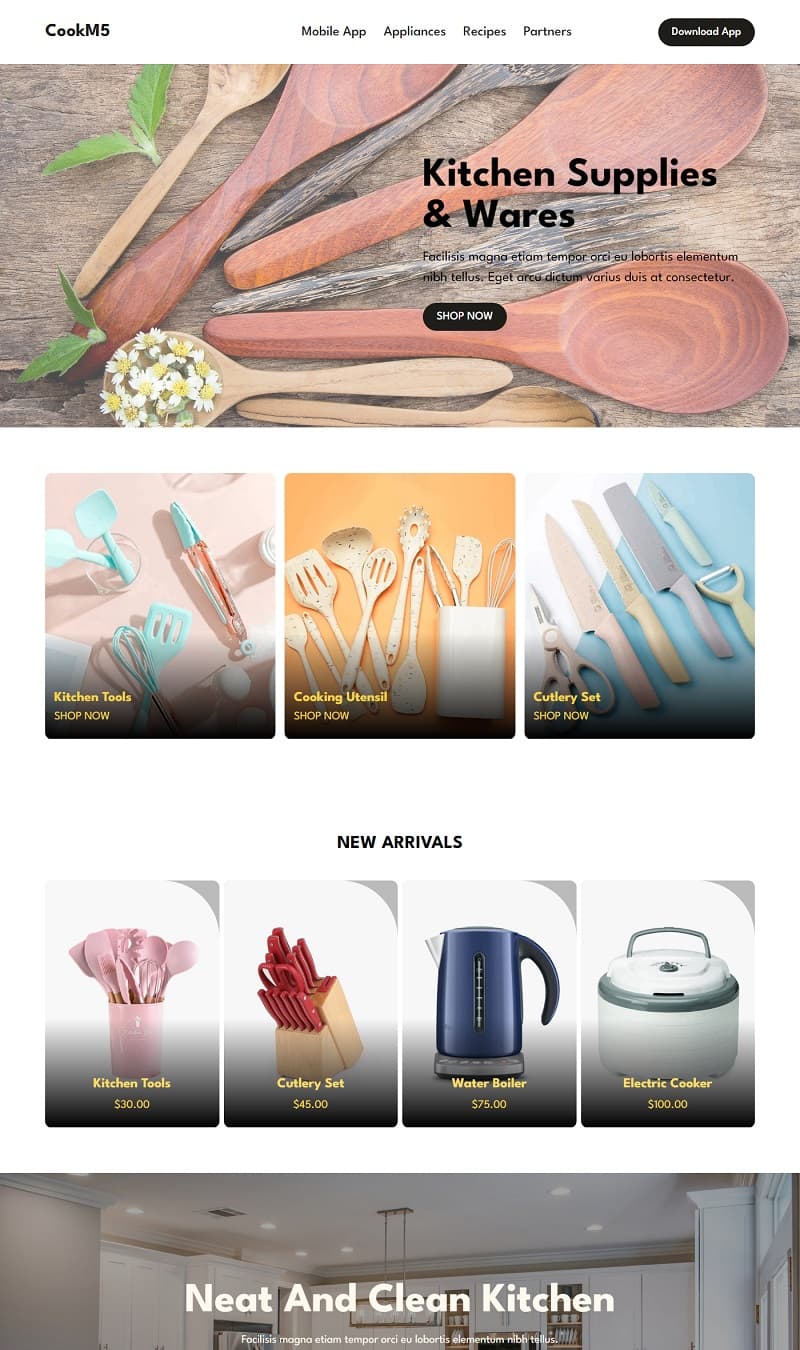
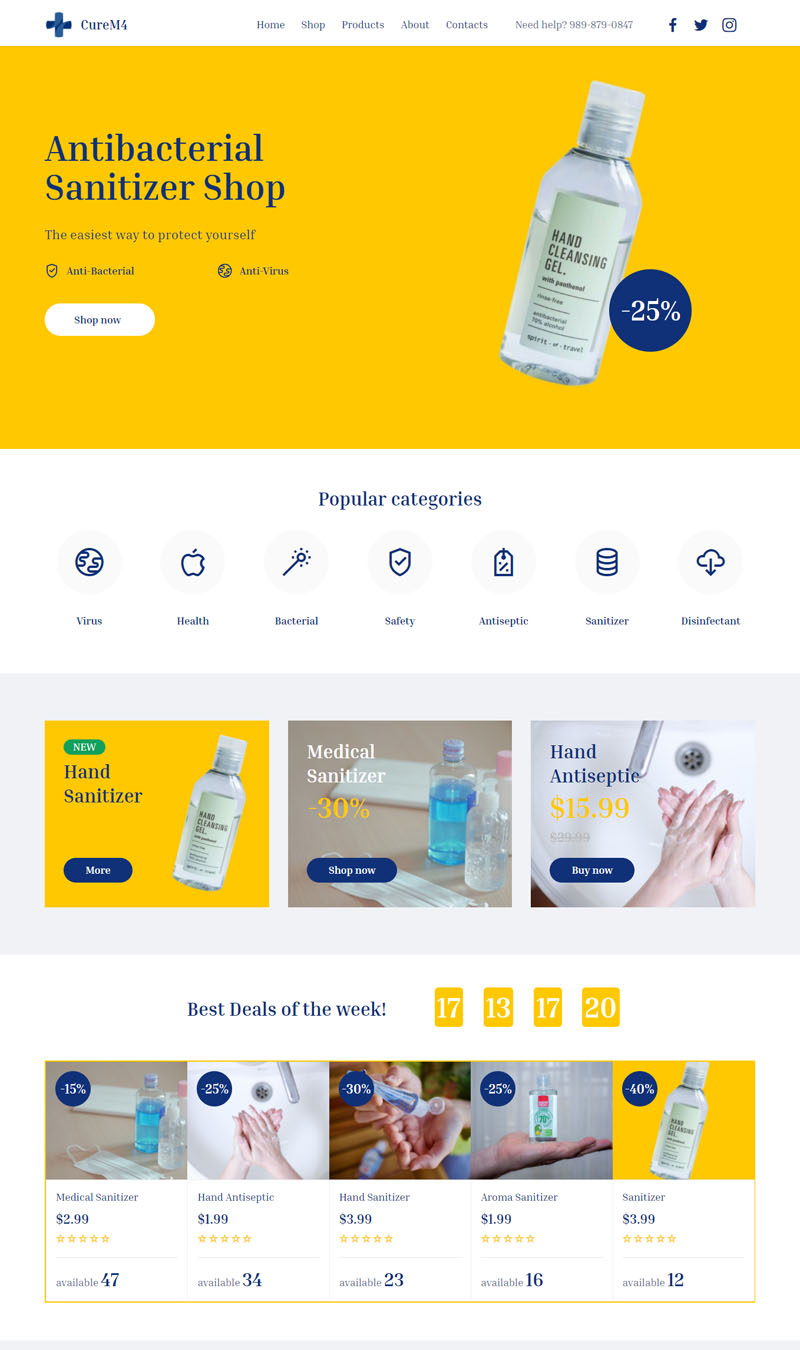
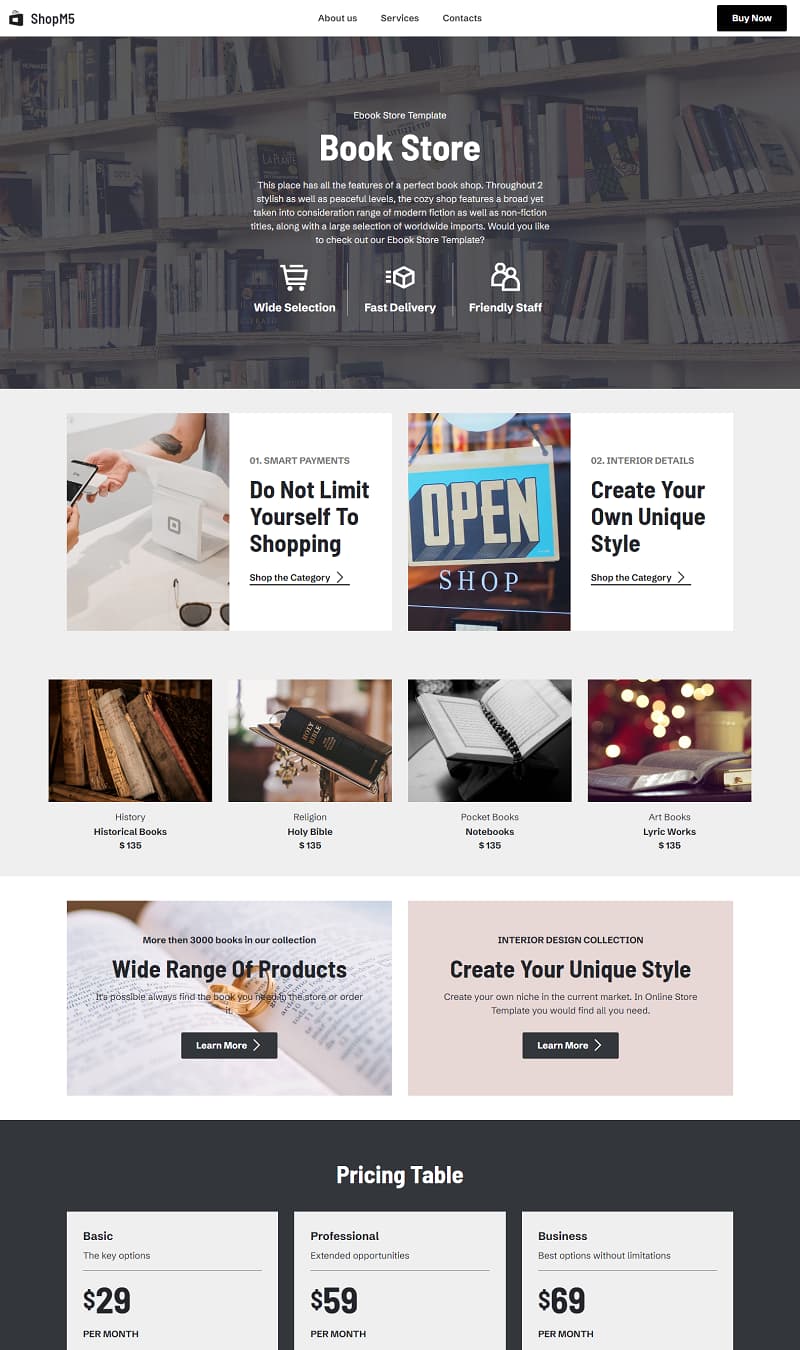
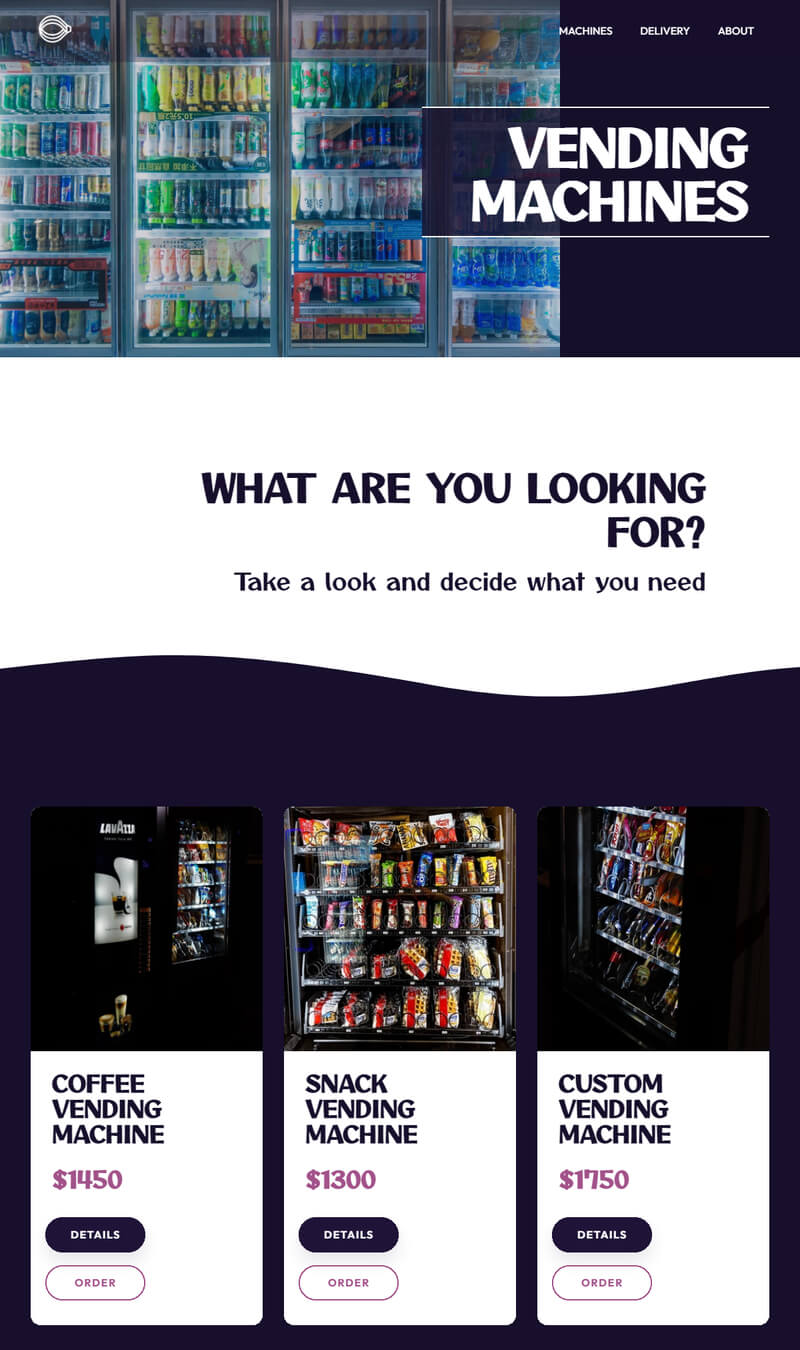
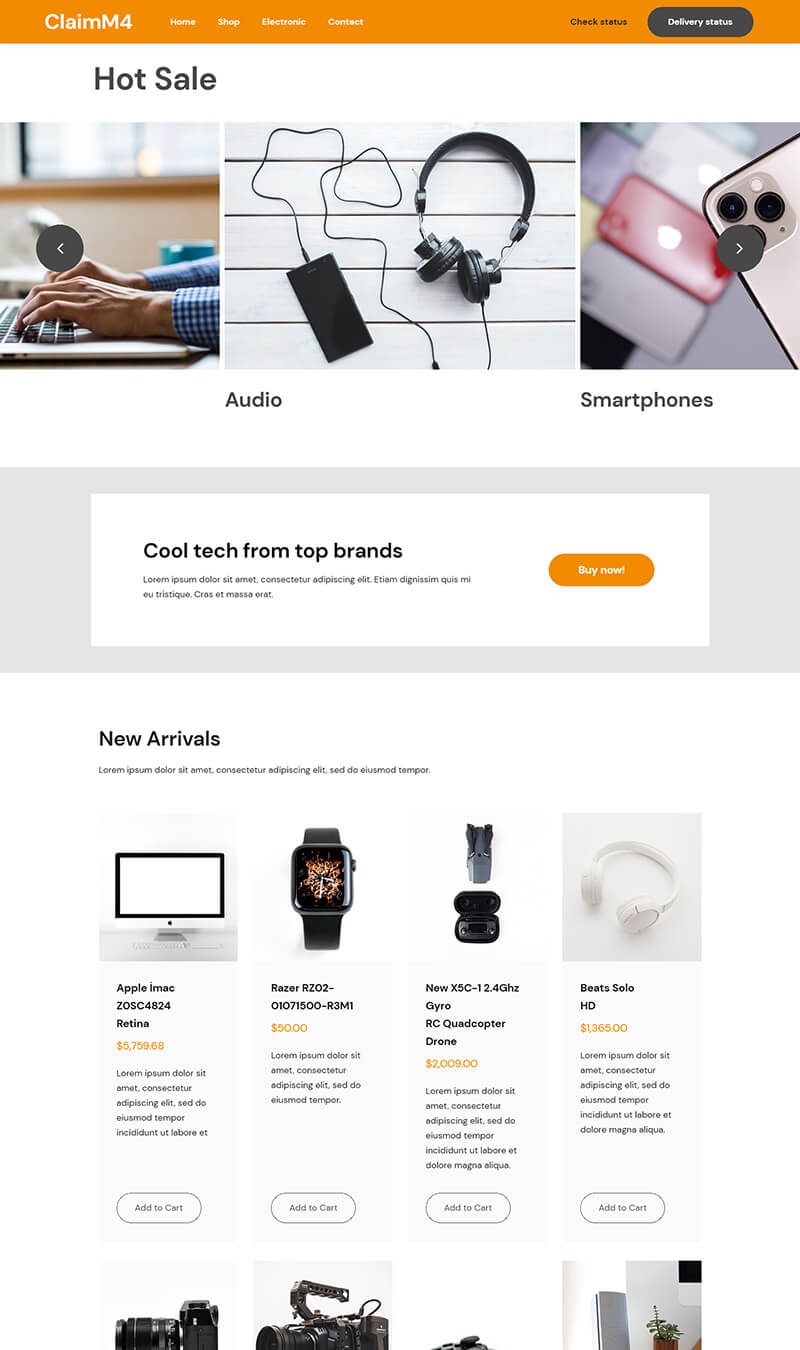
As a Bootstrap beginner, the idea of building an online store seemed daunting. I chose a Mobirise template, 'StoreM4', because of its e-commerce focus. The template offered a variety of blocks that I could use for product listings, featuring beautifully designed cards, which made my products look enticing. I used testimonial sliders to add credibility and trust to my website. The biggest hurdle was dealing with the shopping cart feature; Mobirise templates didn't offer a complete e-commerce solution, so I had to integrate it with a third-party shopping cart software. Also, customizing the templates to add my own flair without breaking the responsive layout proved challenging, but after spending some time with the documentation and forums, I learned how to tweak the HTML and CSS safely. In the end, I was proud to launch my online store with a polished, mobile-friendly design, all thanks to the Bootstrap framework and Mobirise's easy-to-use block approach!
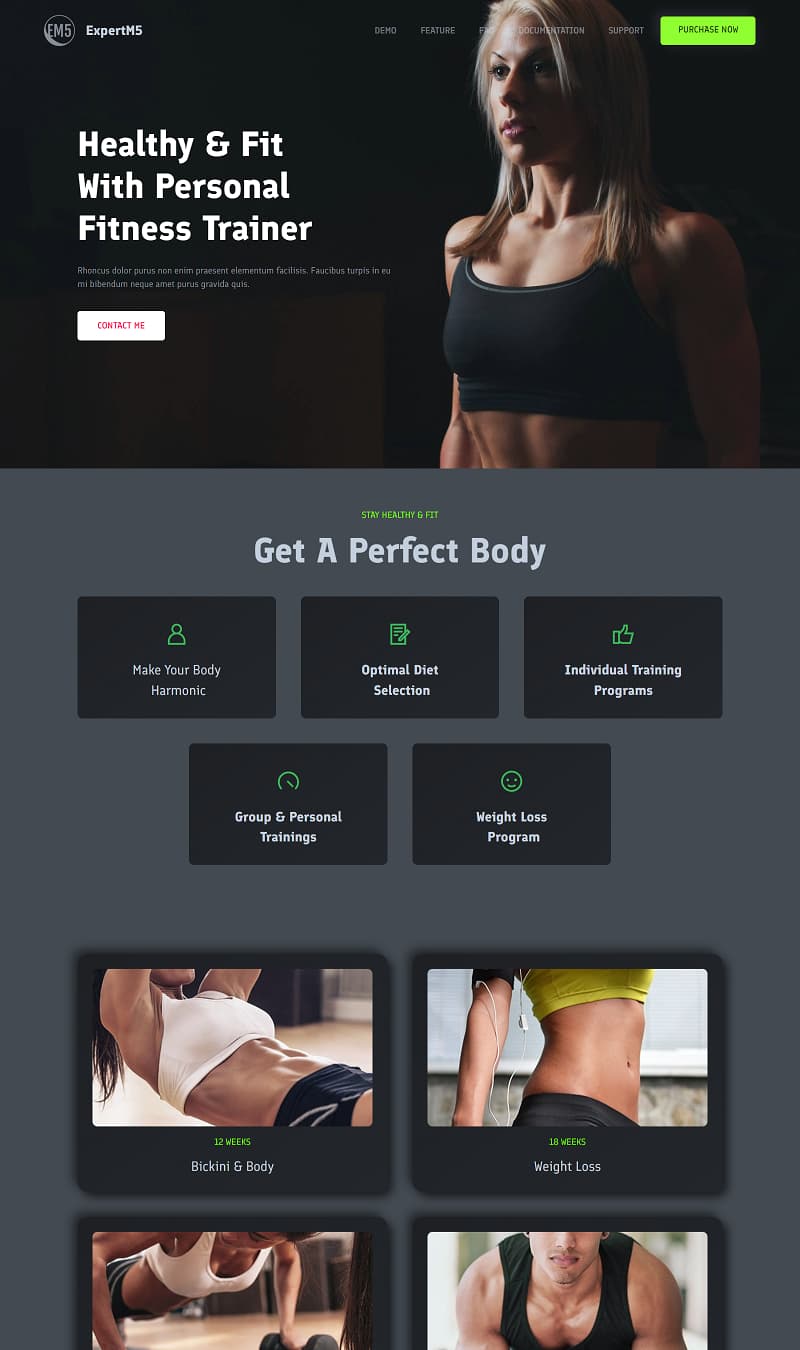
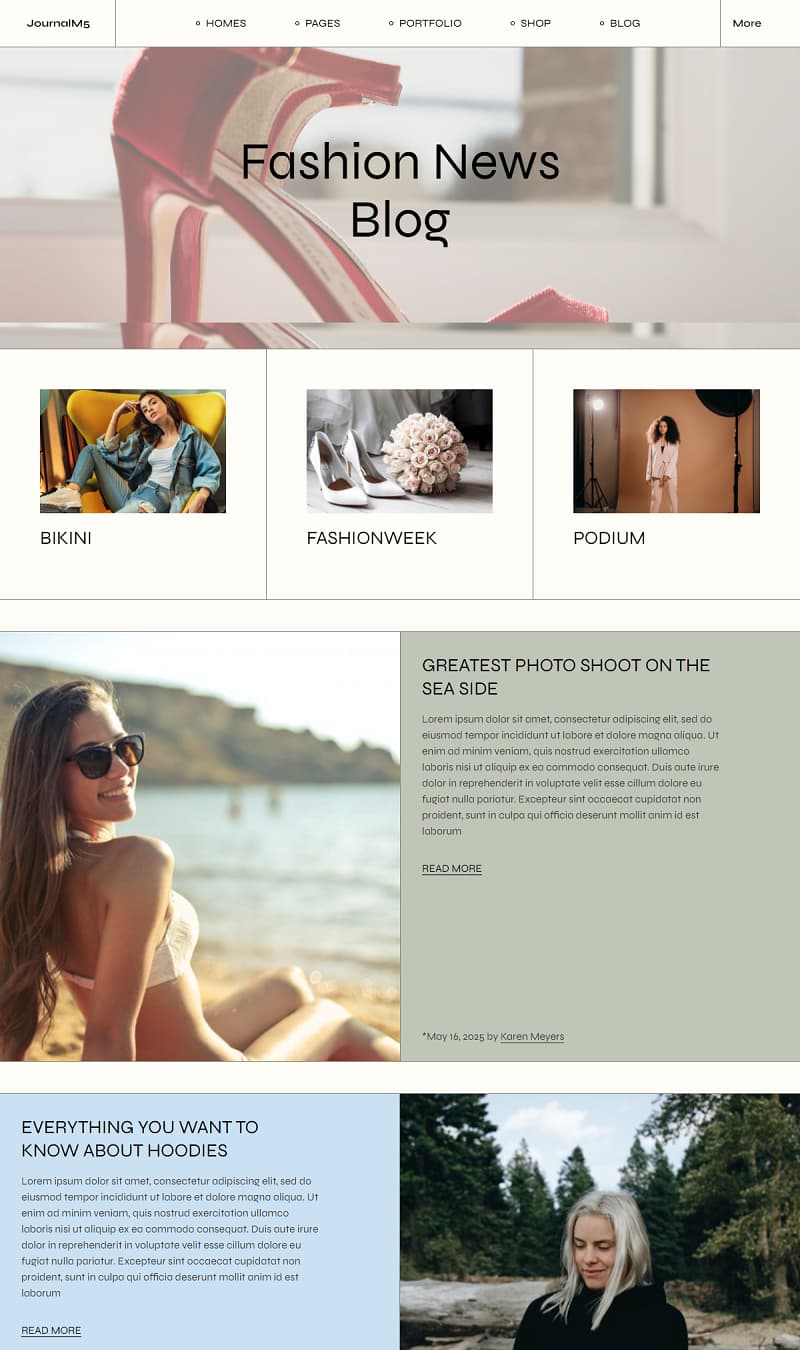
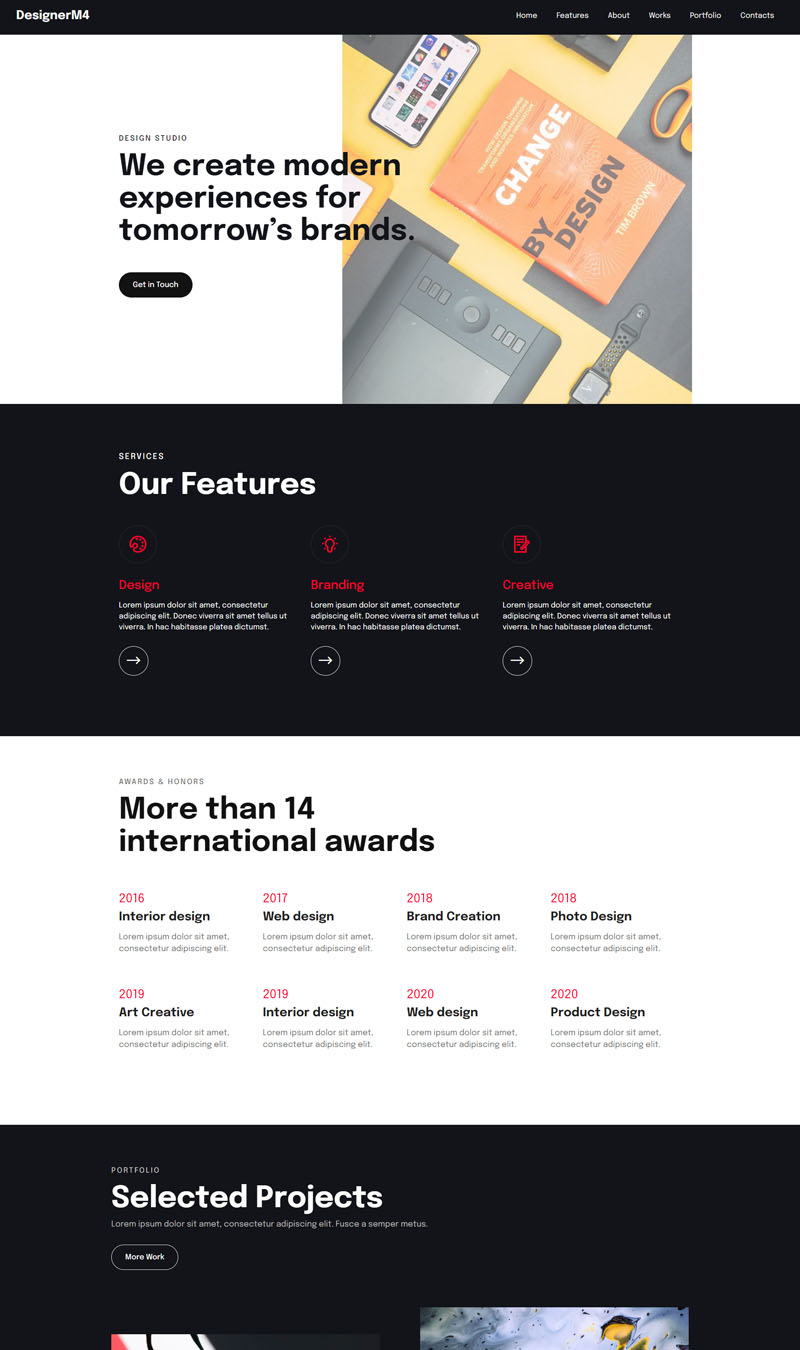
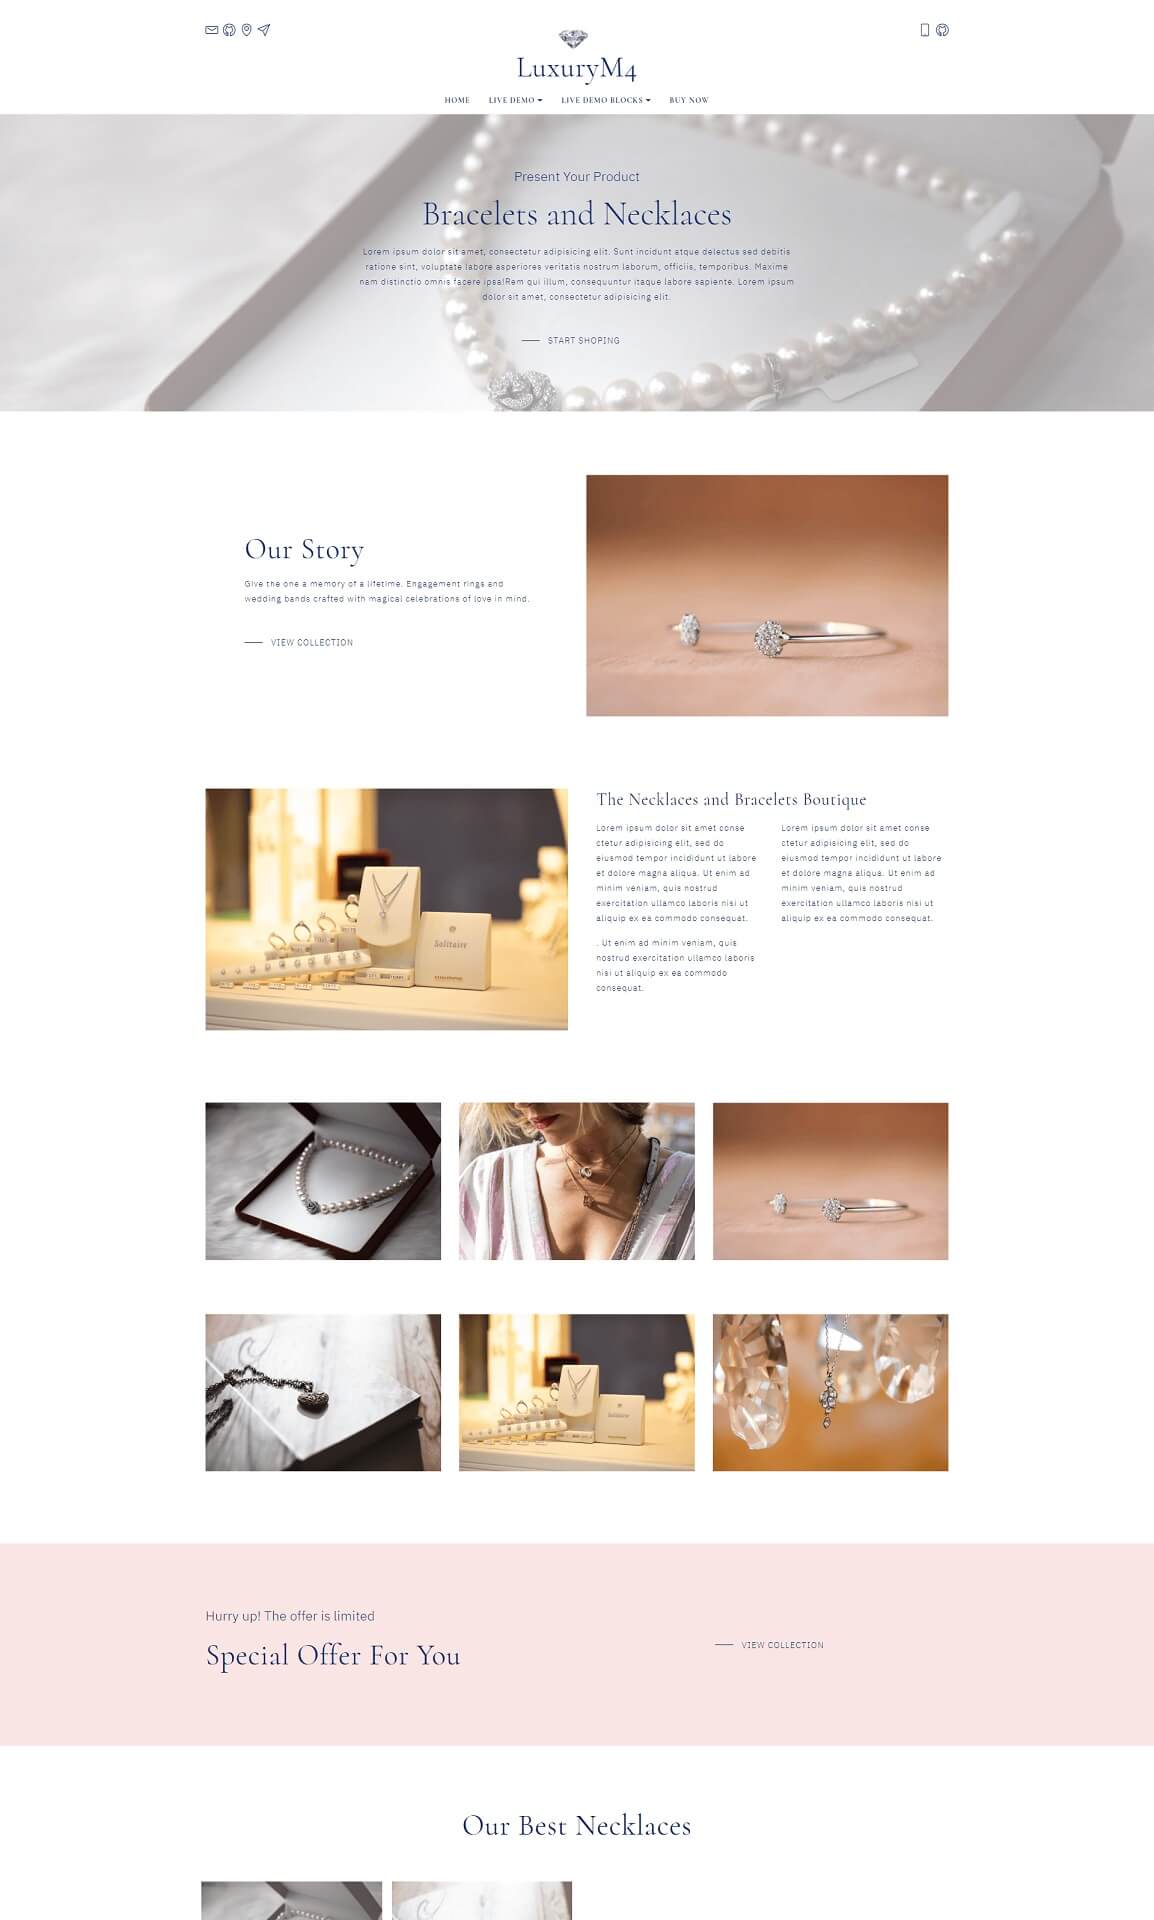
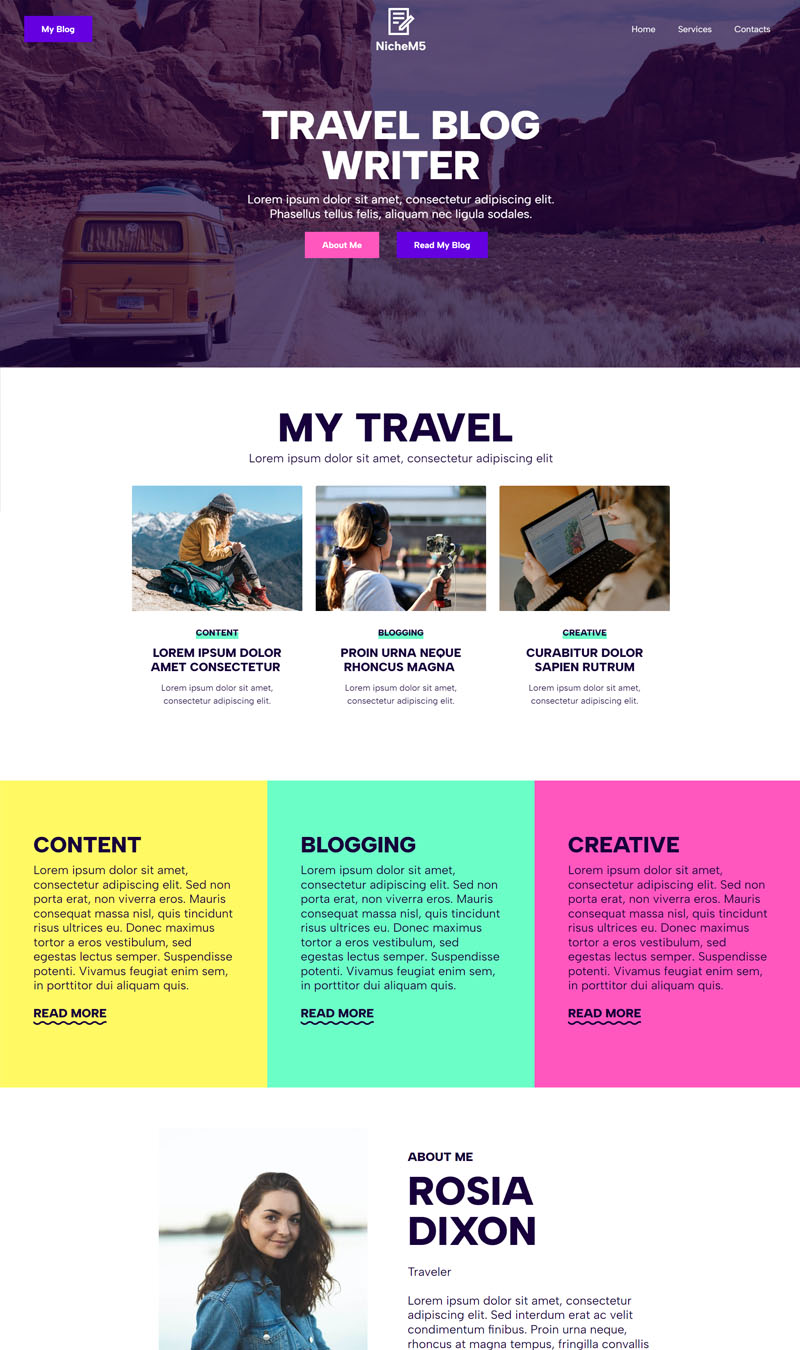
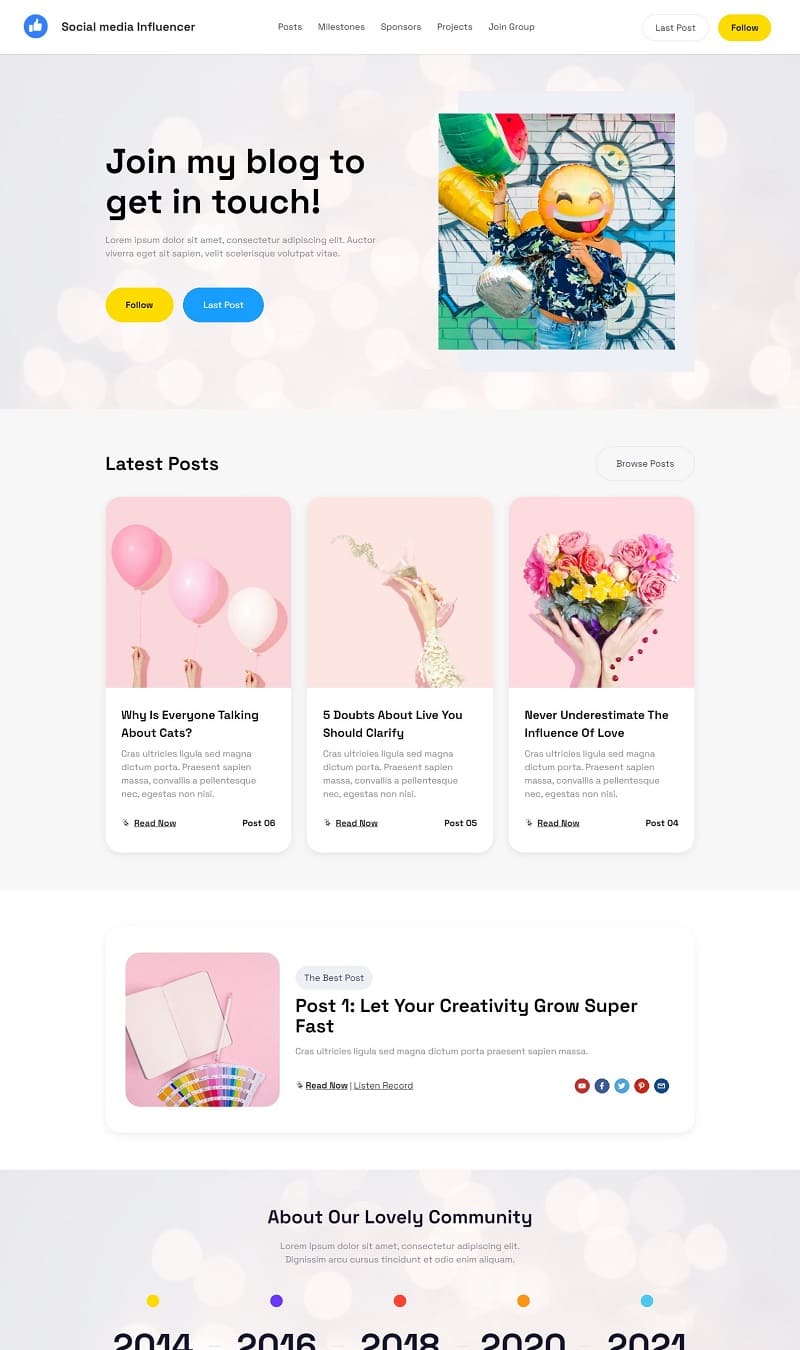
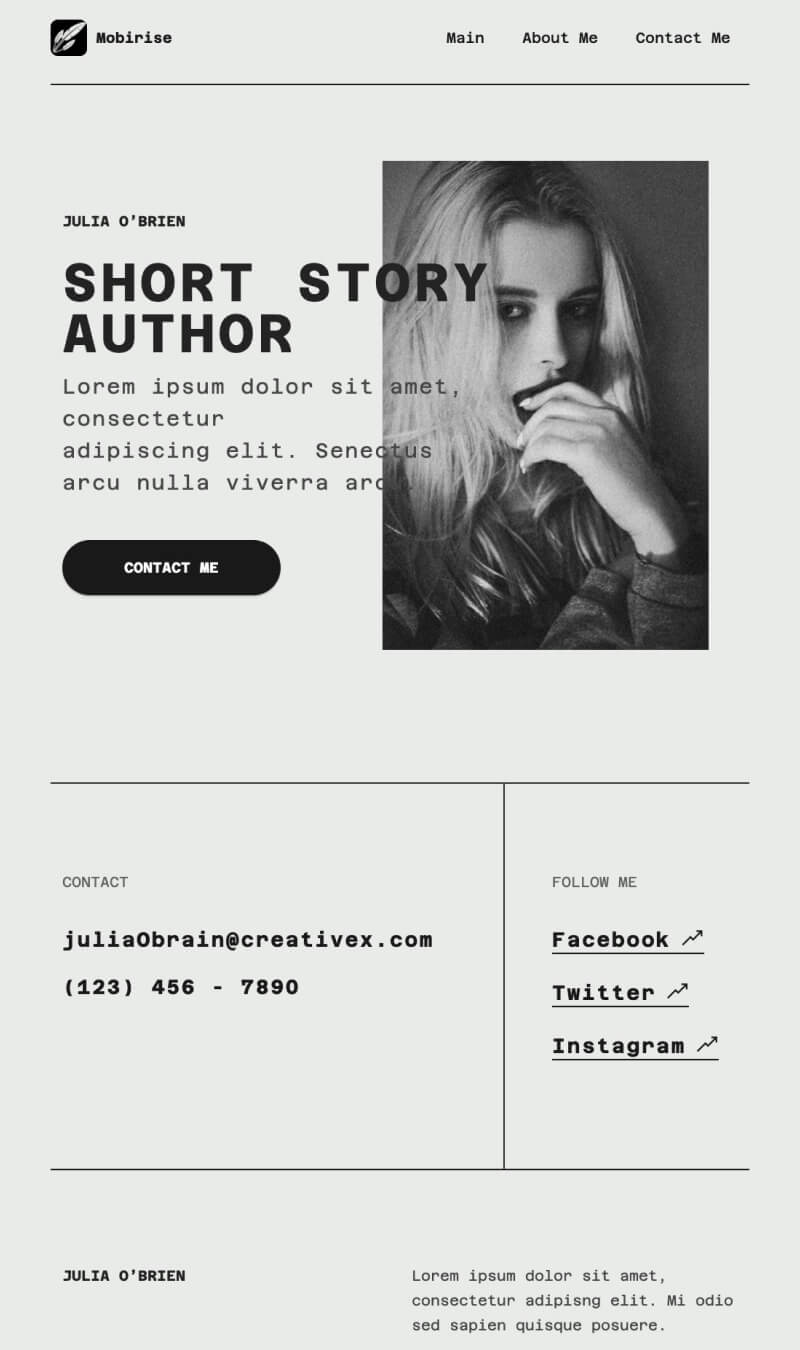
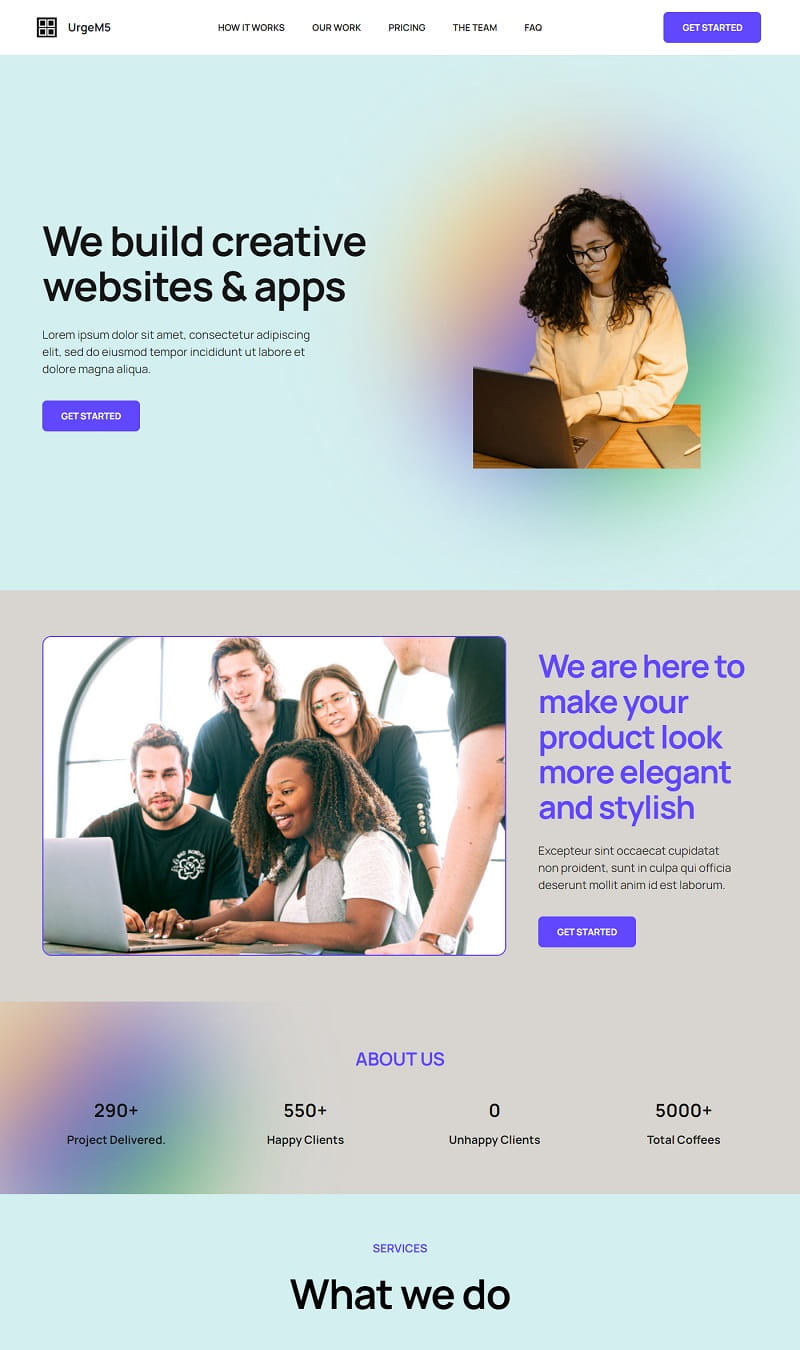
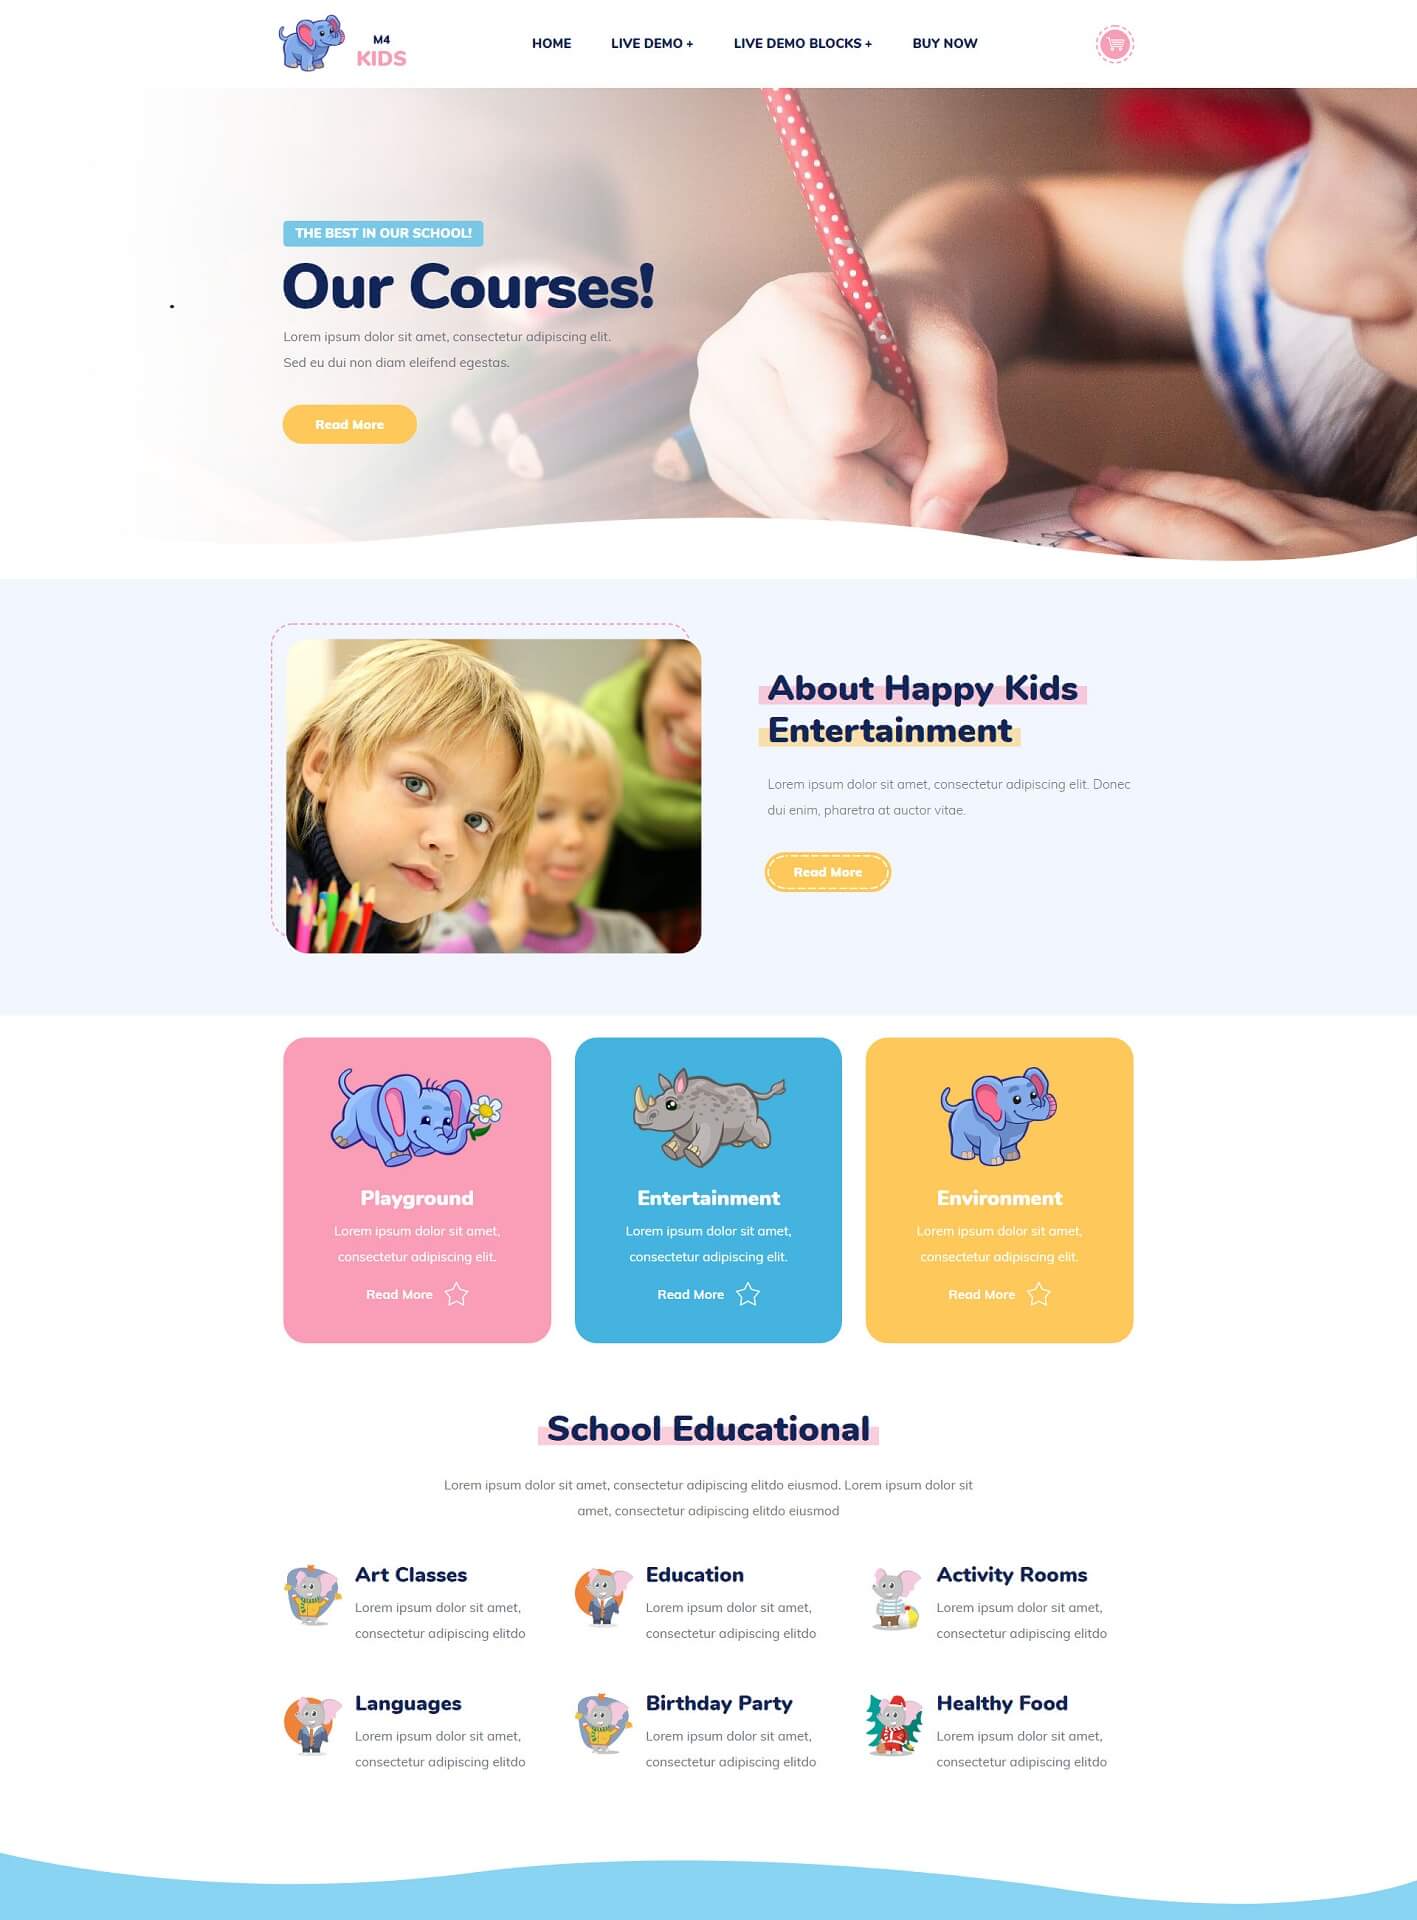
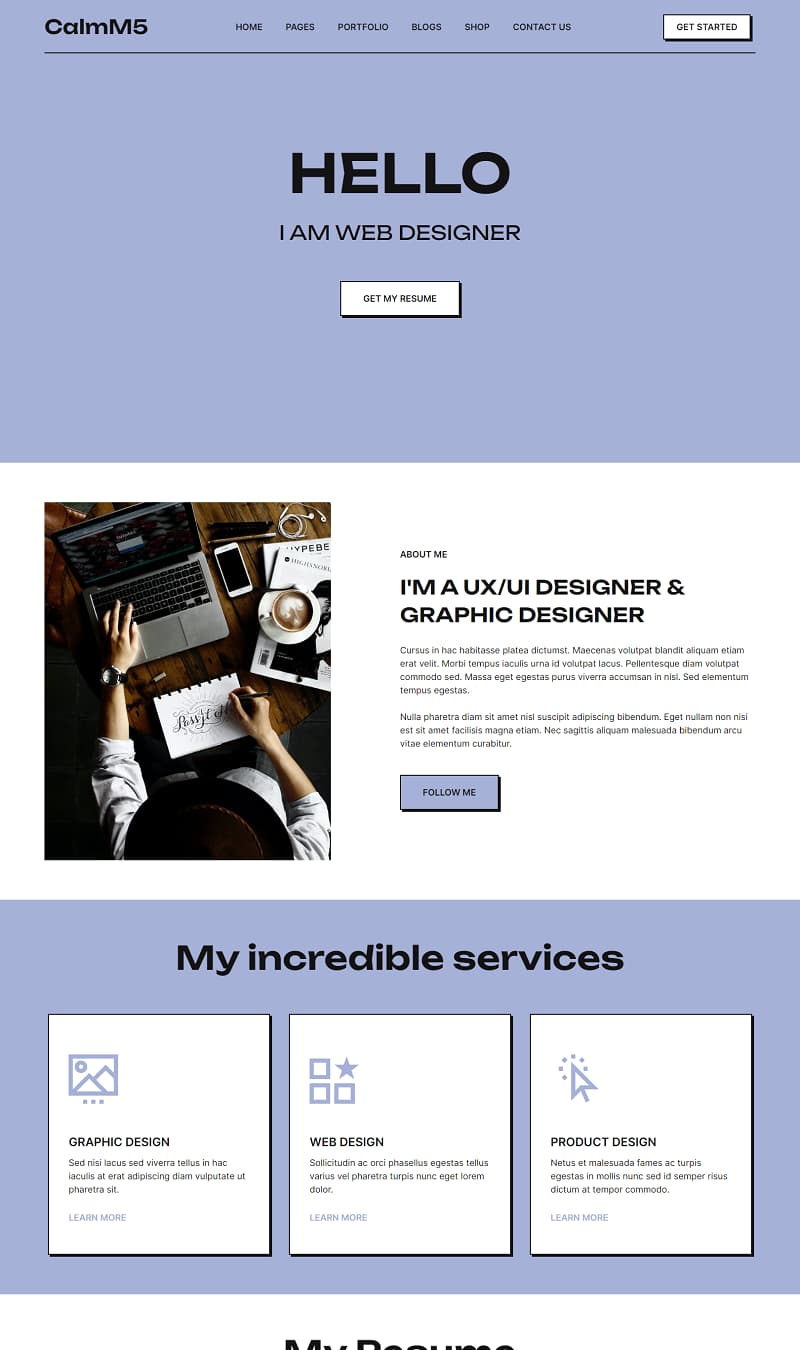
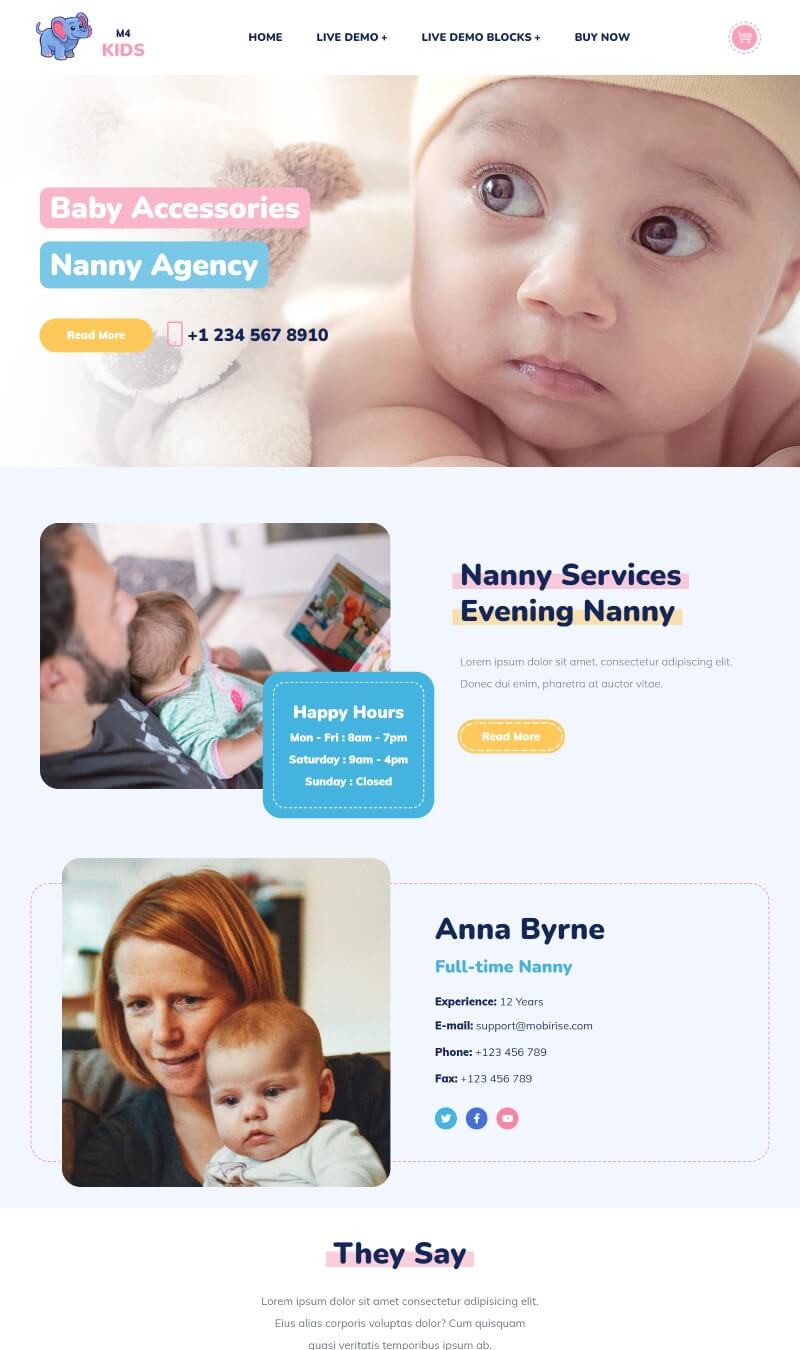
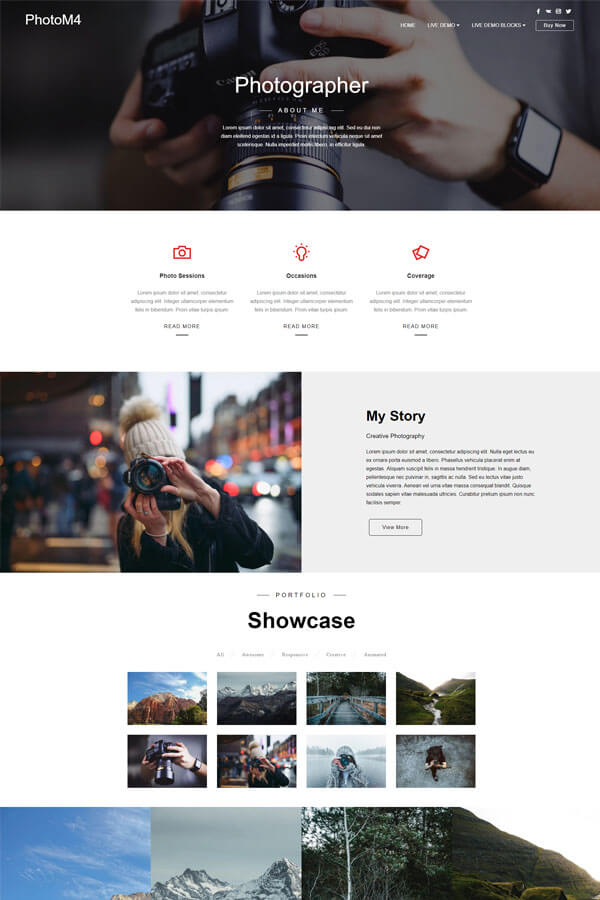
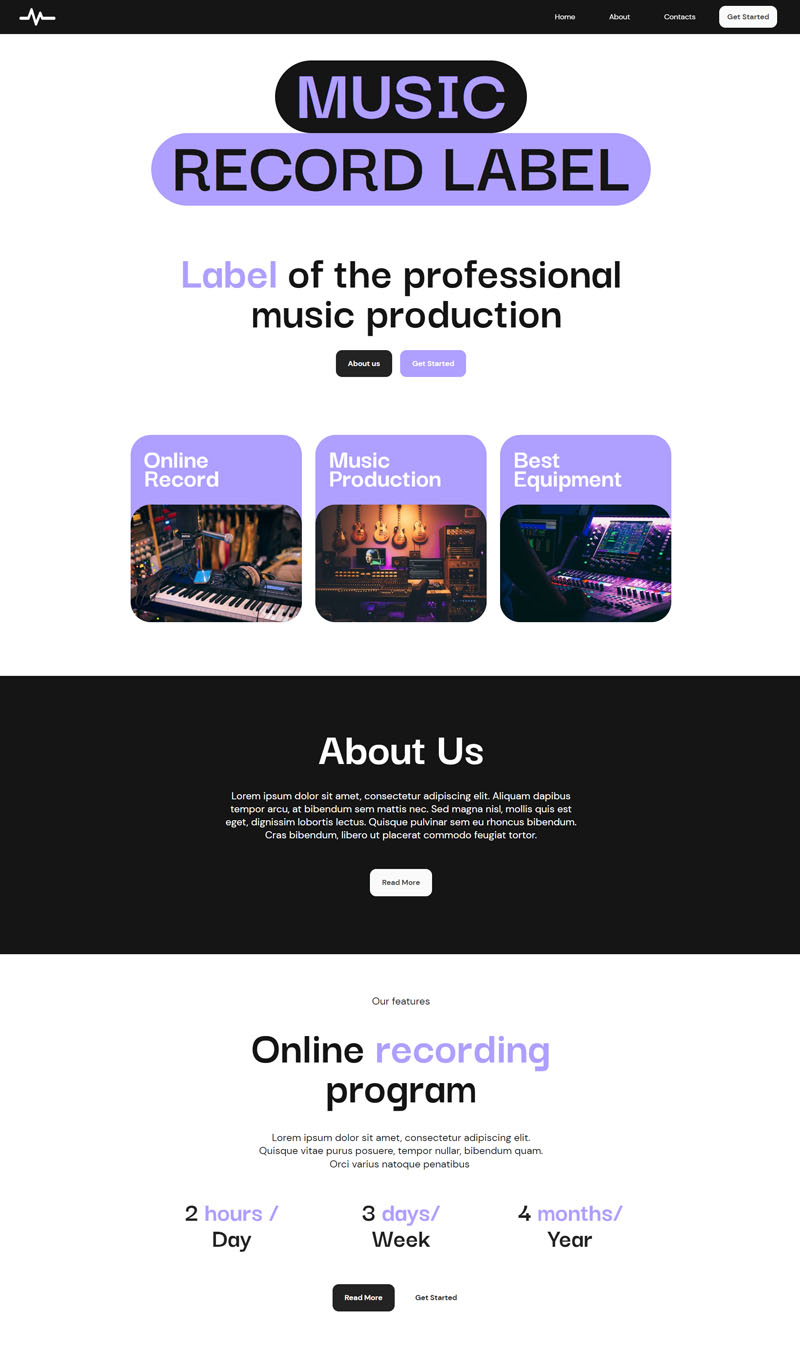
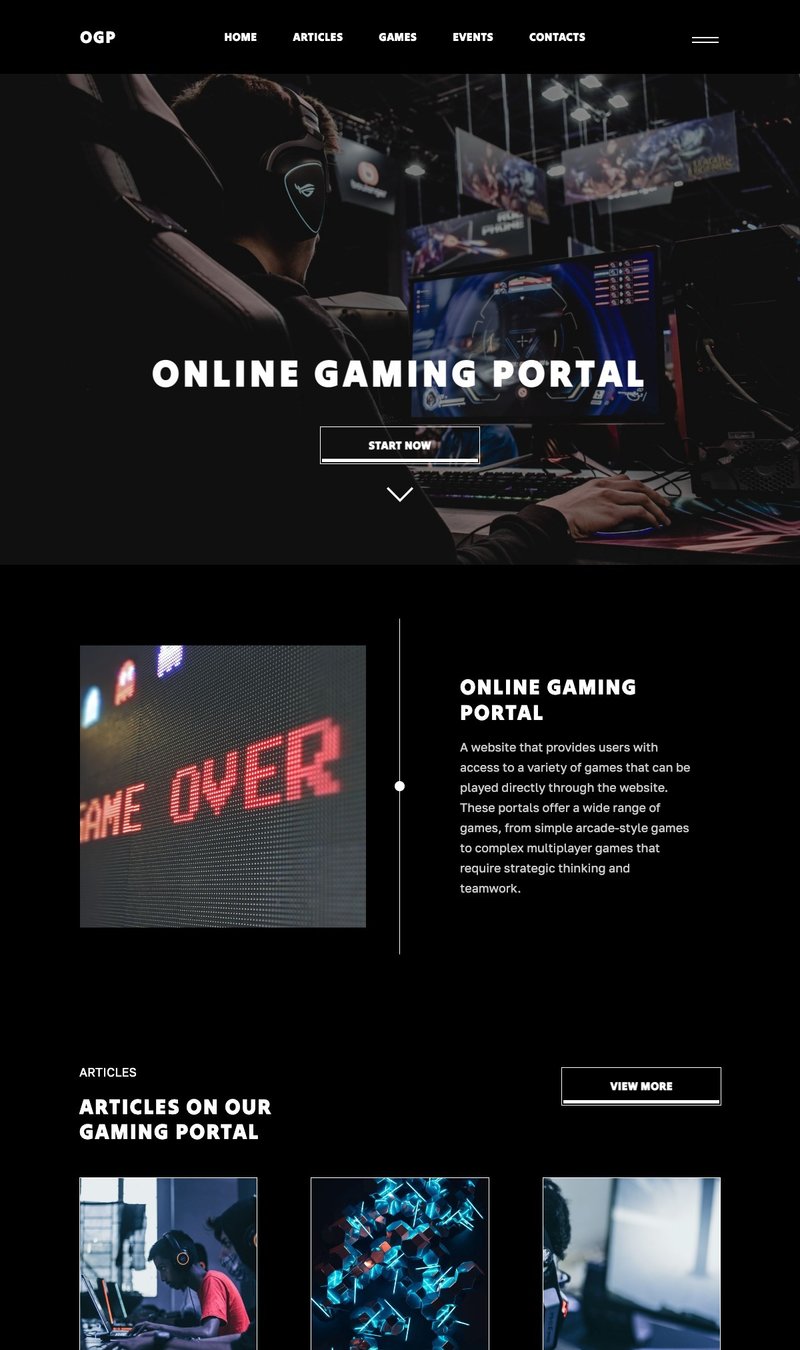
I've always been passionate about vintage fashion and wanted to start a blog to share my thoughts and finds. To get started quickly, I picked a Mobirise Bootstrap template - 'SpaceM'. I was drawn to its clean, modern look, which I thought would let my vintage-style photos stand out. The template had a superb 'blog blocks' section, making it simple to organize my posts in a grid layout with pagination. I was also able to incorporate an engaging 'about me' section with parallax scrolling, which added depth and interest. The social integration blocks made it effortless to connect my site with my social media profiles. The challenges I faced were mainly around understanding the Bootstrap class modifiers to adjust padding and margins, but their community forum was a valuable resource. It's incredible that I've been able to create a functional, aesthetically pleasing blog without extensive web development knowledge, all thanks to Mobirise's templates and Bootstrap's framework.
Pros: The Bootstrap examples really shine when it comes to demonstrating responsive design techniques. I found them incredibly useful for understanding how grid systems work and how to make a website look great on any device. The code is well-commented, which makes it easier for beginners to follow along and understand what each section does.
Cons: While the examples are great, there's a bit of a learning curve for absolute beginners. Some knowledge of HTML and CSS is required to fully benefit from the examples. Additionally, because these are isolated examples, integrating them into a larger project sometimes requires additional customization to maintain overall design consistency.
Pros: Bootstrap's code examples are a real time-saver. They offer practical implementations for a wide array of common web design patterns and elements. The examples are clean, modern, and adhere to best practices, which means less time debugging and more time crafting the finer details of a site. Additionally, their modularity is great — I can pick and choose components as needed for my project.
Cons: Sometimes the examples can be too simplistic, lacking the complexity needed for a real-world application. This can lead to overconfidence in the example's readiness for production environments. Furthermore, since many developers use Bootstrap, relying too heavily on these examples without modification may result in a website that looks generic or similar to others.
Pros: I found the Bootstrap code examples to be incredibly helpful when rapidly prototyping a new project. They allow me to demonstrate to clients or stakeholders what a feature will look like without having to build it from scratch. They also encourage adherence to accessibility standards, which is a big plus for public-facing projects.
Cons: The flipside of using such examples is that they can box you into a particular design aesthetic associated with Bootstrap. It becomes a challenge to create a truly unique or branded experience without diverging considerably from the examples. There's also the risk of dependency on the Bootstrap framework, which might not always align with the specific technical requirements of a project.
Pros: As someone relatively new to web development, the Bootstrap code examples served as an excellent reference. They help bridge the gap between basic understanding and practical application. Seeing real examples of components like navigation bars, forms, and modals in action is incredibly beneficial. These examples also integrate seamlessly with other Bootstrap features, offering a cohesive learning experience.
Cons: I found that some examples don't go far enough in explaining why certain design choices are made, which can be problematic for learners who want to understand the rationale behind best practices. Also, there’s an over-reliance on the Bootstrap framework's classes and structures, which means there's less focus on teaching the underlying CSS and JavaScript principles that power these components.