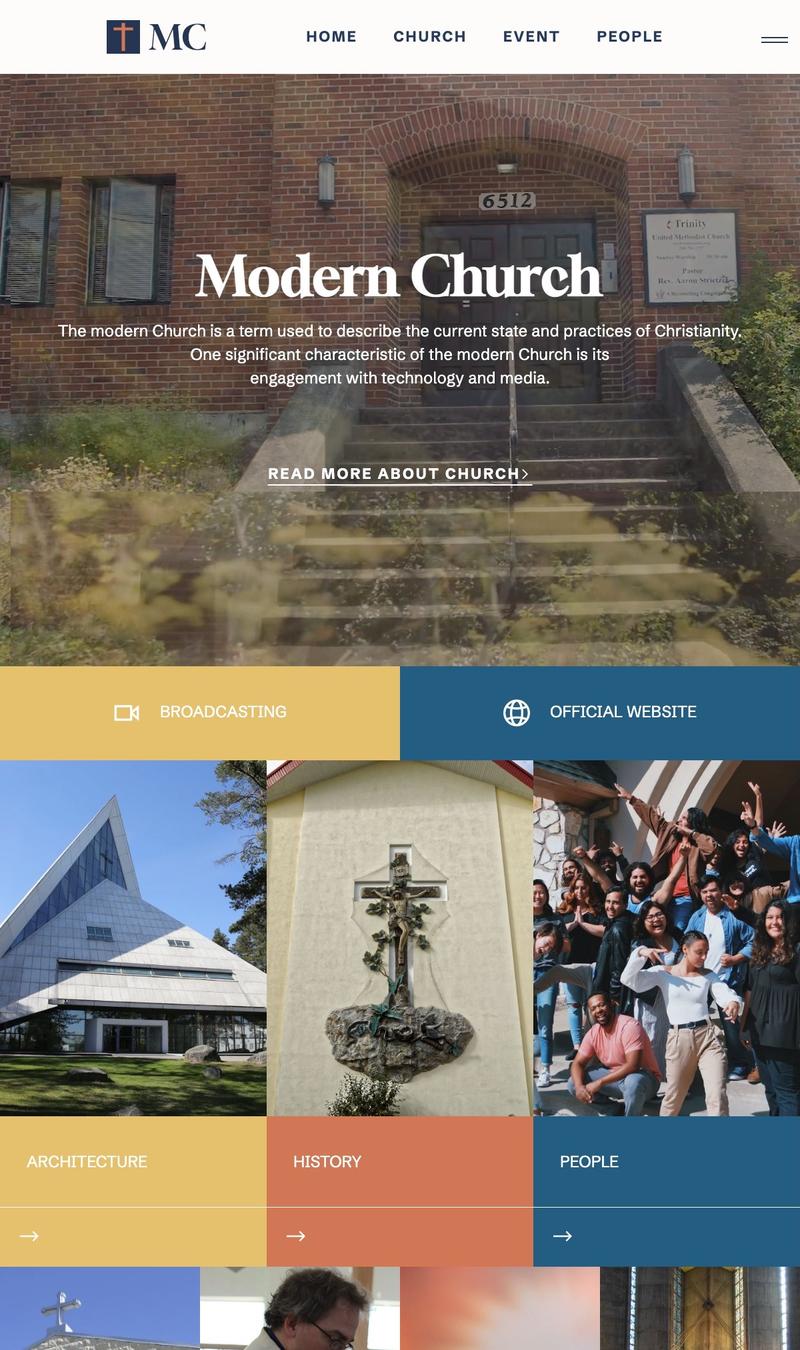
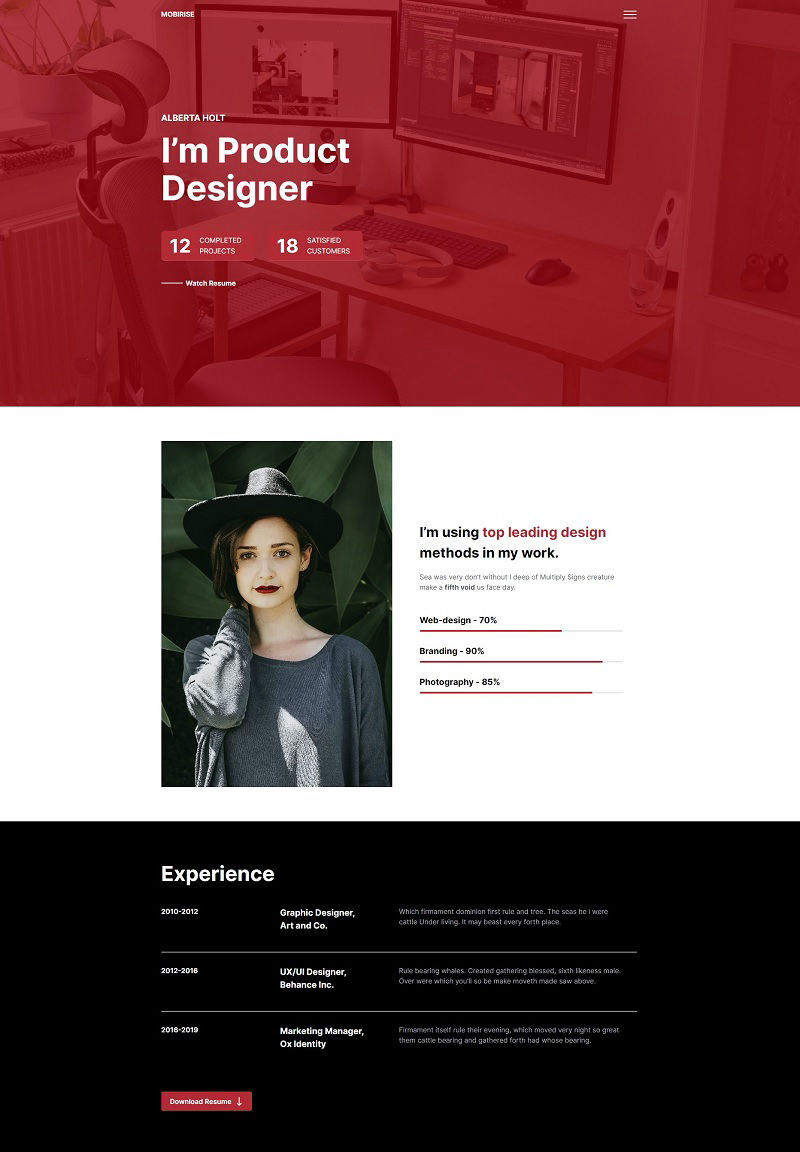
Easily navigate your project with our Bootstrap-powered side menu; sleek, responsive, and slides from the left effortlessly. 💡
I opted for the Bootstrap Left Slide Menu Example for my personal blog after an exhaustive search for a clean, responsive navigation option. The smooth slide-in effect provides a modern feel that I wanted, and it integrates well with the Bootstrap framework I was already using. However, I did encounter some initial challenges with z-index when trying to overlay certain elements. But once resolved, it worked like a charm. The biggest positives are its smooth animations and efficient use of screen space, making it ideal for mobile viewers. The only real negative is that it required some tweaking to fit into my existing design’s aesthetics. Overall, the functionality and crisp presentation have elevated my site's user experience significantly.
The Bootstrap Template with a left slide menu was my go-to when revamping my e-commerce site to be more mobile-friendly. I chose this template primarily for its seamless integration on smaller screens and its swipe-friendly interface. As someone relatively new to web development, I did have questions about customizing the color scheme and wondered how to integrate multi-level menu items. However, after consulting the documentation, it was straightforward to tweak. The positives are its clean design and user-friendly mechanics. The only downside was that it initially took some time to figure out the customization, but that is more of a learning curve issue rather than a template flaw. The end result was a menu that perfectly adapts to various screen sizes and enhances navigation on touch devices.
I settled on the Bootstrap Left Slide Menu Example for a quick project because it promised easy integration and customization with my Bootstrap-based dashboard. The plug-and-play nature of the example was a huge positive — it got my side navigation up and running in no time. However, I encountered some difficulties with understanding the hierarchy of menu items and ended up needing more detailed documentation than was provided. The template is responsive and looks contemporary, which is excellent, but more comprehensive guidelines or examples would make this good template great. The slide-in effect is fluid and didn’t conflict with other scripts, which is a huge plus. But the initial lack of clarity in the documentation posed some frustrating moments.
As a freelance web designer, I’m always on the hunt for components that make my projects pop. The Bootstrap Left Slide Menu caught my attention with its stylish design and responsive nature. Integrating it with my client's portfolio website seemed straightforward, but I did hit a snag with making it truly responsive. I found myself asking: How can I make the slide effect even smoother? Adjusting the CSS took some effort and patience. Positives include its instant modern appeal and the space-saving aspect of the slide-in menu. The drawback was the time invested finetuning compatibility with different browsers – the experience wasn’t uniform across all of them, which was a bit of a downside. In the end, the menu has added an undeniably sleek navigation interface to the website that my client loves.
As a DIY enthusiast, I always wanted a platform to share my projects, and Bootstrap themes came to the rescue. I selected a Bootstrap theme with a minimalist vibe to keep the focus on my photos and tutorials. The use of the Gallery block was pivotal in showcasing my work. Getting it to align with my aesthetic took some tweaking of the CSS, but the documentation was so helpful. The real game changer was the pre-designed Contact section, which I integrated with my email service easily. I hit a stumbling block with some cross-browser issues, but after some research and adjustments in my code, I managed to get a seamless look across all platforms. The end result was a slick, responsive site that highlighted my work beautifully and connected me with fellow DIYers.
I used a Bootstrap theme to launch my graphic design portfolio, and the process was a breeze. The Jumbotron block served as an impressive intro to my skills, while the Card layout proved perfect for categorizing my work. Customizing the color scheme was a bit tricky as I'm more of a designer than a coder, but Bootstrap’s wealth of resources helped me overcome this hurdle. Integrating FontAwesome icons really made my social links pop. I faced a challenge with the JavaScript components conflicting with some of my own scripts, but after some debugging, everything ran smoothly. Proudly, my website now effectively showcases my best projects with elegance and interactivity, thanks to the versatility of Bootstrap.
Venturing into the world of entrepreneurship, I needed a website that was both professional and easy to navigate, which is why I chose a clean Bootstrap theme. Using the NavBar section, I crafted a user-friendly navigation system. I added pricing tables from the Custom Components Library, making it clear and straightforward for potential clients to understand my services. A smaller hurdle I faced was customizing the Bootstrap grid to fit my text and images perfectly — it required some trial and error but was ultimately a valuable learning experience. The final product was a crisp, mobile-responsive site that has received numerous compliments from clients for its clarity and usability.
My journey to launching an online store was streamlined by choosing a Mobirise Bootstrap template. With drag-and-drop sections like the Product Grid and the Shopping Cart block, the site came to life without me having to code everything from scratch. The out-of-the-box eCommerce features saved me a ton of time, though I did encounter some issues with payment gateway integration. It took some persistence and help from the Mobirise community forums to work through the kinks. What was impressive was the responsiveness of the template, making my online store look great on all devices. By the end, I had a fully functional e-commerce website up and running faster than I could have imagined.
Pros: The Bootstrap code examples for navigation are clear and concise, providing a simple pathway to create responsive navbars. They offer a comprehensive range of styles and configurations, from basic horizontal menus to complex, multi-level dropdowns tailored to various design needs. Implementing accessibility features such as keyboard navigation and ARIA attributes is also straightforward with accompanying guidance.
Cons: While the examples are great for standard use cases, they can be limiting for developers seeking highly unique or unconventional designs. Over reliance on these patterns may lead to a sameness across websites, dampening brand individuality. Additionally, customization requires a decent understanding of Bootstrap's classes and components, which might have a steep learning curve for newcomers.
Pros: Bootstrap's card component examples are nothing short of a blessing for swift UI prototyping, featuring versatile and responsive options that cater to a broad array of content types. The code is well-structured and easy to follow, making it simple to integrate into projects. The grid system works harmoniously with cards, enabling seamless and fluid layouts on any device size.
Cons: Customization can sometimes be challenging, as the default styling is quite opinionated and may not align with every project's aesthetic. Advanced card interactions, such as dynamic loading or animation, are not covered, compelling developers to seek additional resources or write their own JavaScript enhancements. Moreover, heavy reliance on Bootstrap's styling can lead to bloated HTML with excess classes.
Pros: Bootstrap's form code examples are a great starting point for creating clean, user-friendly forms quickly. The predefined styles ensure consistency and readability, while built-in validation styles provide immediate feedback on user input. The grid system also assists in aligning form elements effectively without extra custom CSS.
Cons: There is a tendency for the form layouts to look generic across different websites, potentially reducing brand uniqueness. Developers may find they need to override a number of styles to achieve a more custom look, which can become cumbersome. The examples provided lack more sophisticated form components like date pickers or custom file inputs, requiring third-party plugins or additional coding.
Pros: The examples for Bootstrap's modals are perfectly suited for developers needing to implement dialogues quickly. They showcase modals for a variety of scenarios—confirmation messages, forms, and information panels—with copy-paste-ready code. The modals are inherently responsive and offer good accessibility features, such as focus management and screen reader compatibility.
Cons: The basic modal designs may not suffice for more creative or complex requirements. Customization can be intensive, requiring a solid grasp of Bootstrap components to maintain functionality while adjusting the appearance. Some examples lack advanced features, like draggable modals or persistent state handling, and including these requires additional scripting.