"Effortless integration, responsive design: Bootstrap Login Form Example for seamless user authentication. 🛡️ Secure, stylish, and cross-platform compatible."
I recently incorporated the Bootstrap Login Form Example into my project and I was immediately delighted by its sleek design and responsiveness. The choice for this particular template was driven by my need for a login form that was not only aesthetically pleasing but also easy to integrate with my existing Bootstrap-based website. While using the template, I was faced with how to customize the color scheme to better fit my brand, but after some tinkering with the provided CSS classes, I found it to be quite straightforward. The positives are definitely the ready-to-use nature of the template and its clean layout. However, one downside is that the error handling out of the box is quite basic and required additional code to make it more user-friendly. Overall, the efficiency and minimal design of this login form made the small extra effort well worth it.
The Bootstrap Login Form Example caught my eye due to its intuitive layout and elegant design, which is why I chose it for my admin panel. During implementation, I pondered over how to best implement two-factor authentication alongside the provided fields which required some additional research and coding. One of the biggest positives is that this template is incredibly mobile-friendly, creating a seamless experience across devices. Another upside is its compatibility with various browsers. On the flip side, the template's customization documentation was a bit lacking, leaving me to experiment a bit more than I would have liked with the styling aspects. Despite this, the end result was a very professional-looking login form that my clients praised.
As a small business owner, I needed a quick solution for a login screen, and the Bootstrap Login Form Example ticked all the boxes. The ease of use was a key factor for choosing this template. While implementing it, I stumbled upon a small issue related to field validation that wasn't very clear in the documentation, which ended up requiring a bit more effort to resolve than expected. The clean code and the overall simplicity of the form were major positives. The only negative I found was that the design might be a bit too simple for those seeking a more unique or branded experience, which means you might need some extra customization. In the end, the template served its purpose beautifully and saved me a lot of time.
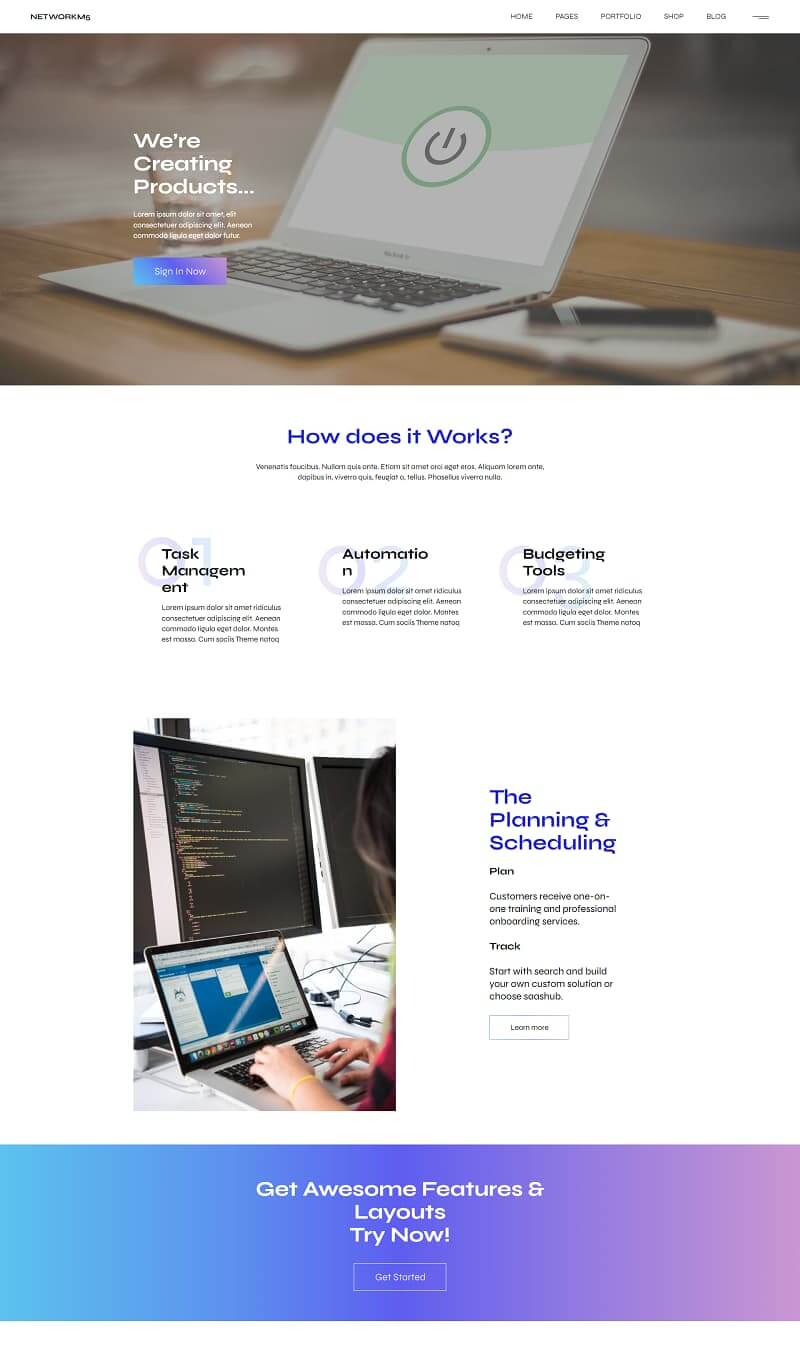
As a developer with deadlines, the Bootstrap Login Form Example was a lifesaver. I chose it because I required a form that could be deployed quickly, without sacrificing quality. While using it, my main hurdle was figuring out how to integrate it with my backend auth service, as there were no specific guides provided. A massive positive of this template is that it follows Bootstrap's best practices, making the code tidy and the form's look and feel consistent with the latest design trends. The template's responsiveness across various device sizes is also commendable. A drawback, however, was the lack of variety in terms of layout options, as I had to manually adjust the form to add social login buttons. Nonetheless, it was a small compromise for a result that exceeded my expectations.
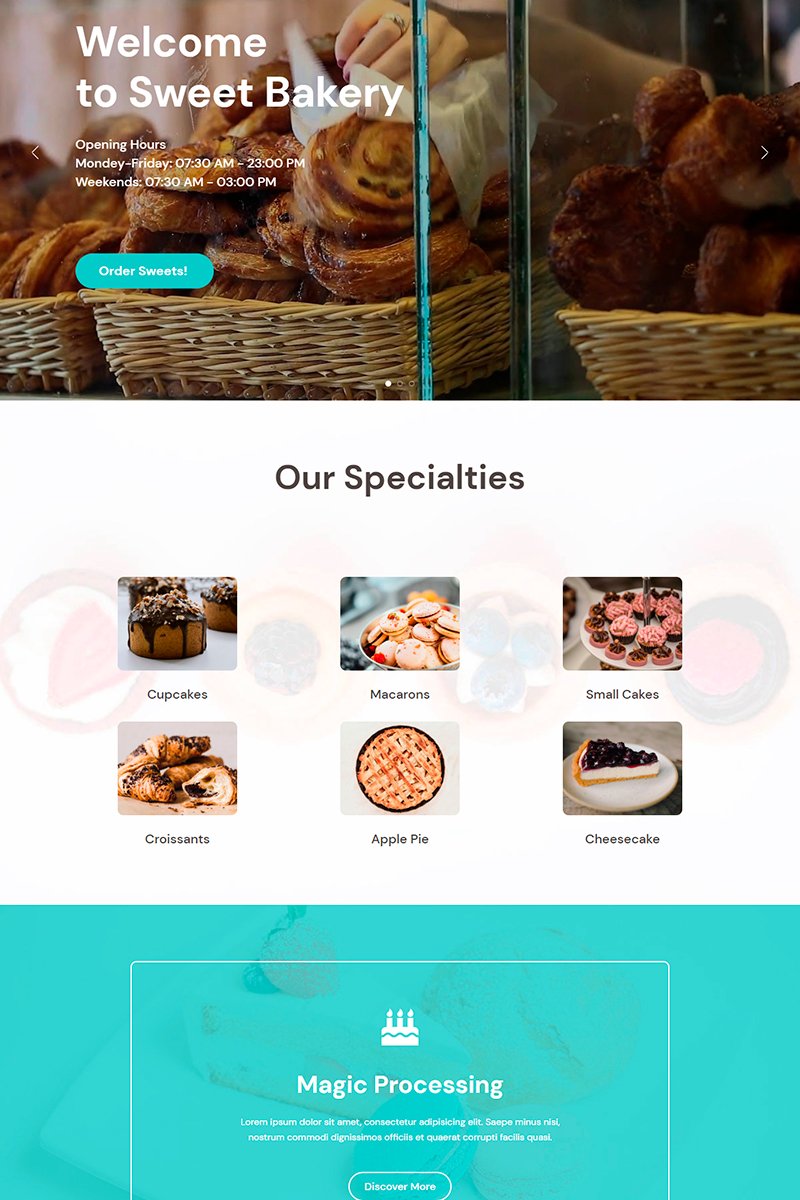
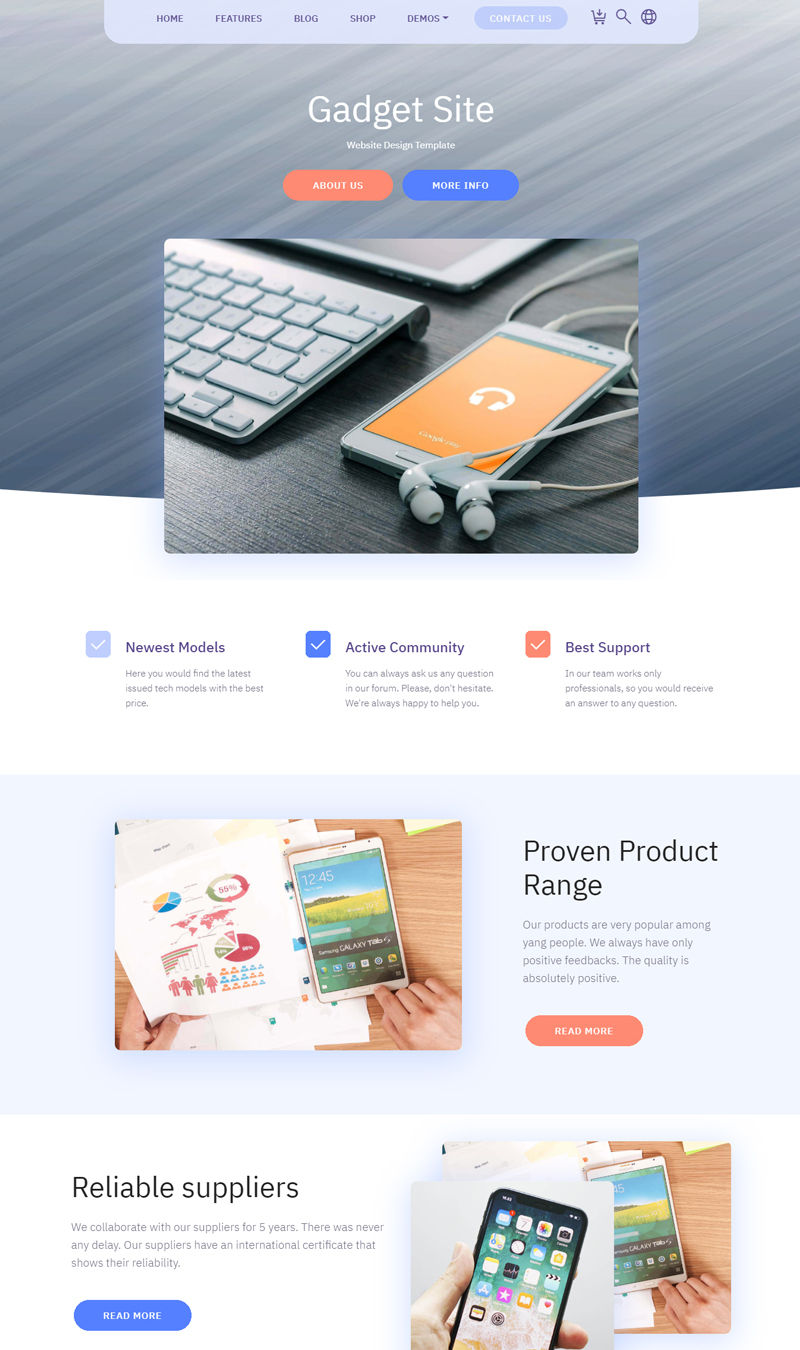
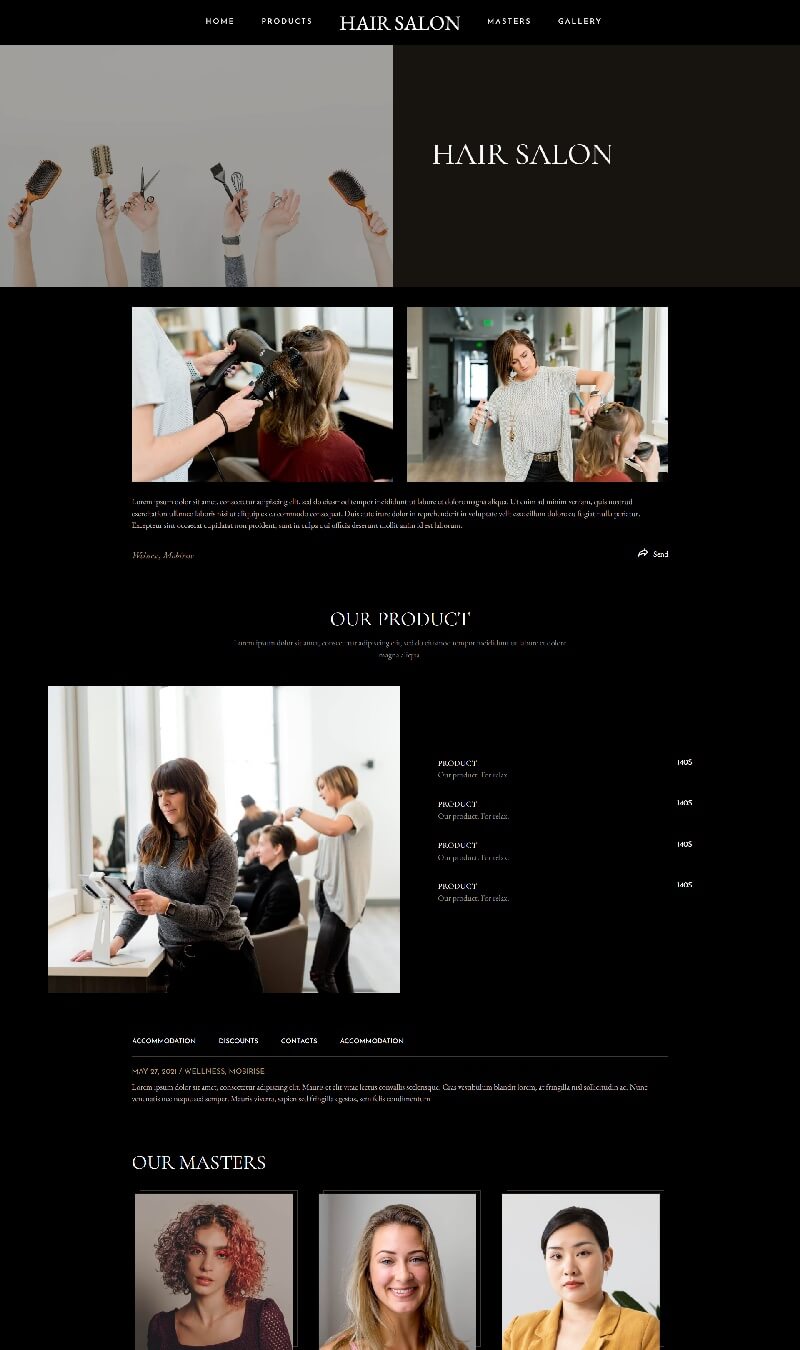
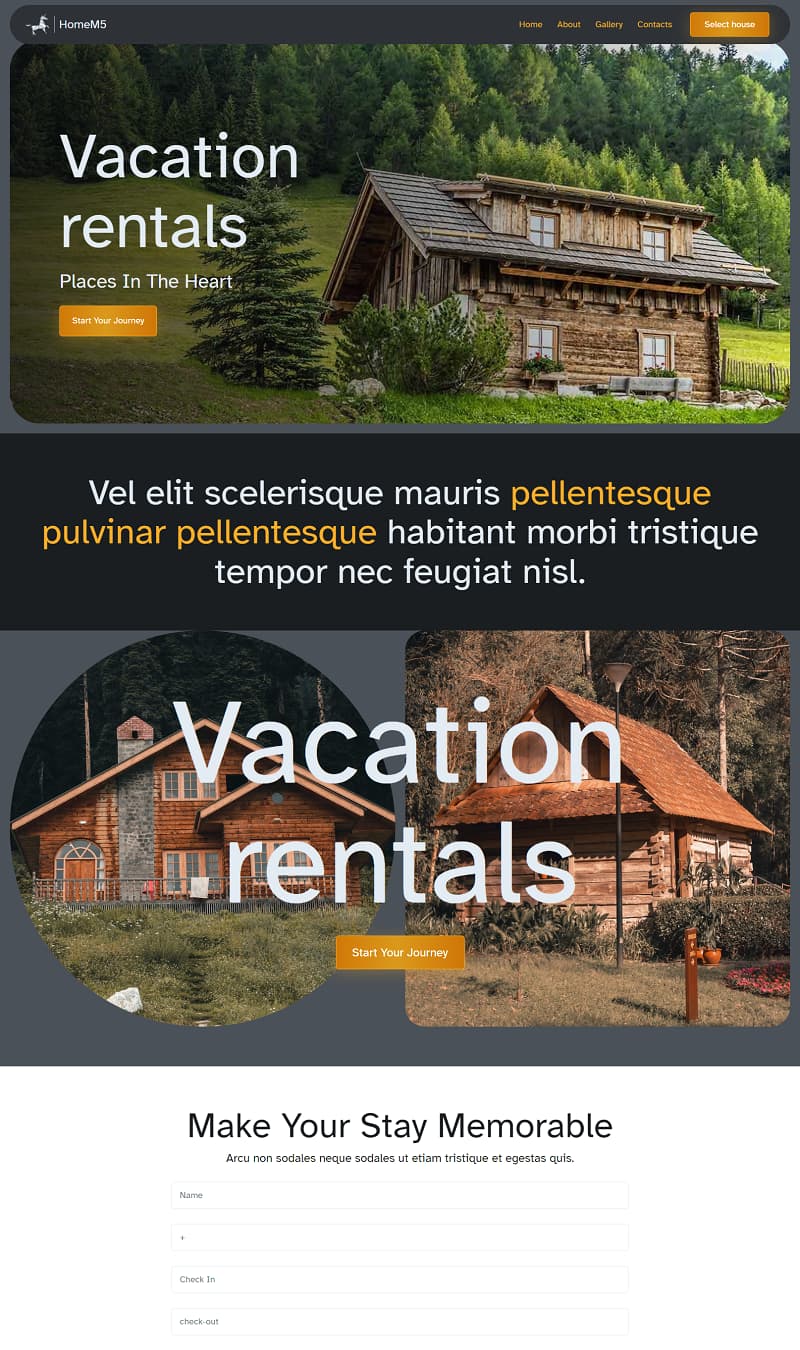
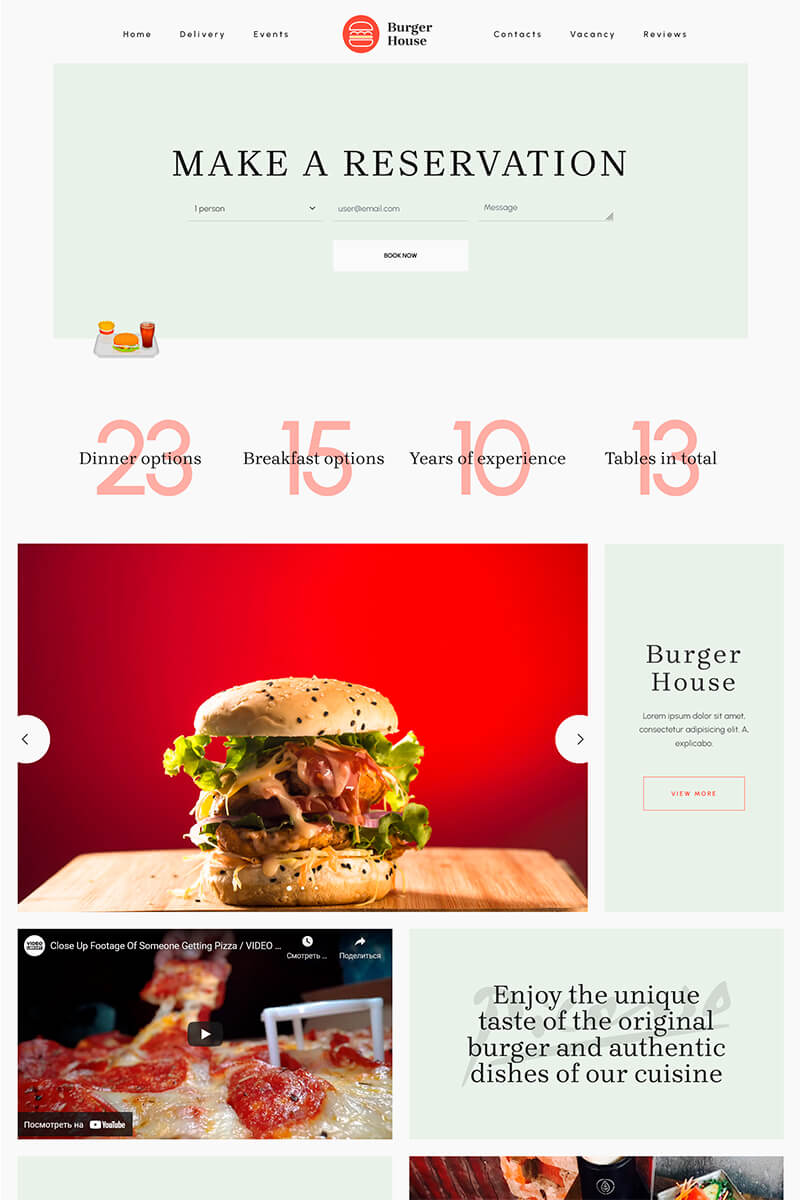
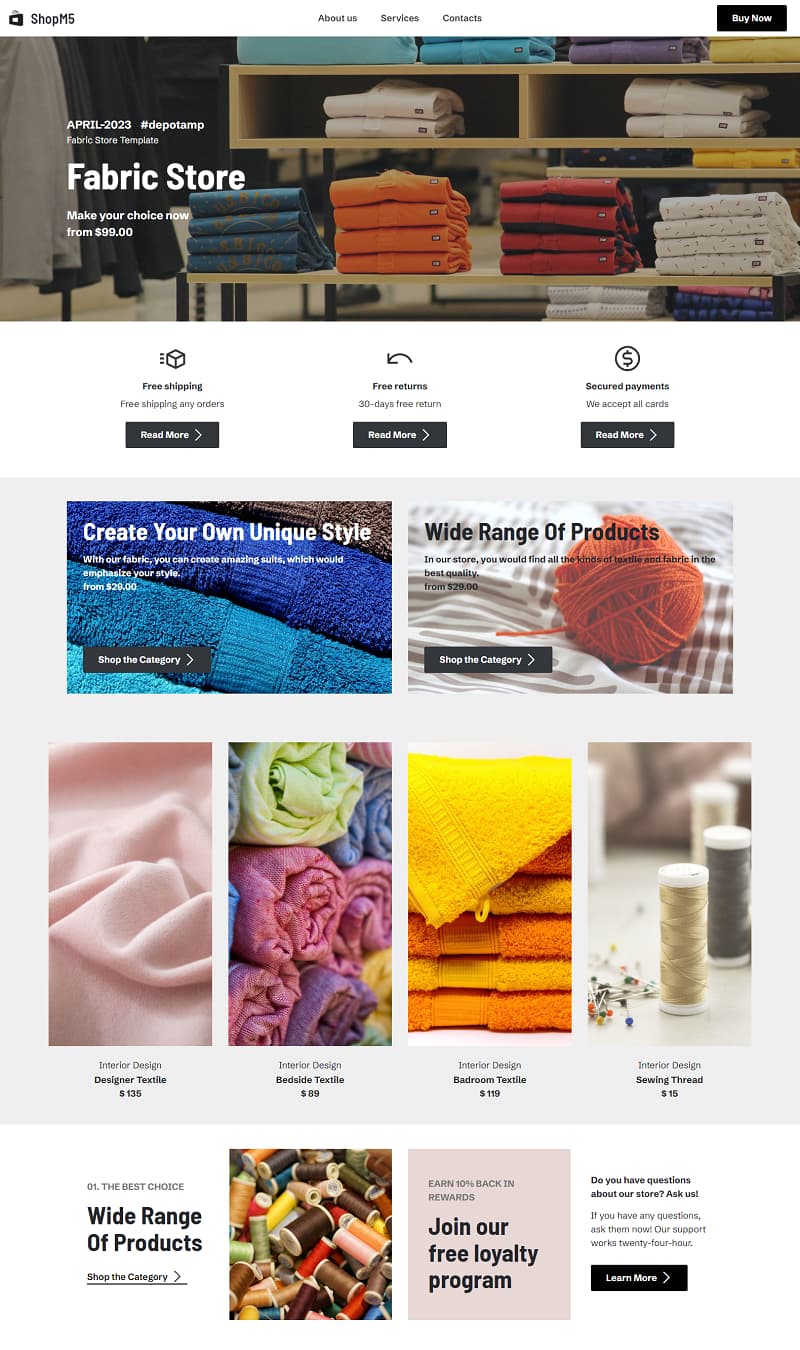
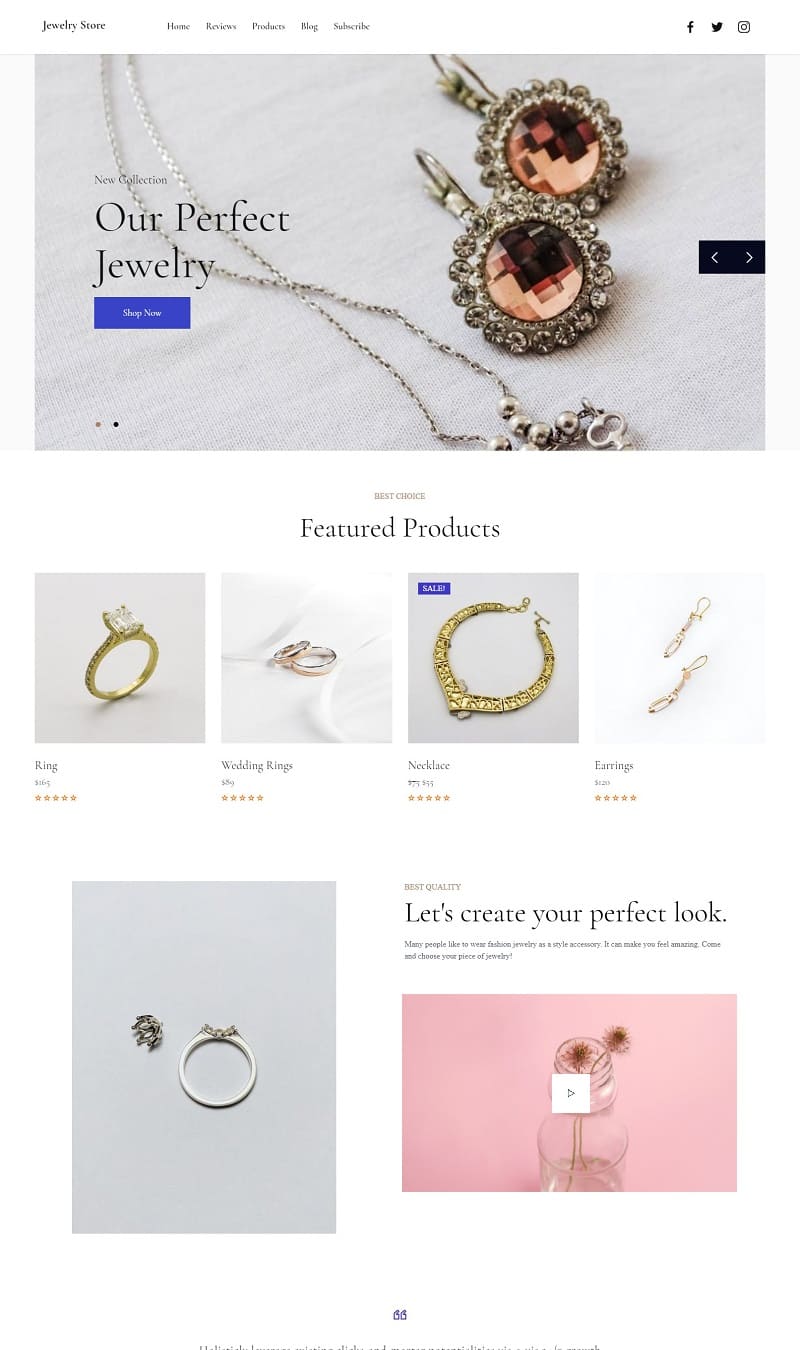
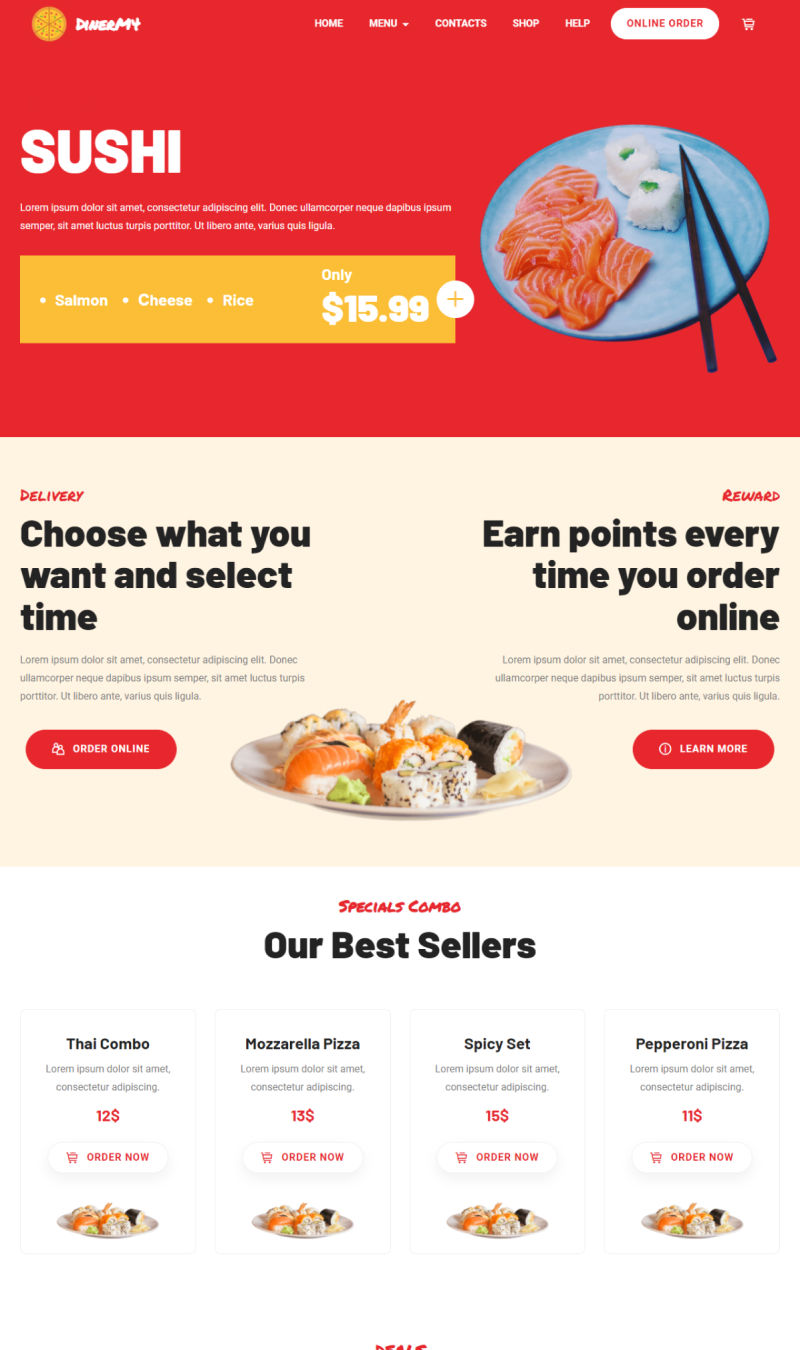
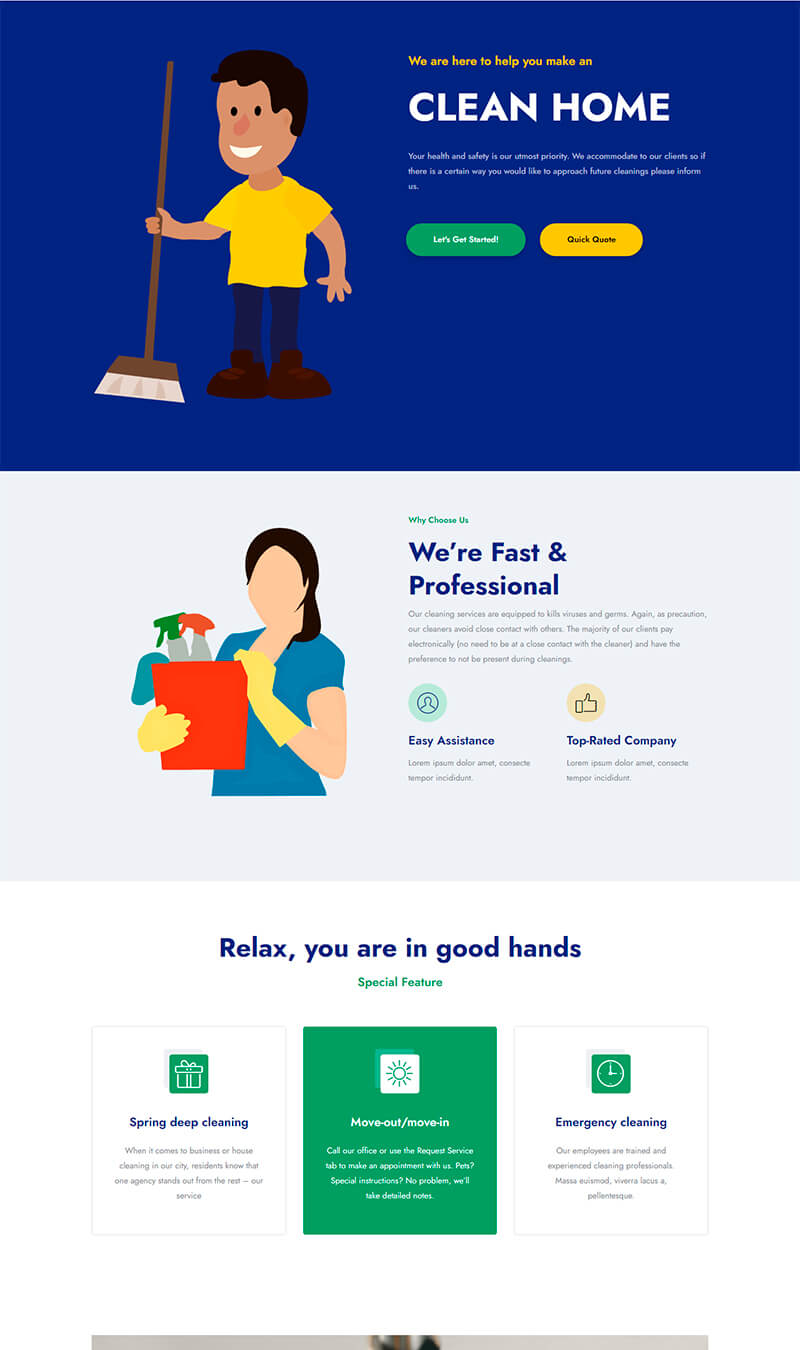
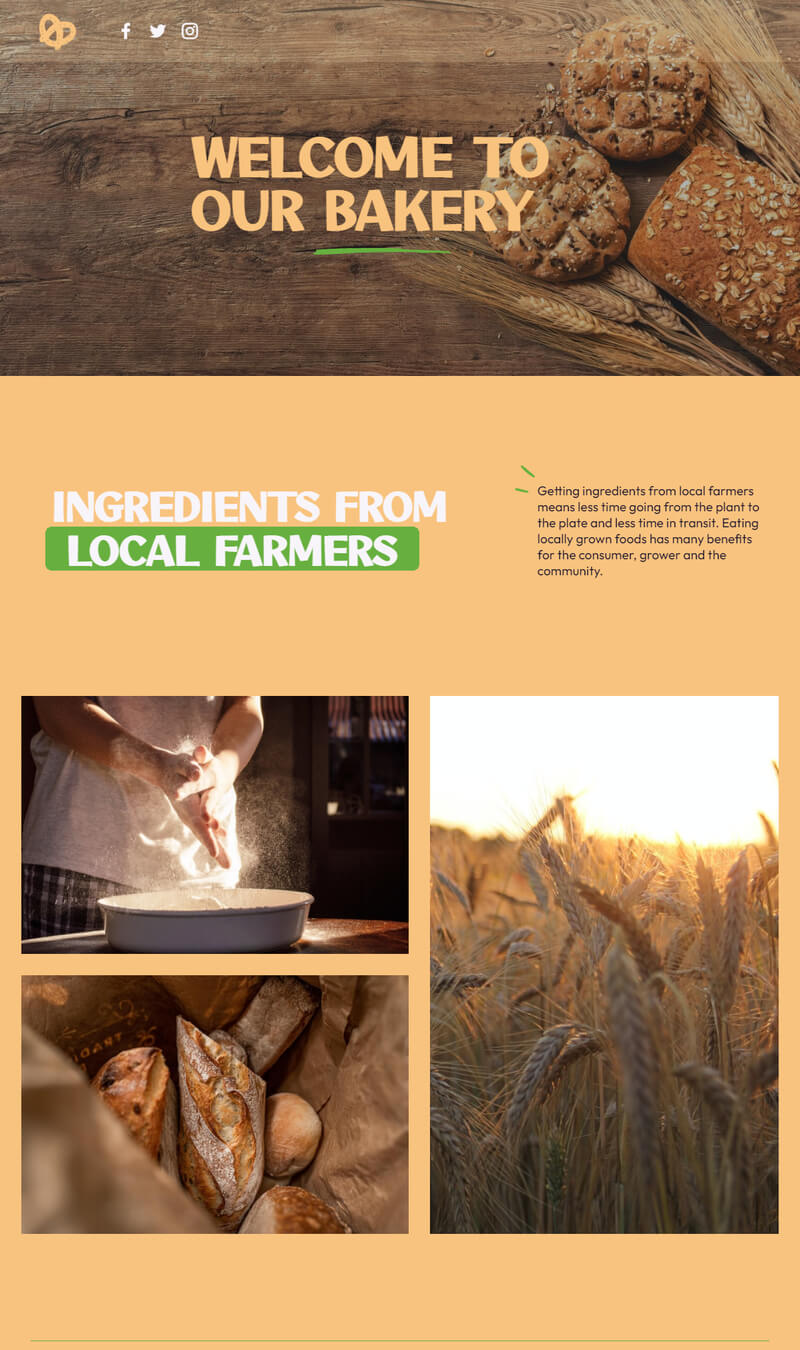
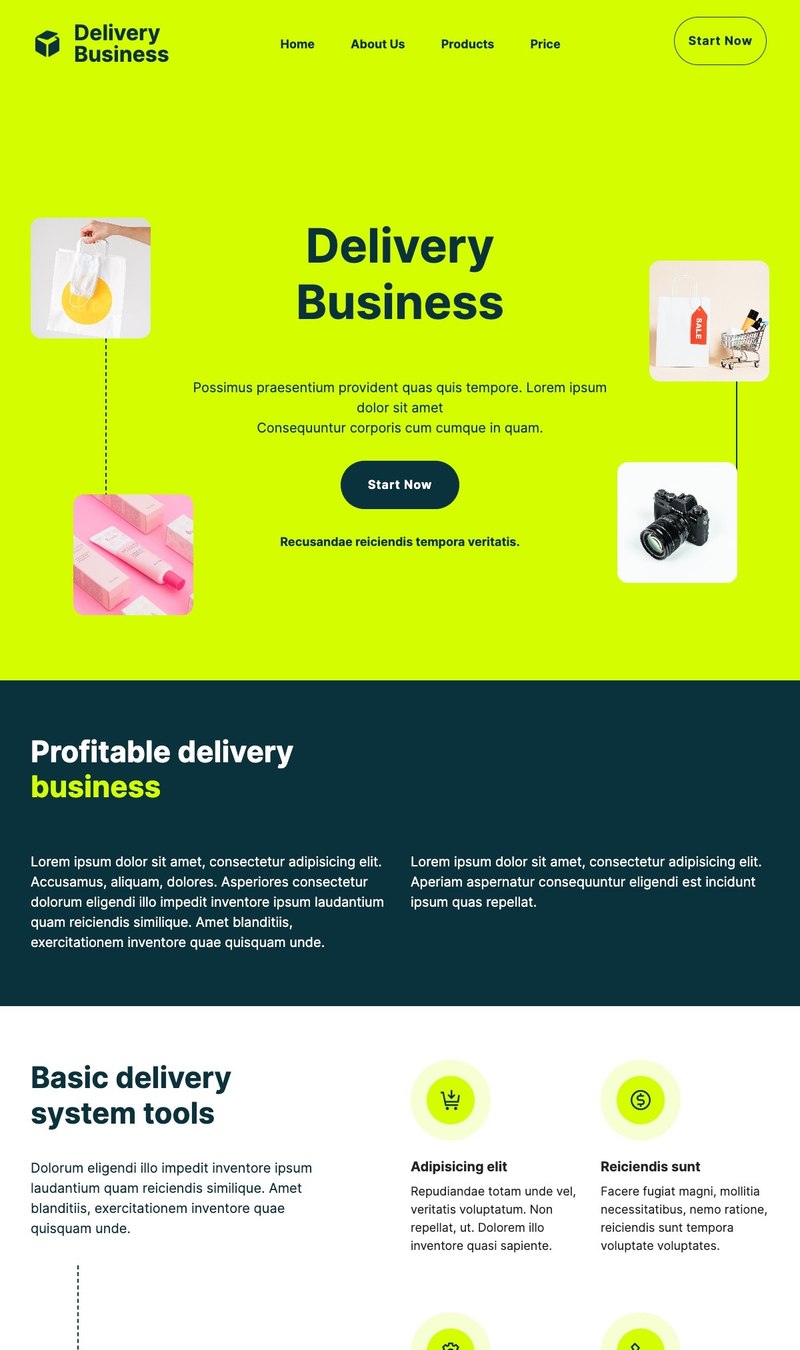
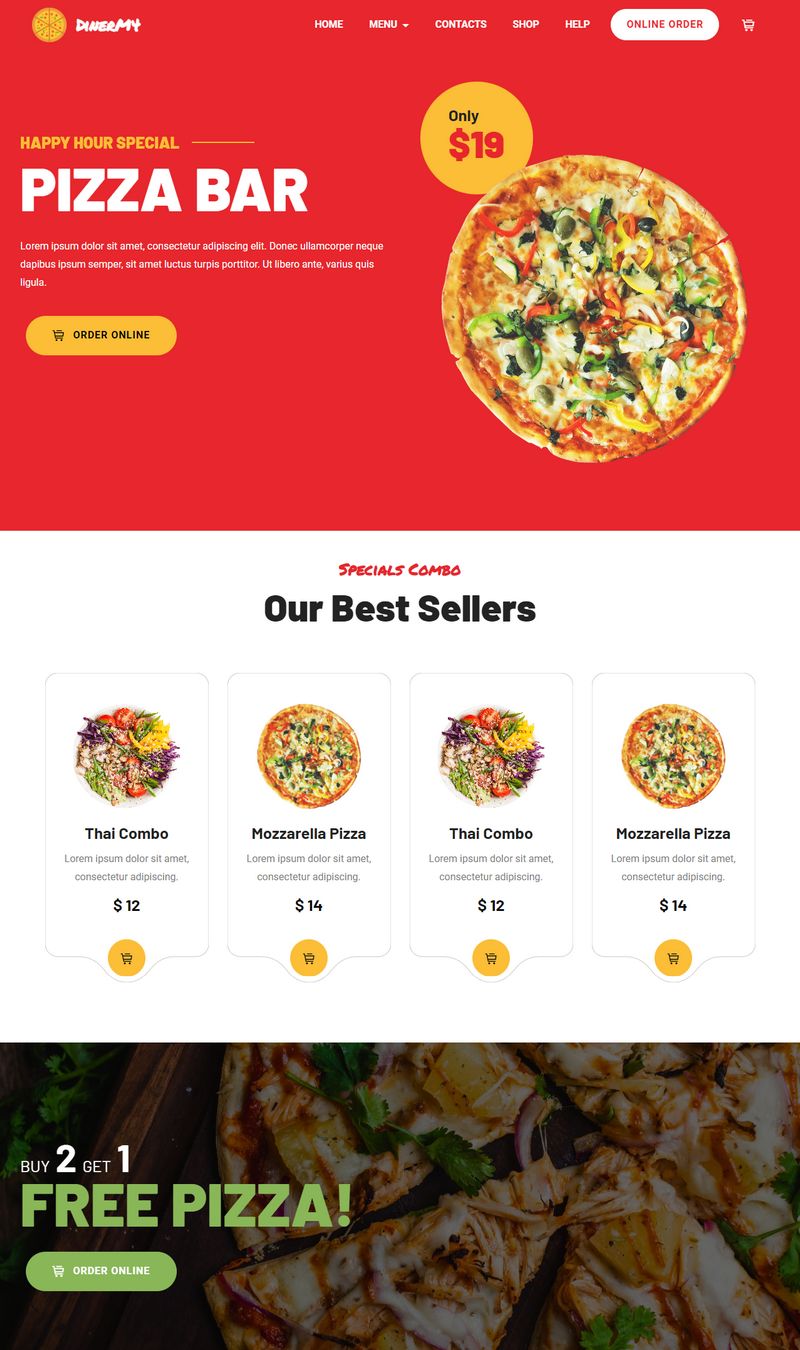
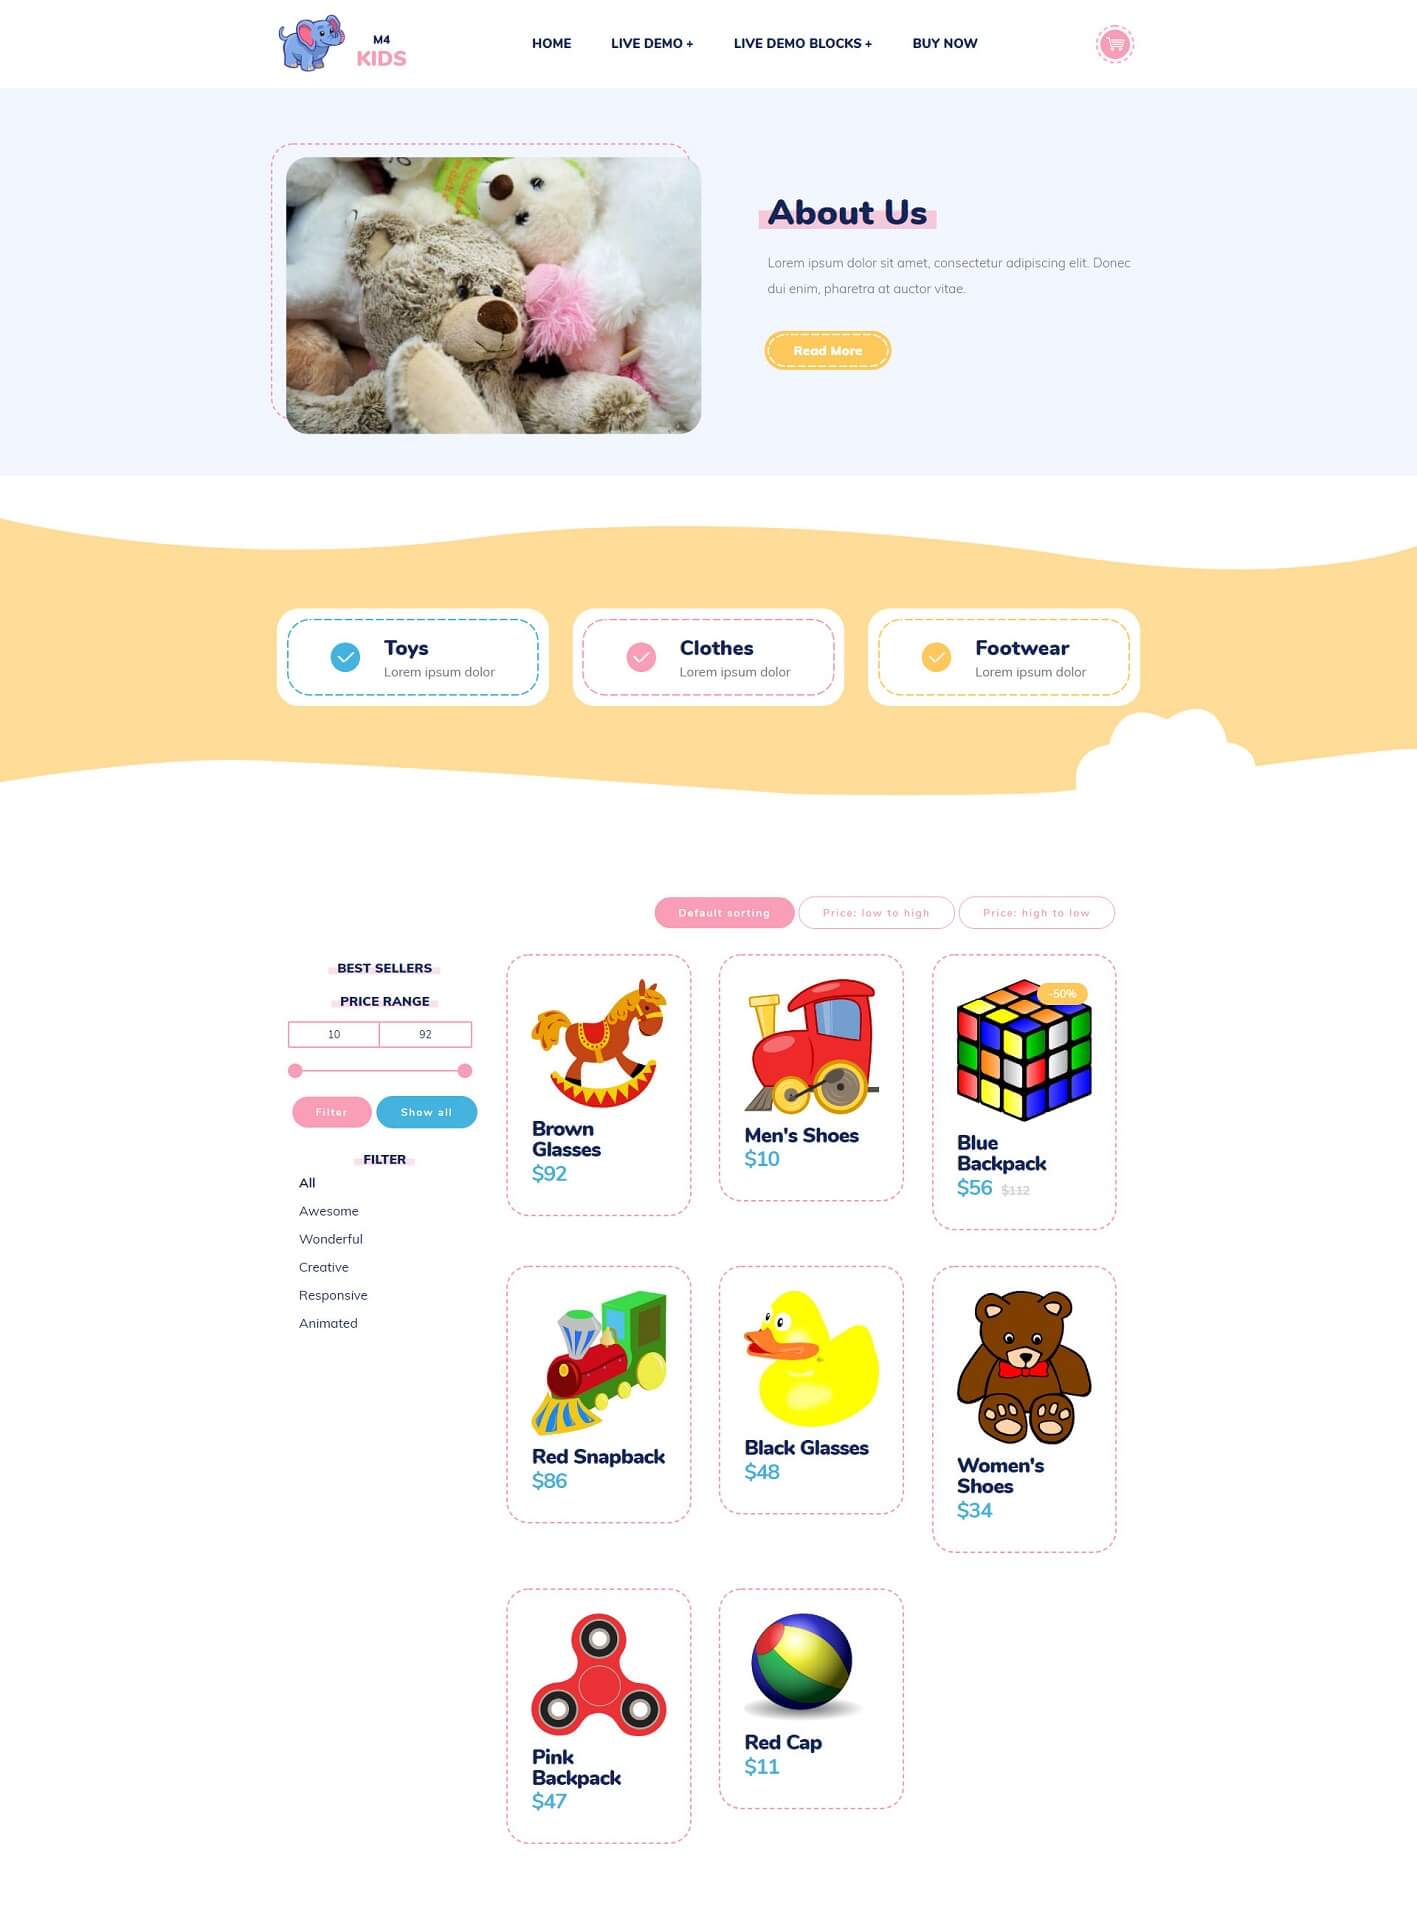
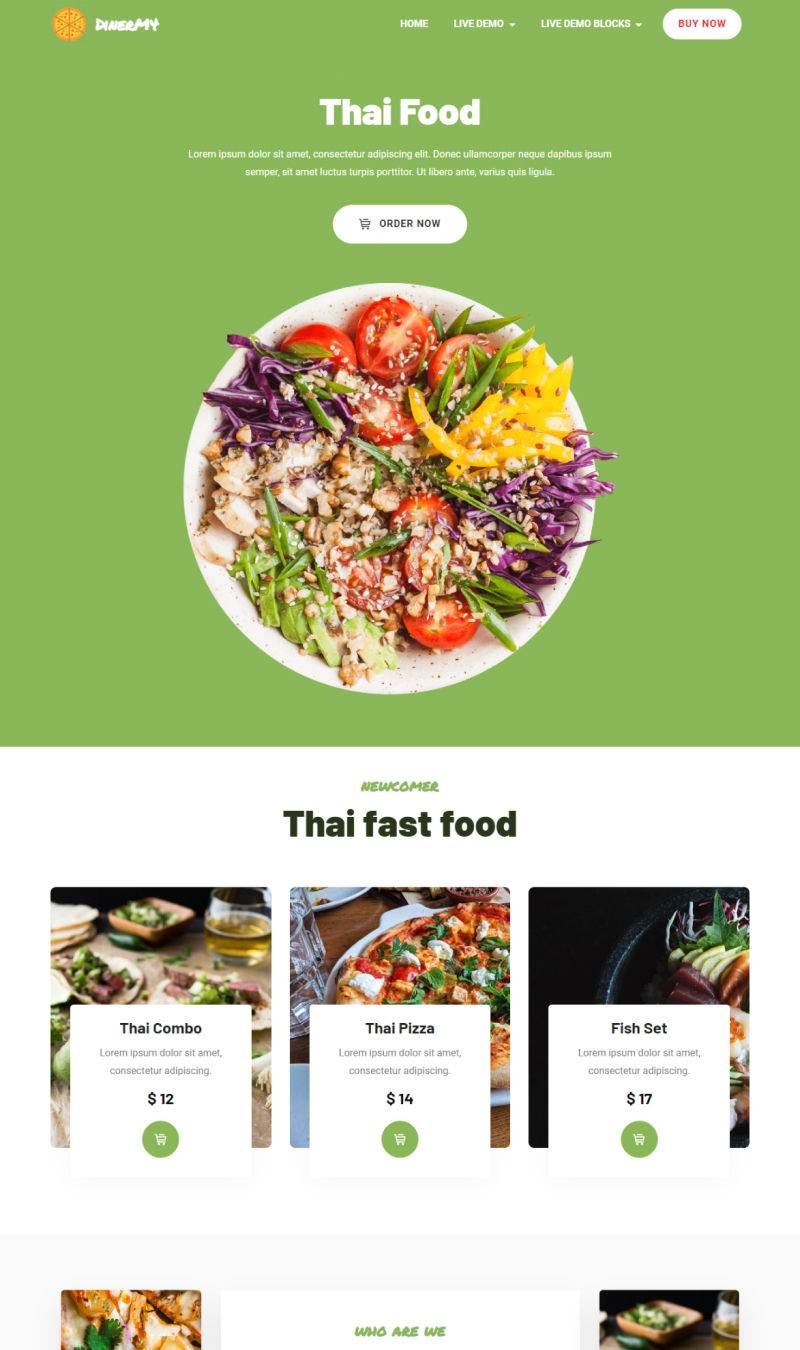
I recently decided to take my small bakery business online, and Bootstrap themes were a game changer for me. I selected a food-related theme that really accentuated the homemade feel of my brand. The integrated navbar and sticky top menu allowed for smooth navigation through my site. The built-in carousel was essential for showcasing my best-selling cakes and pastries. I especially loved the gallery section, where I could effortlessly create a grid of images with modal popups – perfect for my customers to browse through our menu. The contact form block was straightforward, which helped me connect with my customers. I did face challenges with customizing the font sizes and colors to match my brand's style guide because of my limited CSS knowledge. Fortunately, after some tinkering and a couple of tutorials, I was able to make the necessary adjustments. In the end, my website had a professional look that I was proud to share!
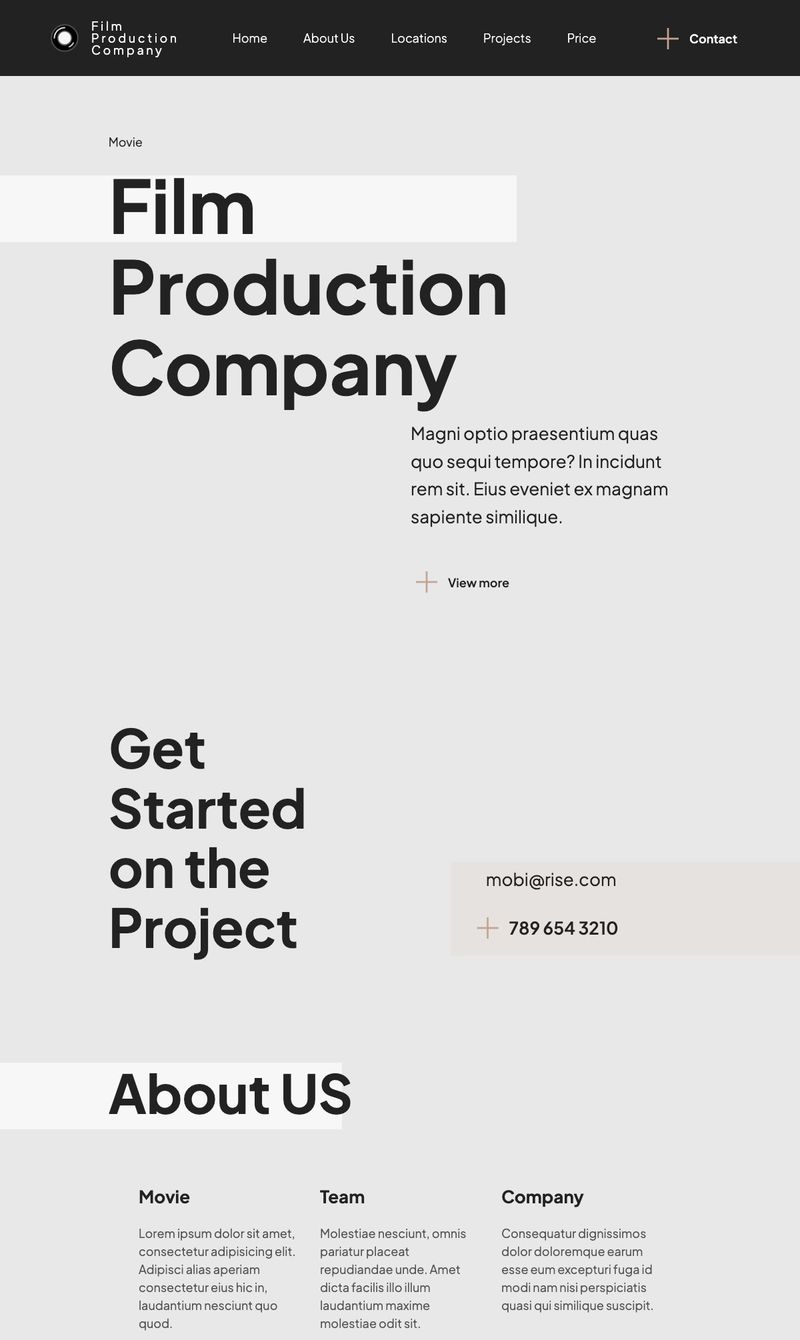
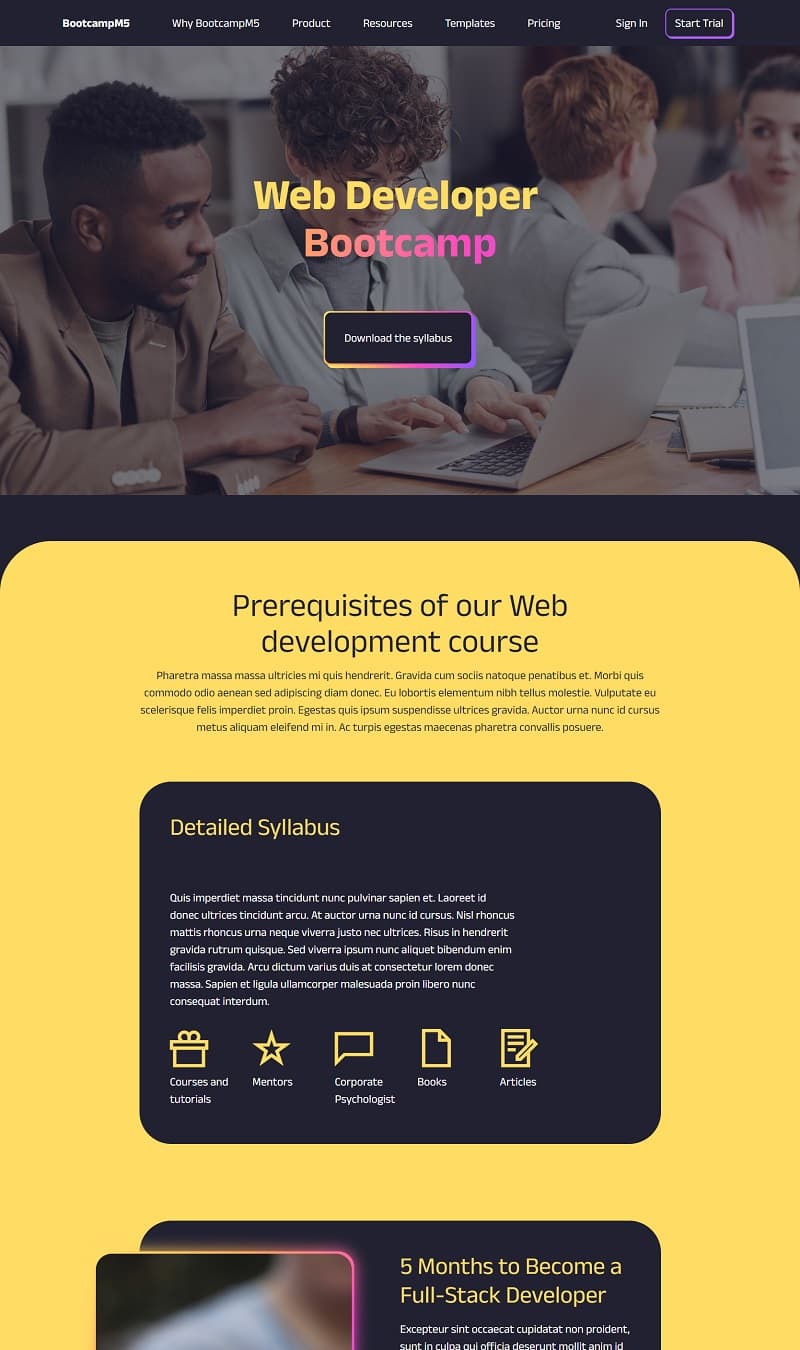
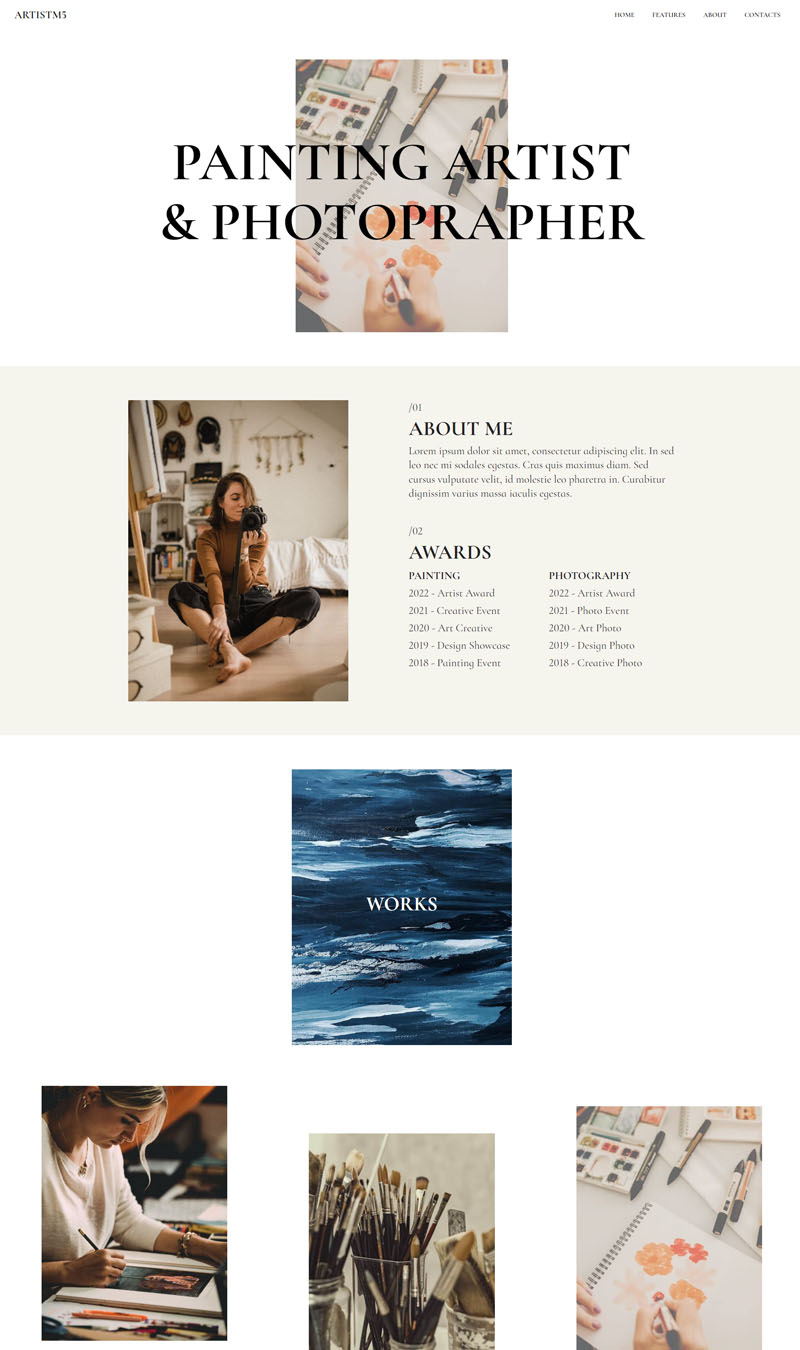
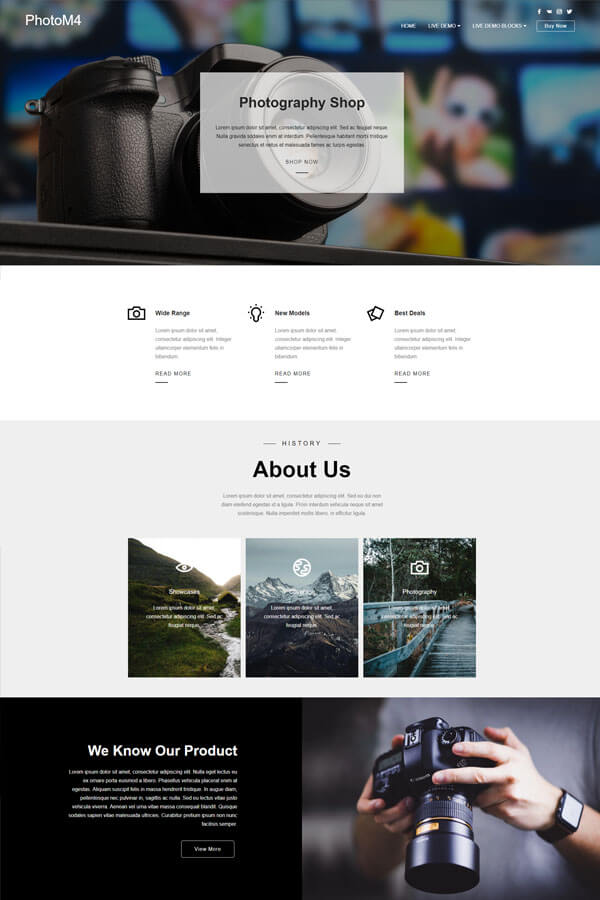
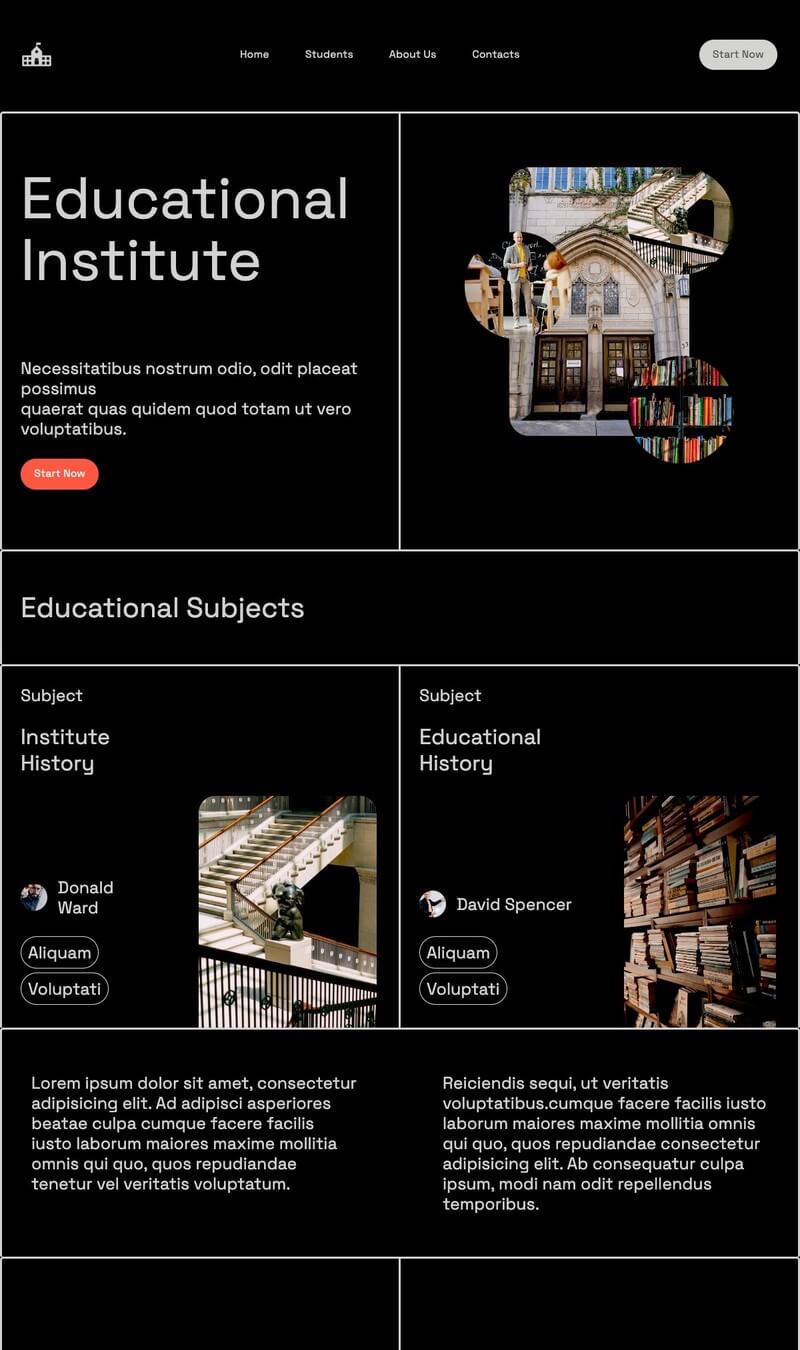
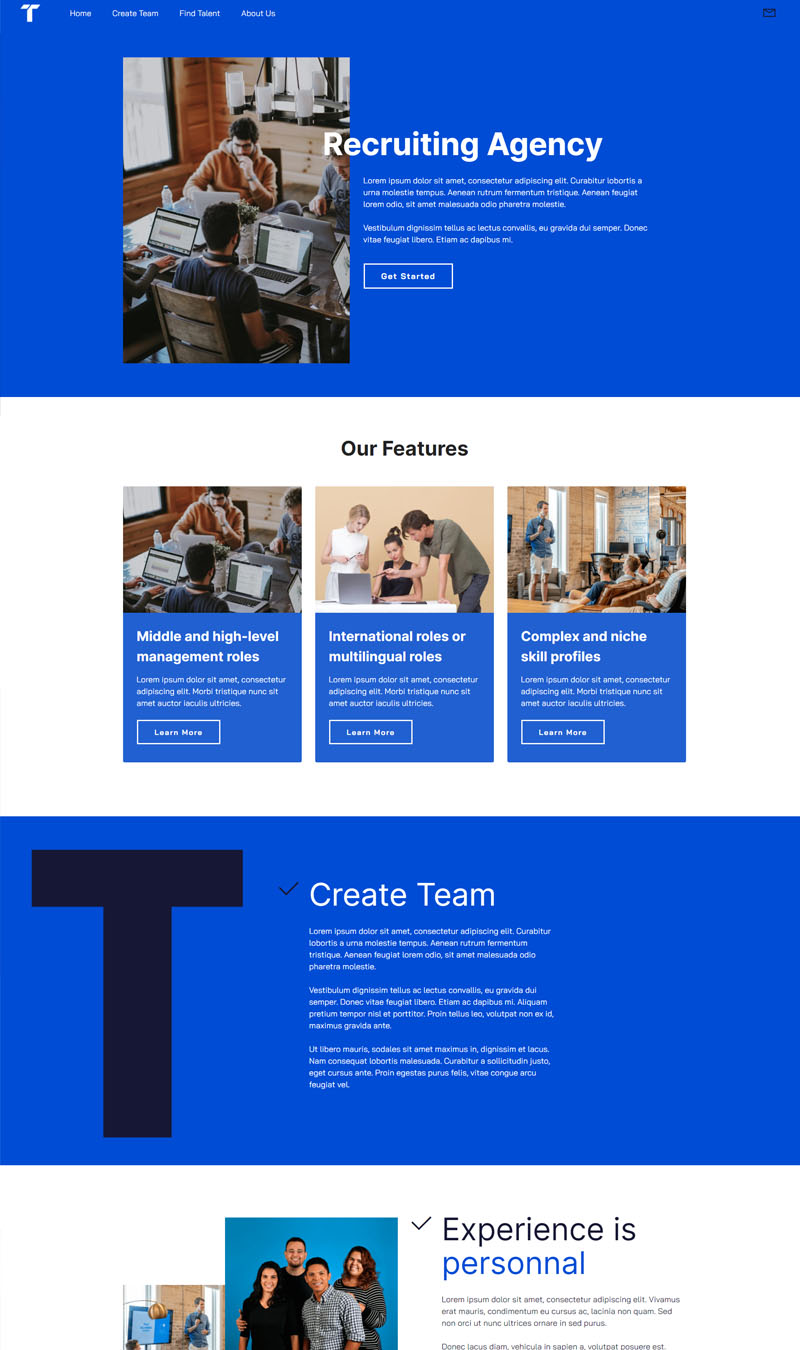
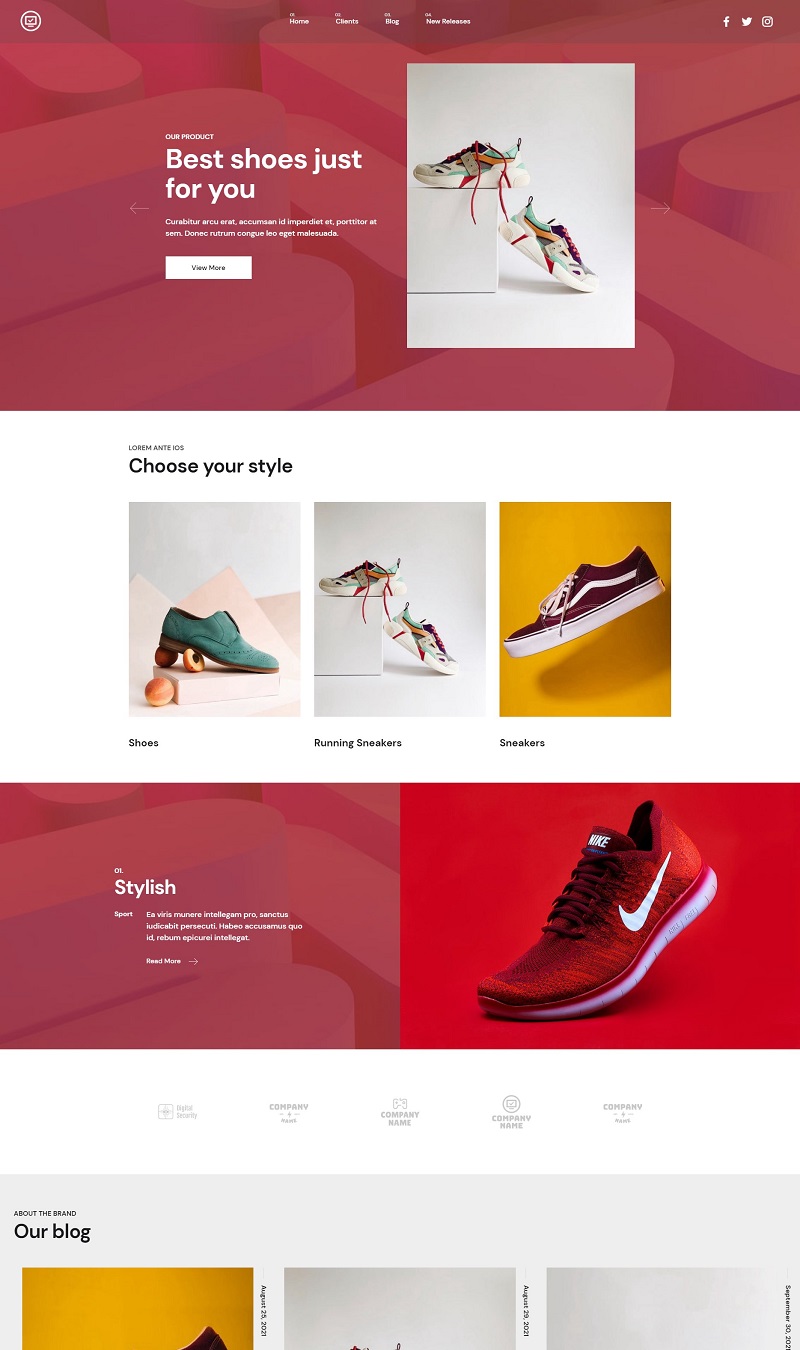
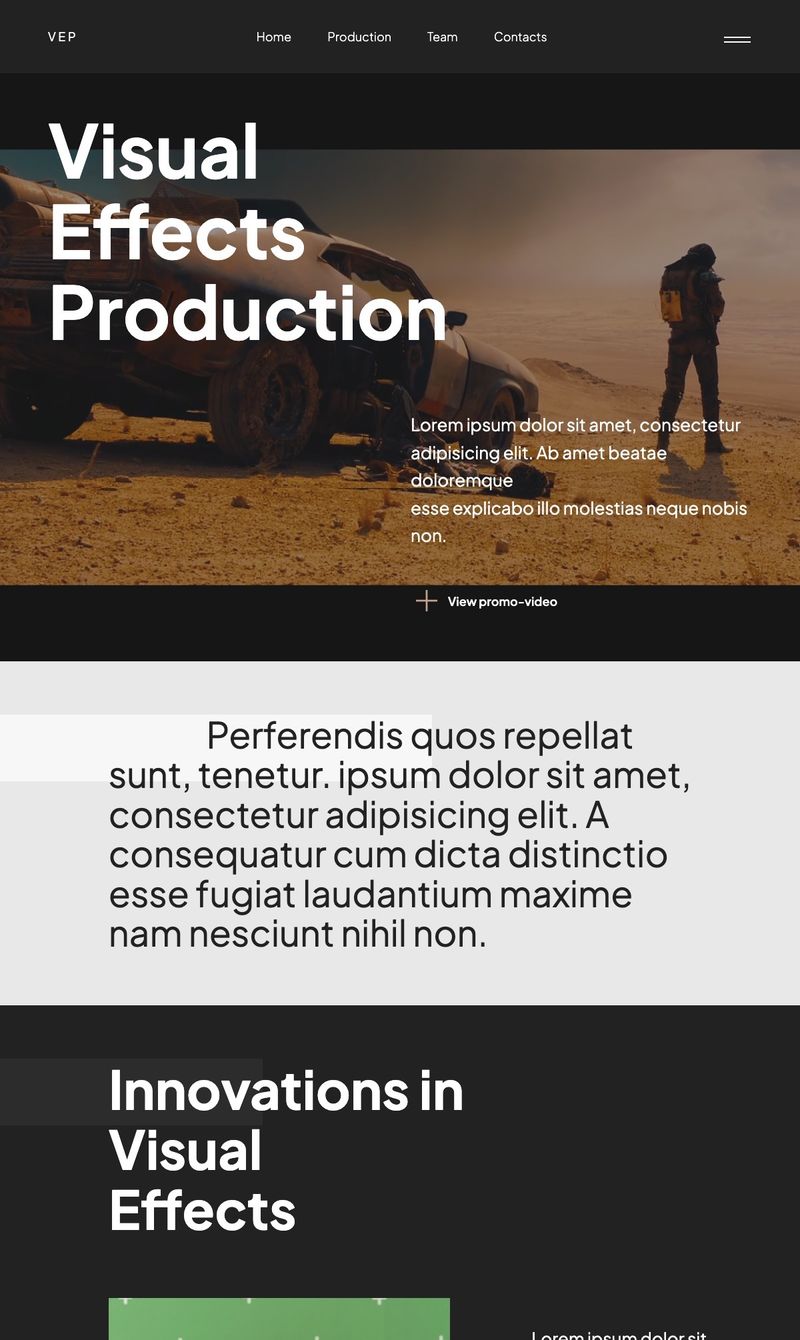
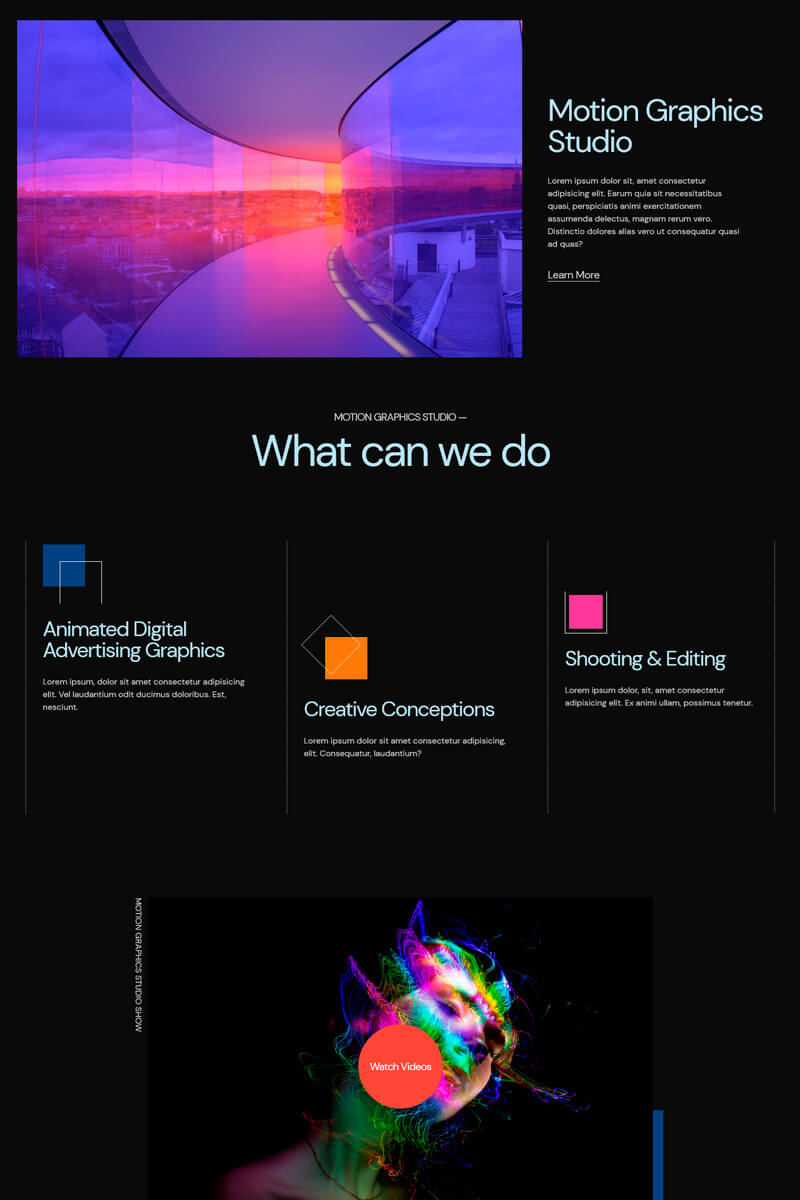
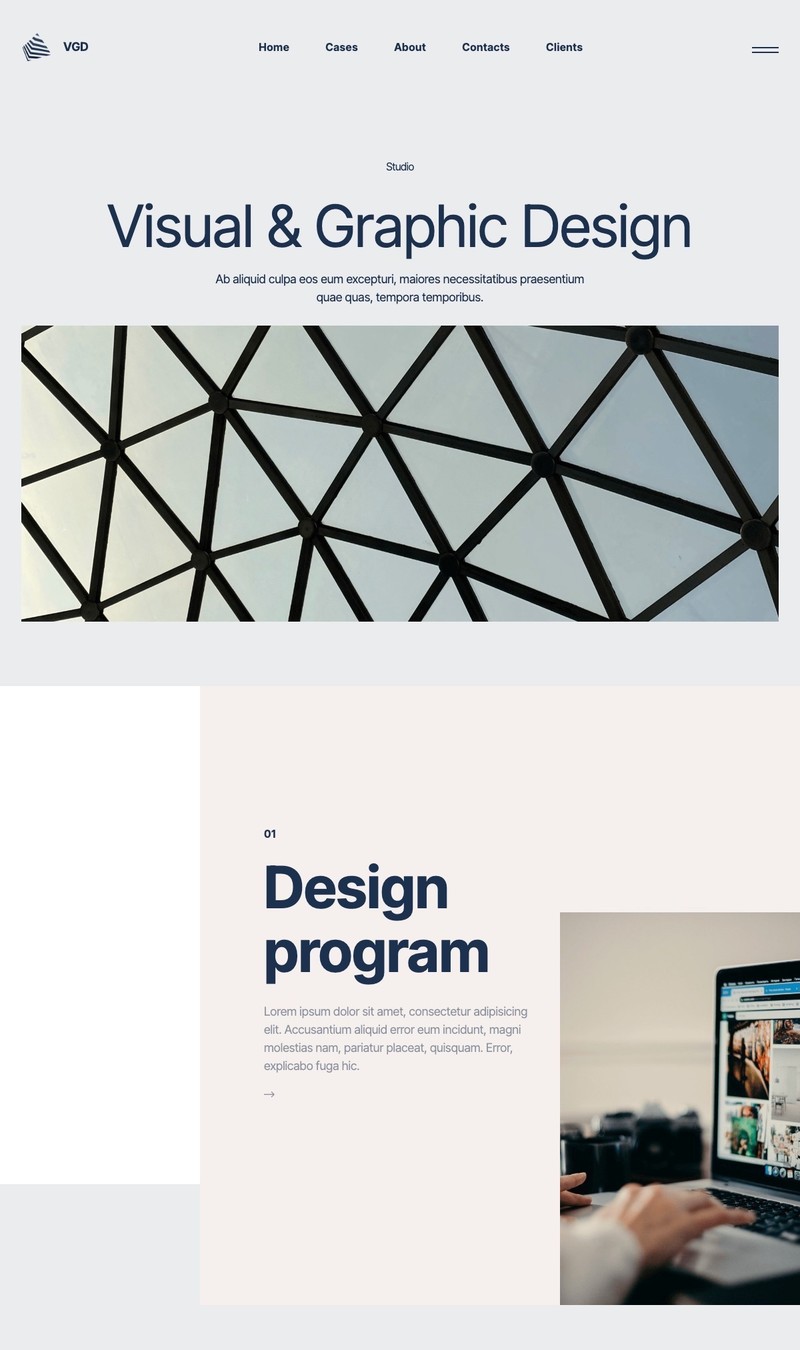
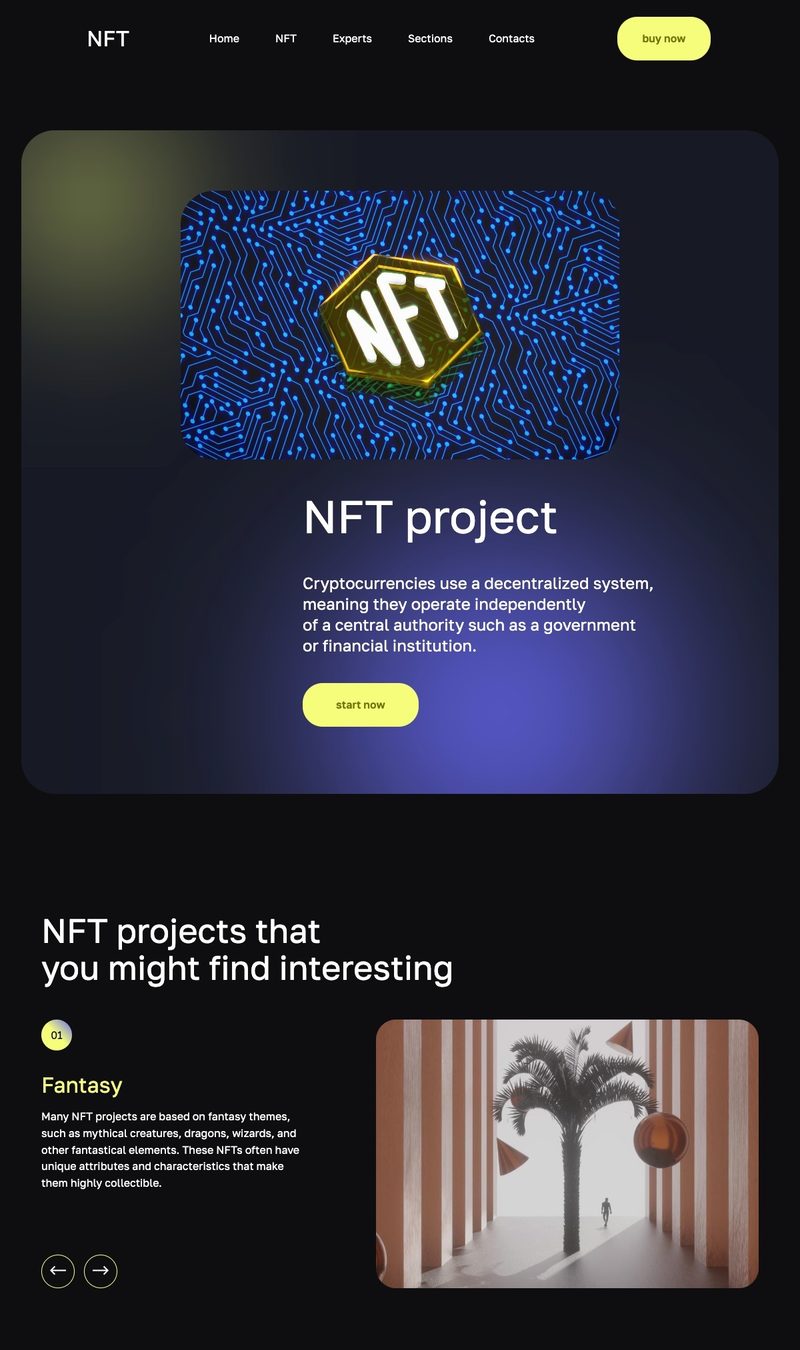
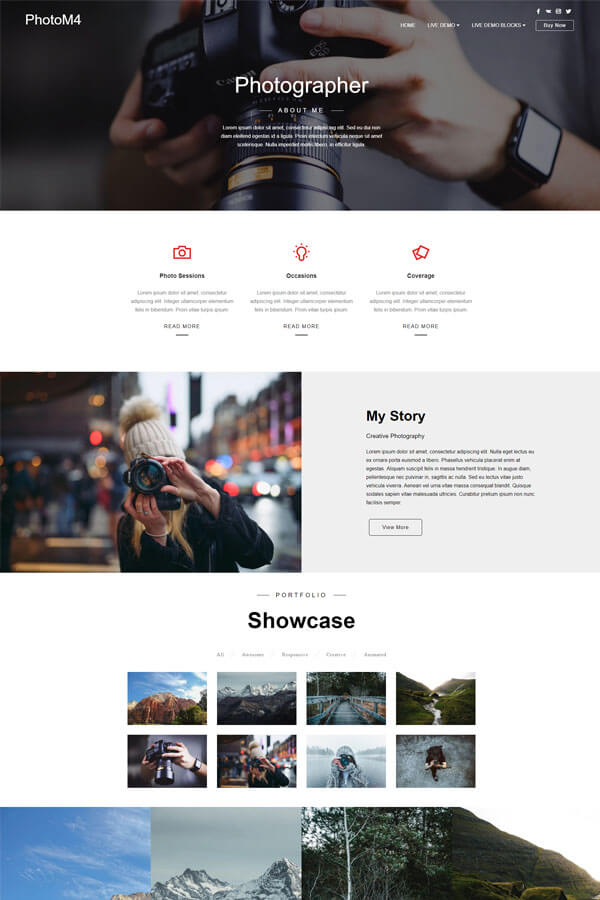
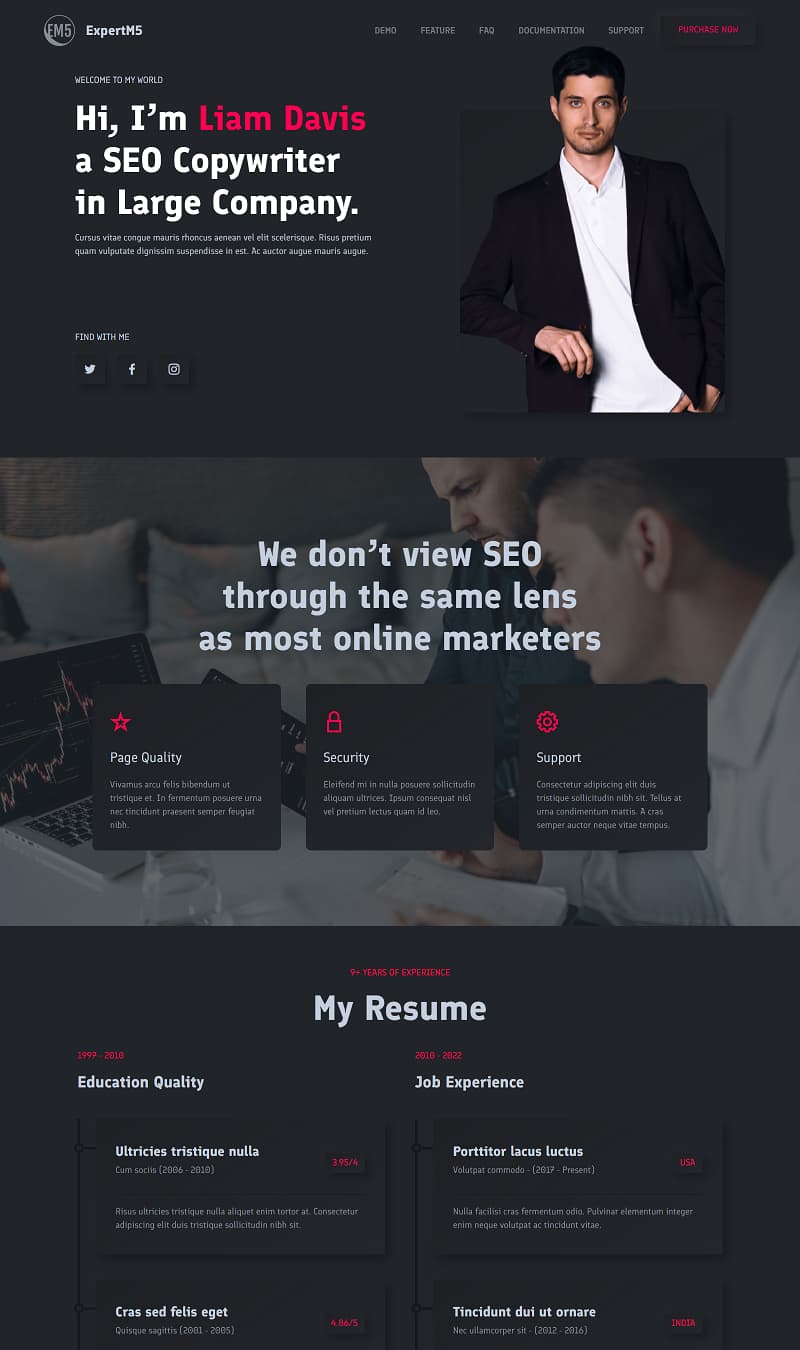
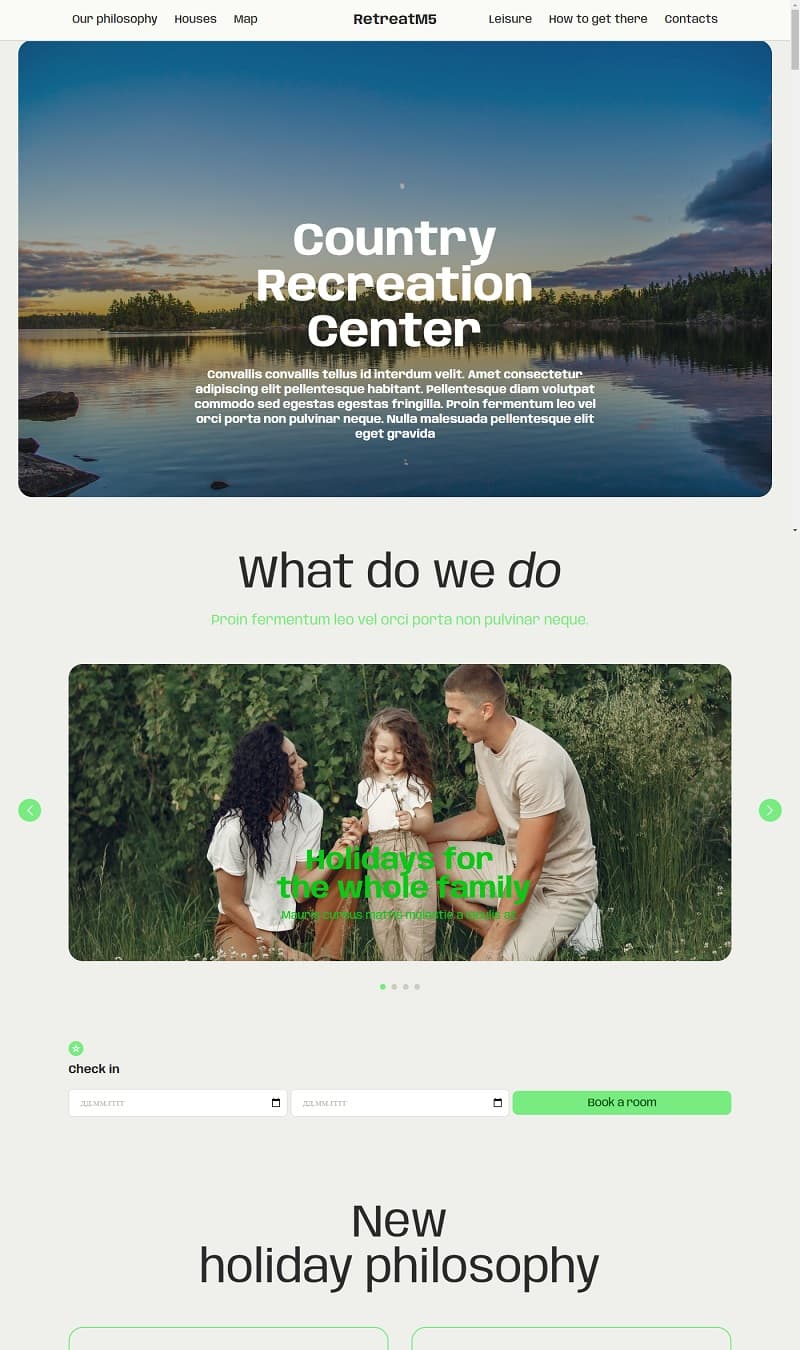
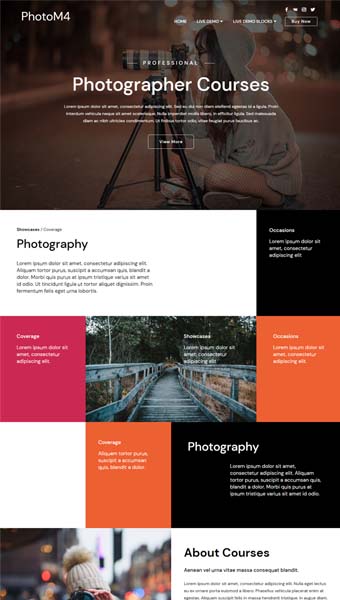
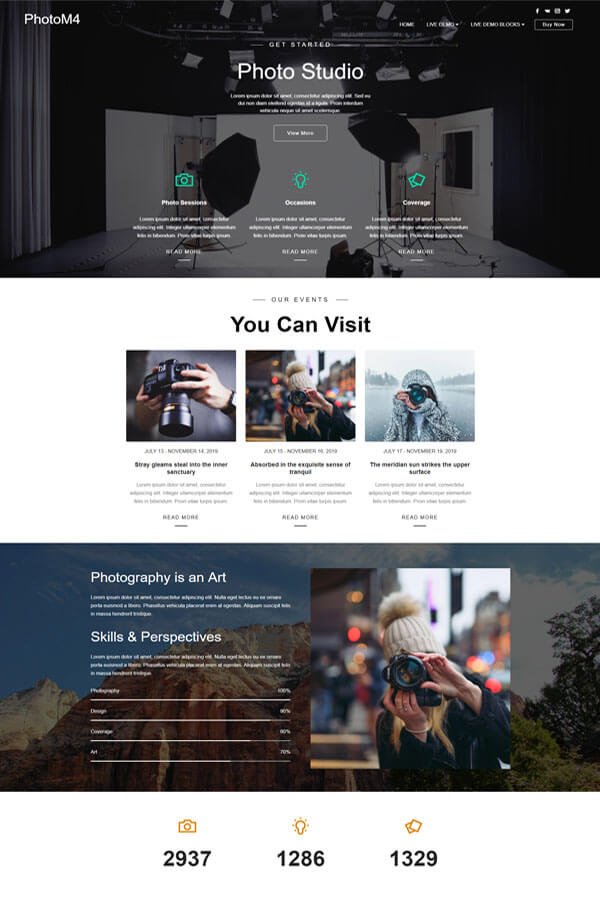
Creating my online portfolio with Bootstrap themes allowed me to showcase my photography in a crisp, modern layout. I chose a theme with a dark background that really made my photos pop. The use of jumbotron blocks gave my homepage a bold statement and a call-to-action that caught visitor's attention. Implementing the card design layout for my portfolio pieces provided a neat and organized way to present my work. However, making the image gallery responsive on various devices was quite the hurdle. I had to delve deep into the Bootstrap grid system and media queries to achieve the desired effect. That said, the satisfaction of overcoming these obstacles was immense. Not only did I enhance my skills, but my website's fluidity and functionality were well-received by my audience, increasing engagement and inquiries about my photography services.
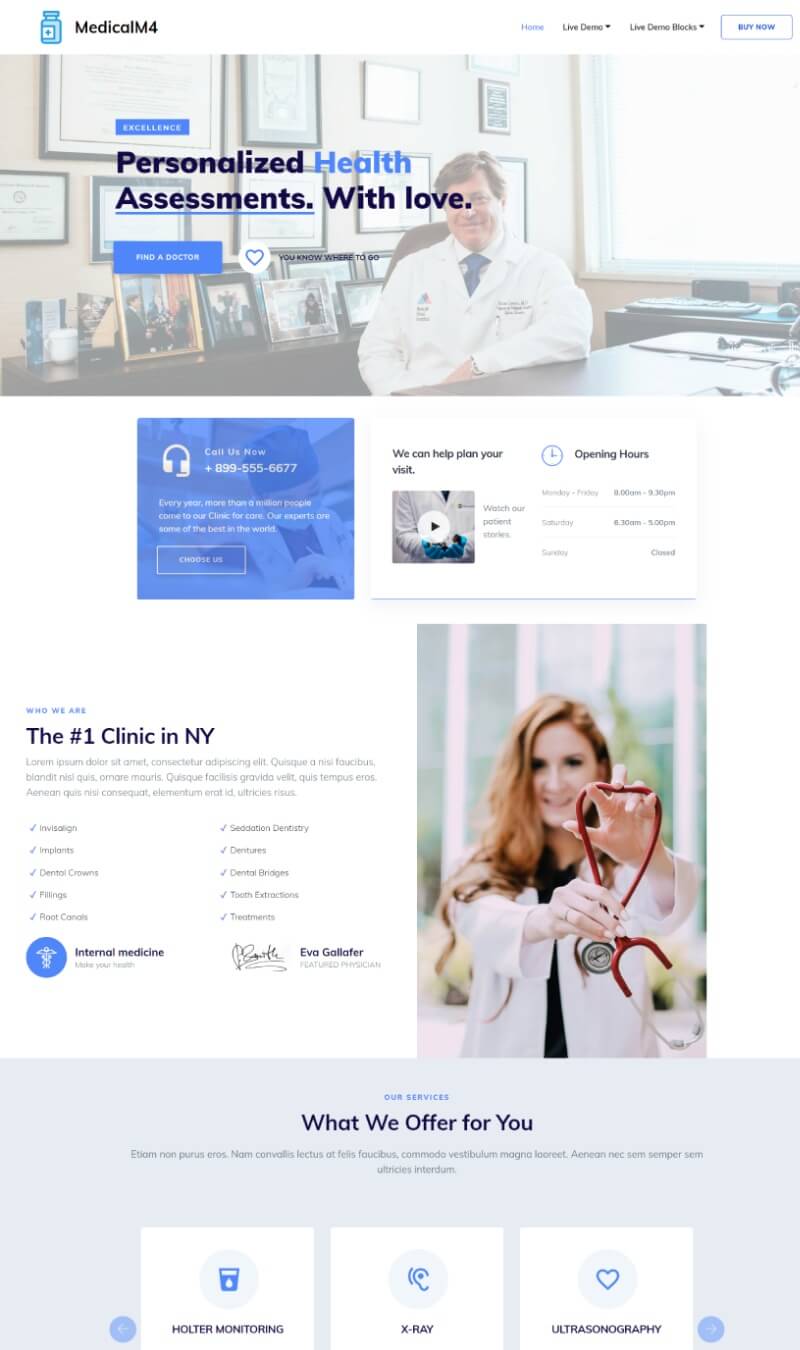
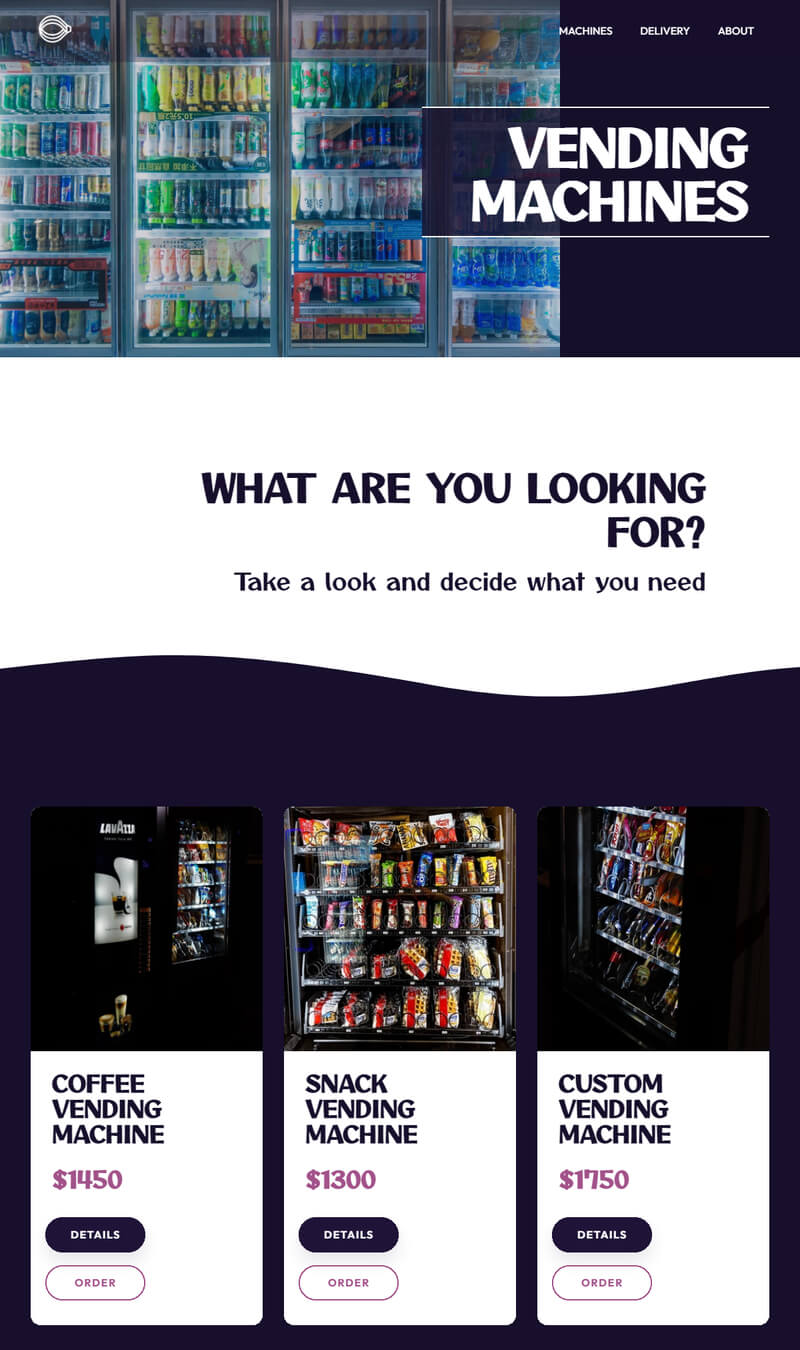
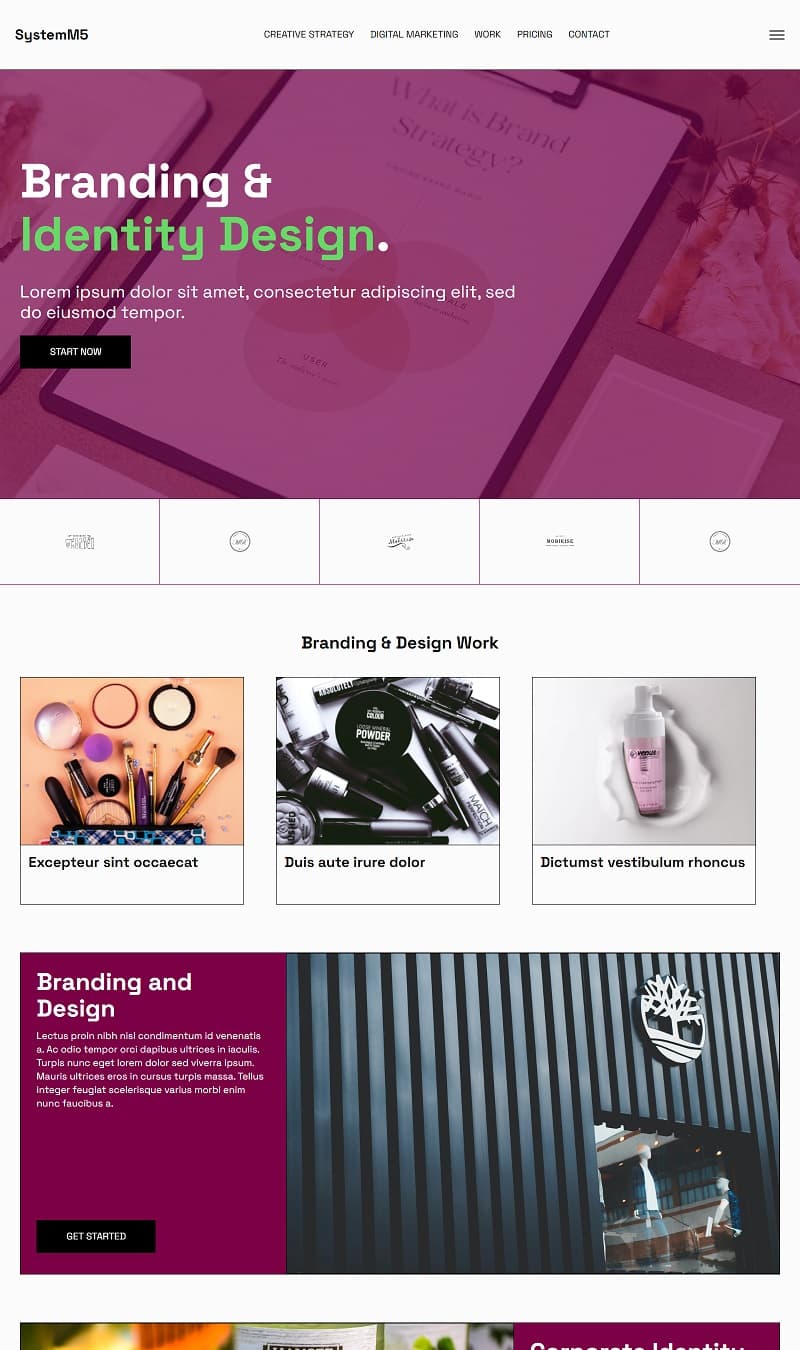
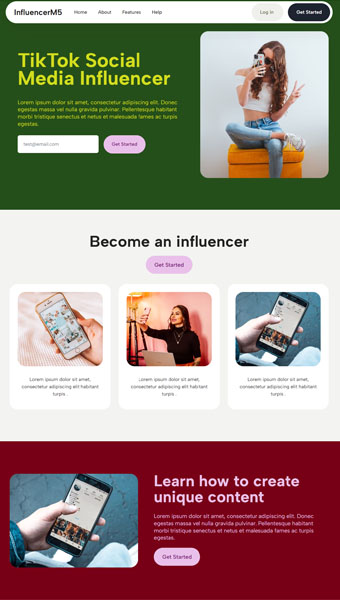
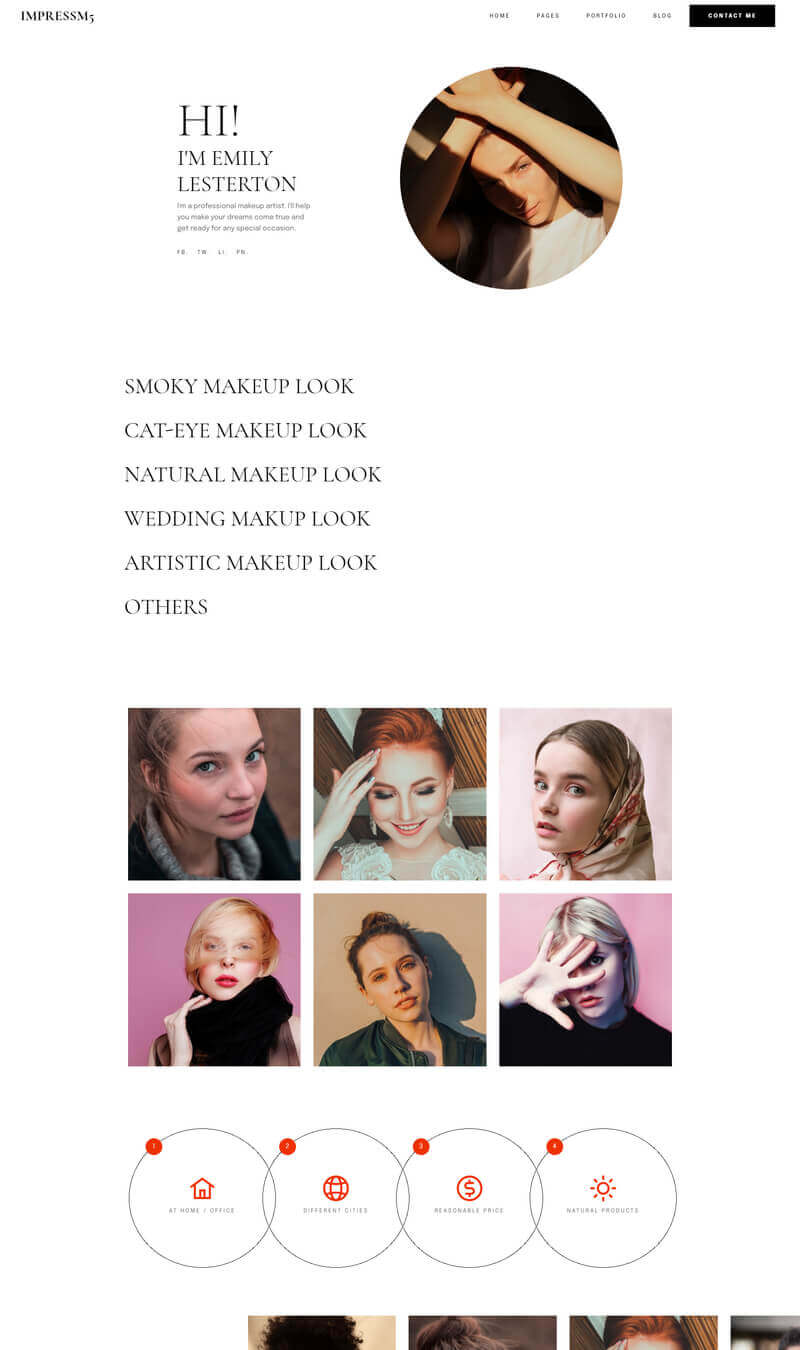
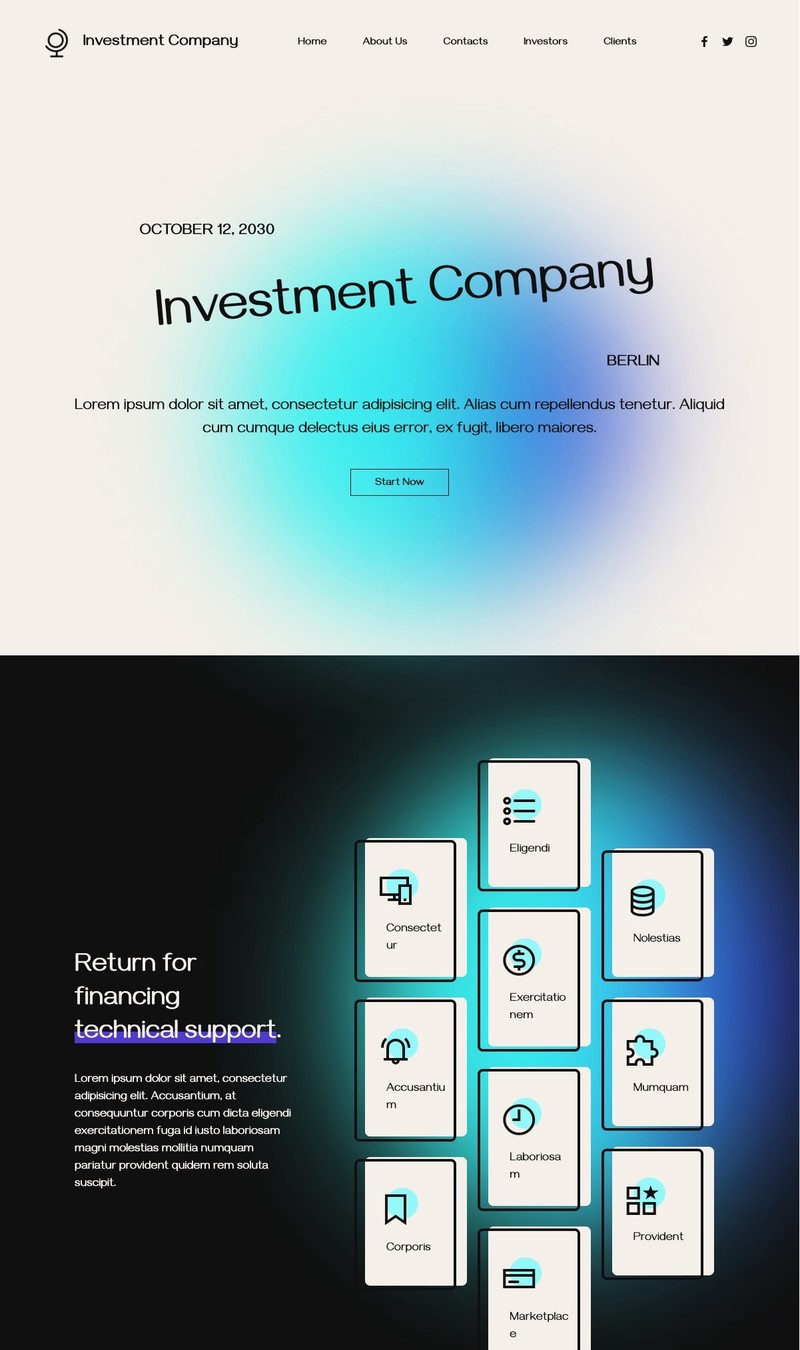
As I took on the task of revamping my personal blog, I turned to Mobirise templates to streamline the process. The drag-and-drop functionality was a major time saver! I kicked things off with a clean, minimalist theme that offered a good balance between text and visuals. The pre-built 'features' blocks were perfect for highlighting my writing categories, and the 'timeline' block really spiced up my 'About Me' section. I appreciated the inclusion of social media buttons that were ready to link to my accounts, eliminating the fuss of manual coding. Initially, customizing the pre-defined blocks to fit my content structure was a puzzle. I struggled with adjusting the spacing and alignment due to my lack of familiarity with the Mobirise interface. But once I got the hang of it, the sense of accomplishment was unparalleled. My blog's new look has received tons of positive feedback, and I couldn't be happier with the outcome!
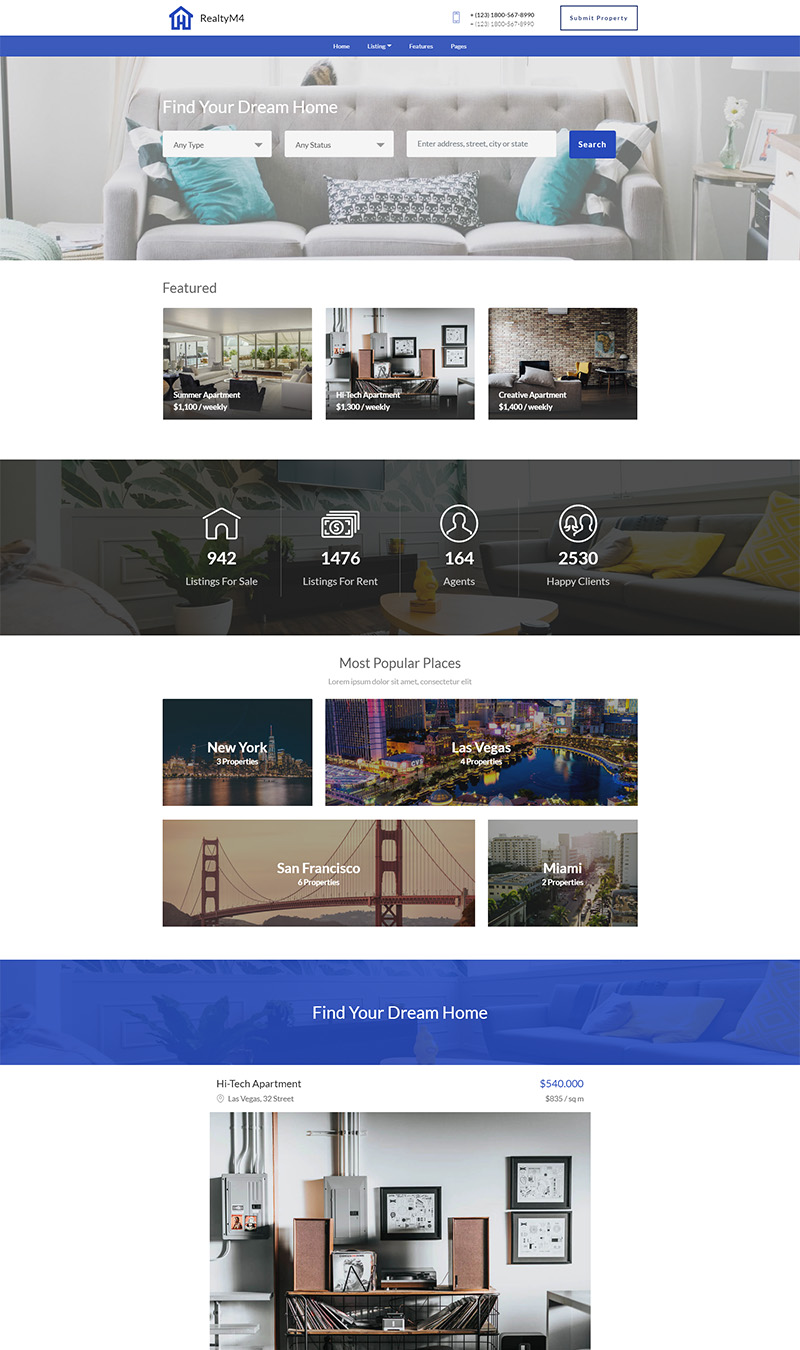
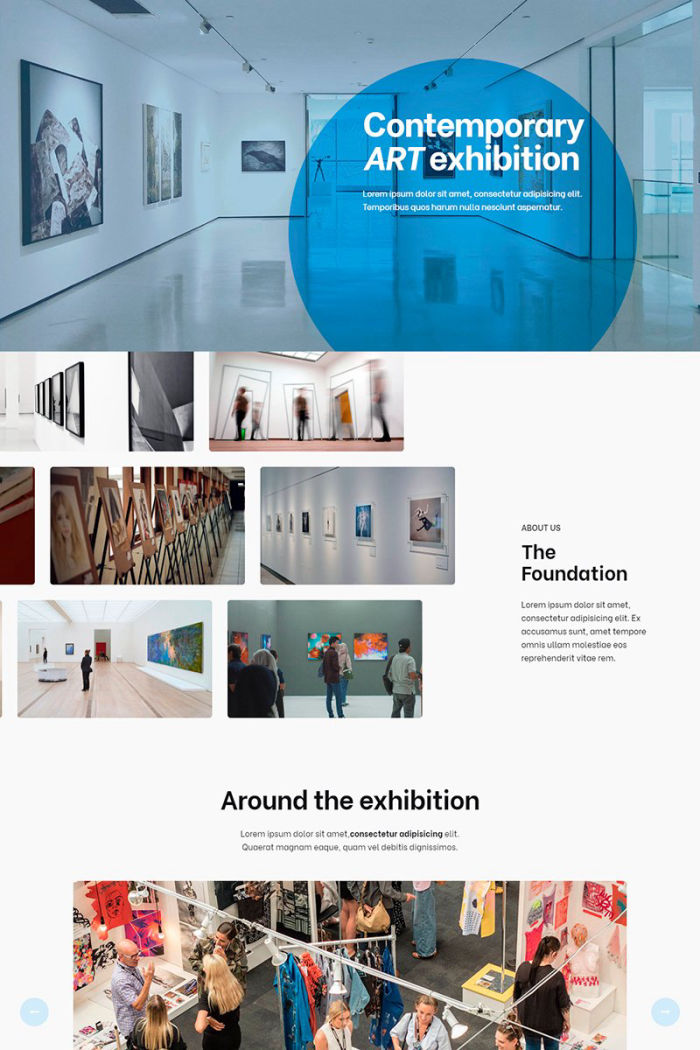
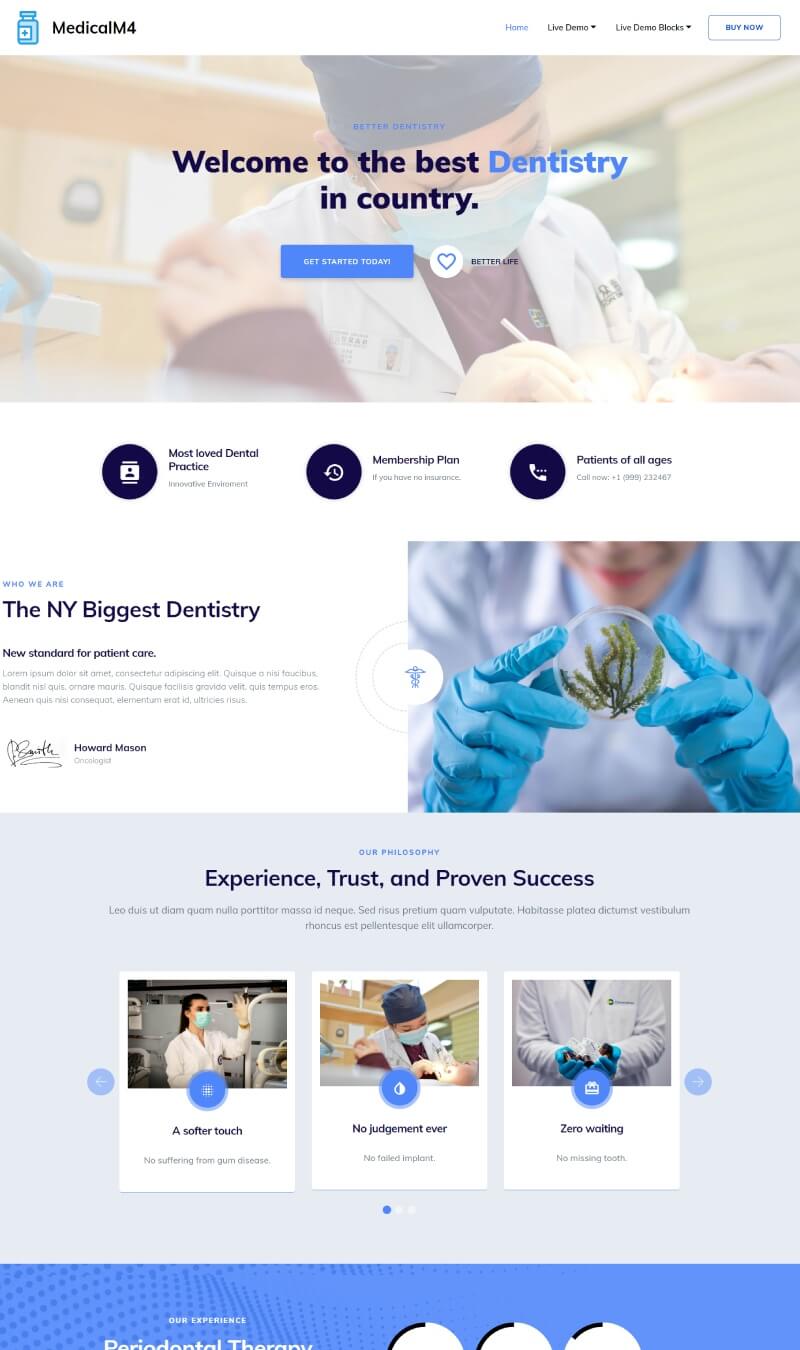
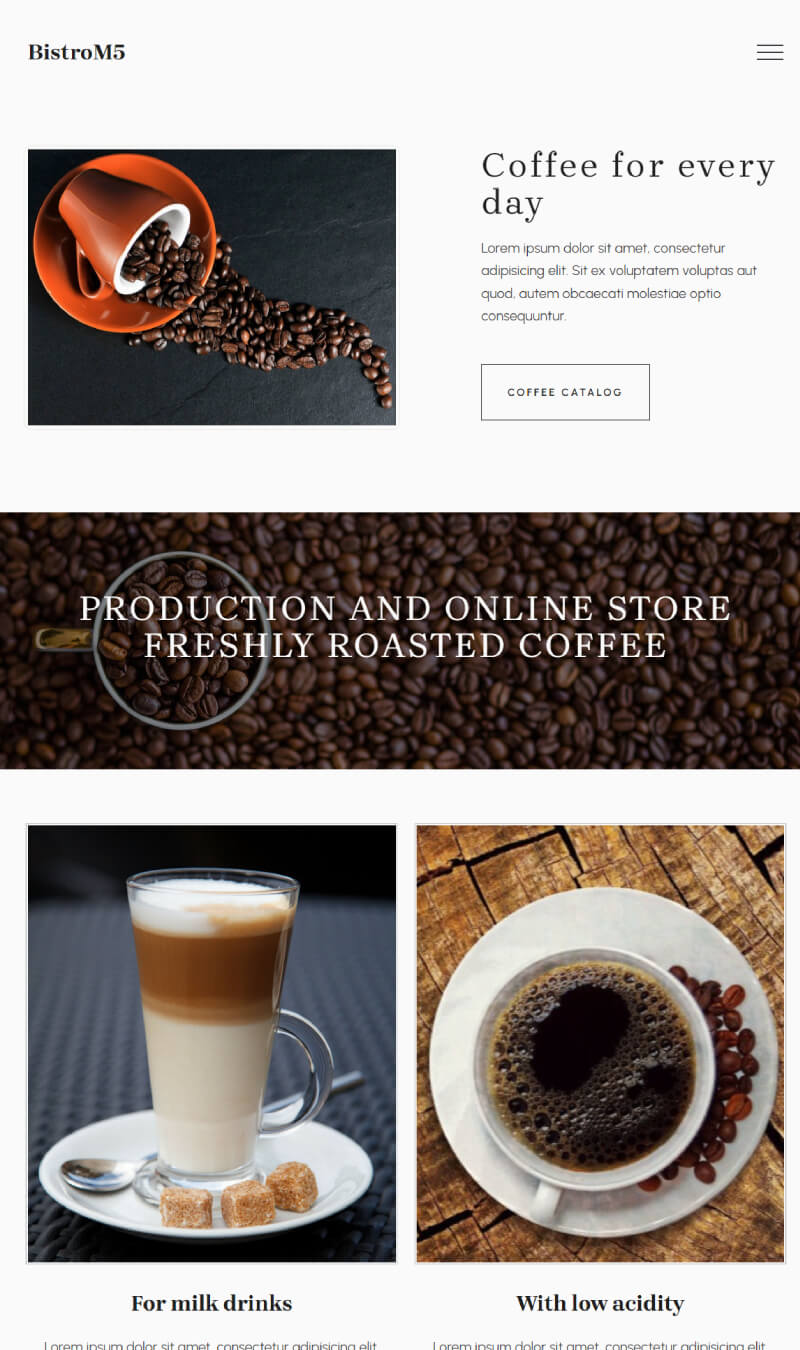
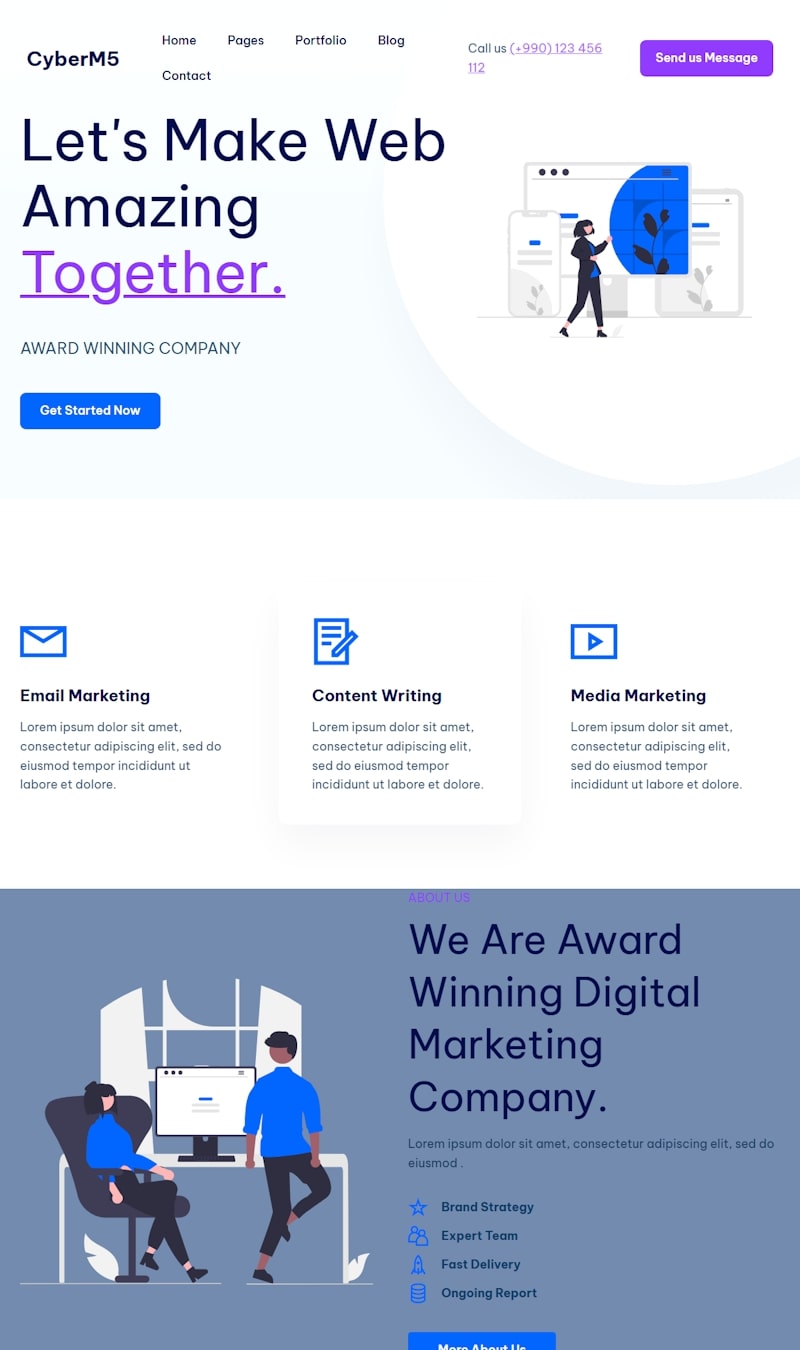
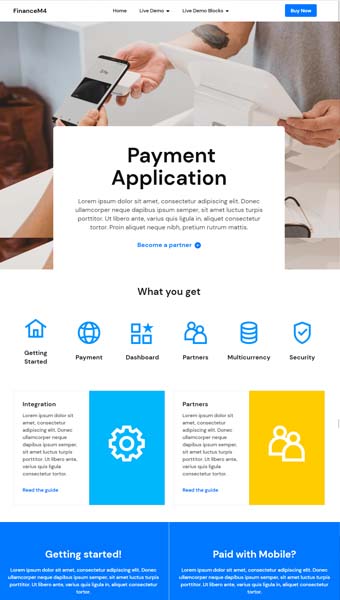
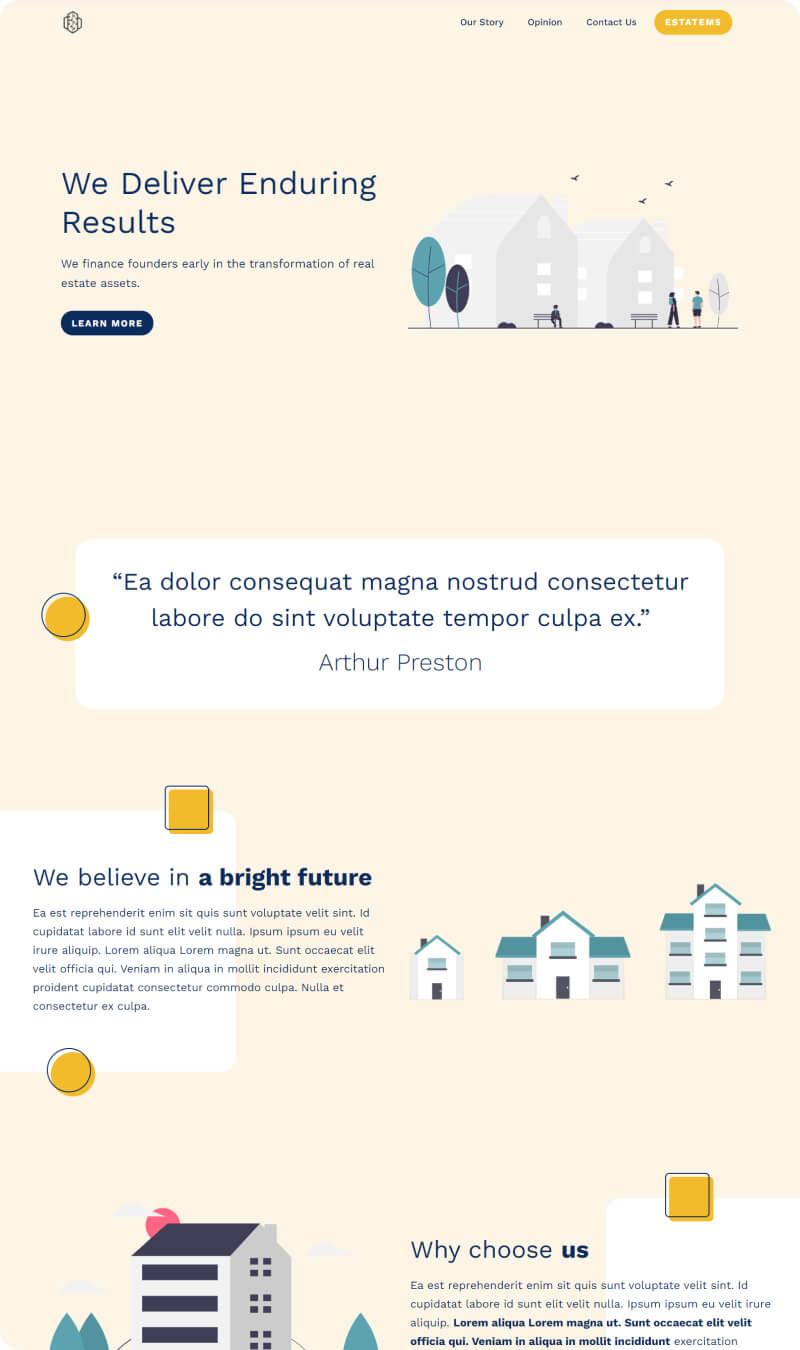
My experience building a website for our non-profit organization using Mobirise and Bootstrap themes was extraordinary. I chose a theme that felt engaging and warm, reflecting our community-driven mission. The 'donation' block was a standout feature that made setting up our fundraising campaigns incredibly simple. The 'FAQ' block helped us lay out information clearly and concisely, which our visitors appreciated. The 'testimonials' section was also a fantastic way to share stories from the people we've helped. The main challenge we faced was integrating third-party payment solutions for donations. It required a deeper understanding of Bootstrap’s components and some custom JavaScript. After surmounting these technical challenges, the result was a user-friendly website that not only looked great but also functioned seamlessly, significantly boosting our online presence and donation conversions.
Pros: The Bootstrap code examples are incredibly beginner-friendly, showcasing a wide variety of components that can be used out-of-the-box. Good quality code with clear comments helps understand the structure and function of each snippet. Each example is fully responsive, which is essential for modern web development.
Cons: Some examples may be too simplistic for advanced developers looking for more complex solutions. There's a lack of creative examples that step outside the typical Bootstrap aesthetic, which may not inspire more unique designs.
Pros: These code examples are a real time-saver for developers, providing copy-paste solutions that integrate seamlessly with existing projects. The breadth of examples is impressive, covering everything from navigation bars to modals. Since they adhere strictly to the Bootstrap framework, consistency in design is maintained.
Cons: The reliance on Bootstrap's predefined classes and components can discourage deeper learning of CSS and JavaScript. The examples are heavily Bootstrap-themed, which could lead to every site looking the same without significant customization.
Pros: The provided examples are perfect for learning Bootstrap basics and are ideal for rapid prototyping, allowing developers to quickly put together functional layouts. They also demonstrate how to use the grid system effectively, a cornerstone of responsive design in Bootstrap.
Cons: For complex projects, these examples may not be sufficient as they often cover more general cases. The code snippets lack a certain depth that experienced developers might be seeking, especially when it comes to custom interactivity and JavaScript usage.
Pros: The interactive nature of the Bootstrap code examples allows developers to see the effects of changes in real-time, which is great for experimenting and understanding the components' behaviors. Using these examples can also help ensure cross-browser compatibility, which is inherently built into Bootstrap's components.
Cons: The examples might not cover all edge cases that a developer could encounter, and customization beyond the predefined Bootstrap styles often requires additional effort and expertise. Tutorials or explanations accompanying the examples are sometimes too abbreviated for more complex components.